Professional can mockups transform flat designs into realistic product presentations that clients can instantly visualize. This technique combines precise measurement, smart object workflow, and blending modes to wrap your graphics seamlessly around curved surfaces.
The process creates reusable templates that automatically apply proper perspective and lighting effects to any design you place inside.
Watch the Tutorial
Video by WeJustClickme. Any links or downloads mentioned by the creator are available only on YouTube
Essential Tips for Can Mockup Creation
- Measure your can dimensions first using the line tool to ensure accurate proportions for your rectangle overlay
- Convert your design rectangle to a smart object before warping to preserve quality and maintain editability
- Use the pen tool to create precise selections that exclude the can's top section for more realistic results
- Apply linear burn blending mode to your design layer, then add a duplicate with screen mode to enhance surface highlights
- Reduce the fill opacity on your warp layer temporarily to see the can underneath while positioning your design
More Tutorials About Photoshop Mockups
Explore additional techniques for creating professional product mockups and templates.
How to Create Realistic Design Mockups in Photoshop
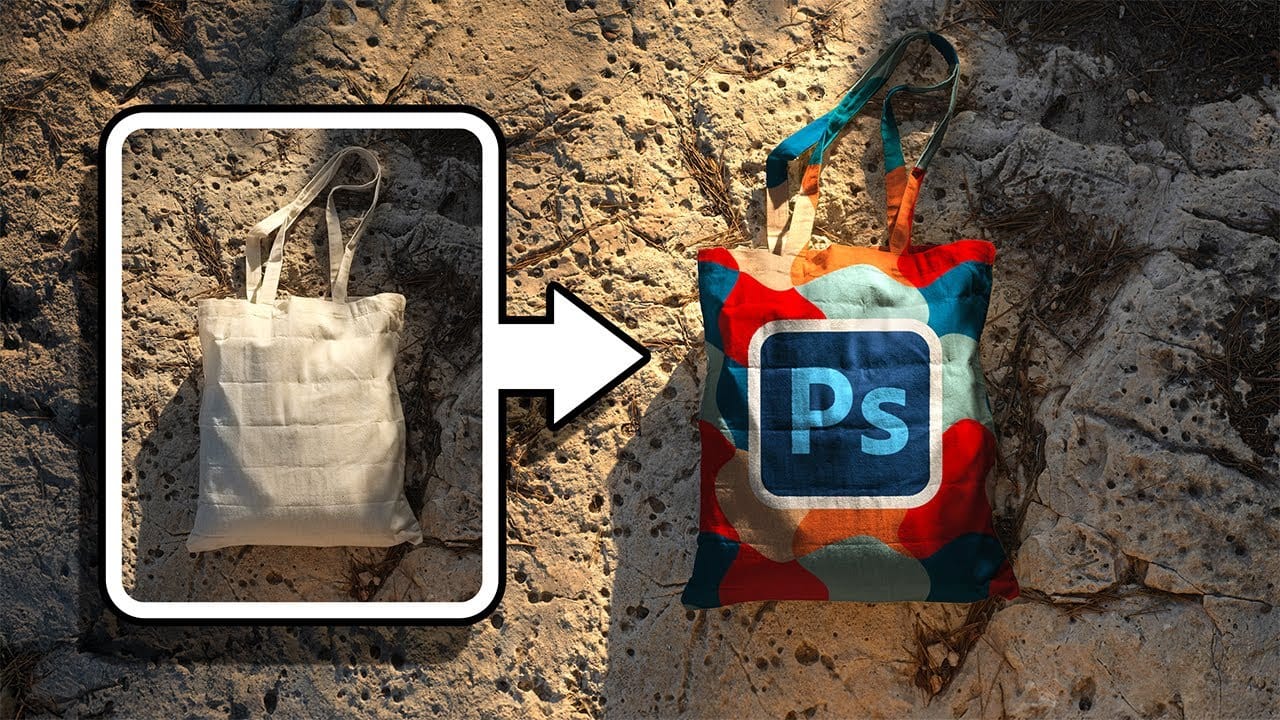
Creating convincing product mockups requires more than simply placing a design onto a template. Real fabric surfaces have subtle color variations, texture bumps, and complex lighting that affect how printed designs actually appear.
This comprehensive tutorial demonstrates professional techniques for building realistic mockups from scratch. You'll learn to control surface preparation, blend modes, displacement mapping, and lighting effects to achieve results that match real-world printing condit
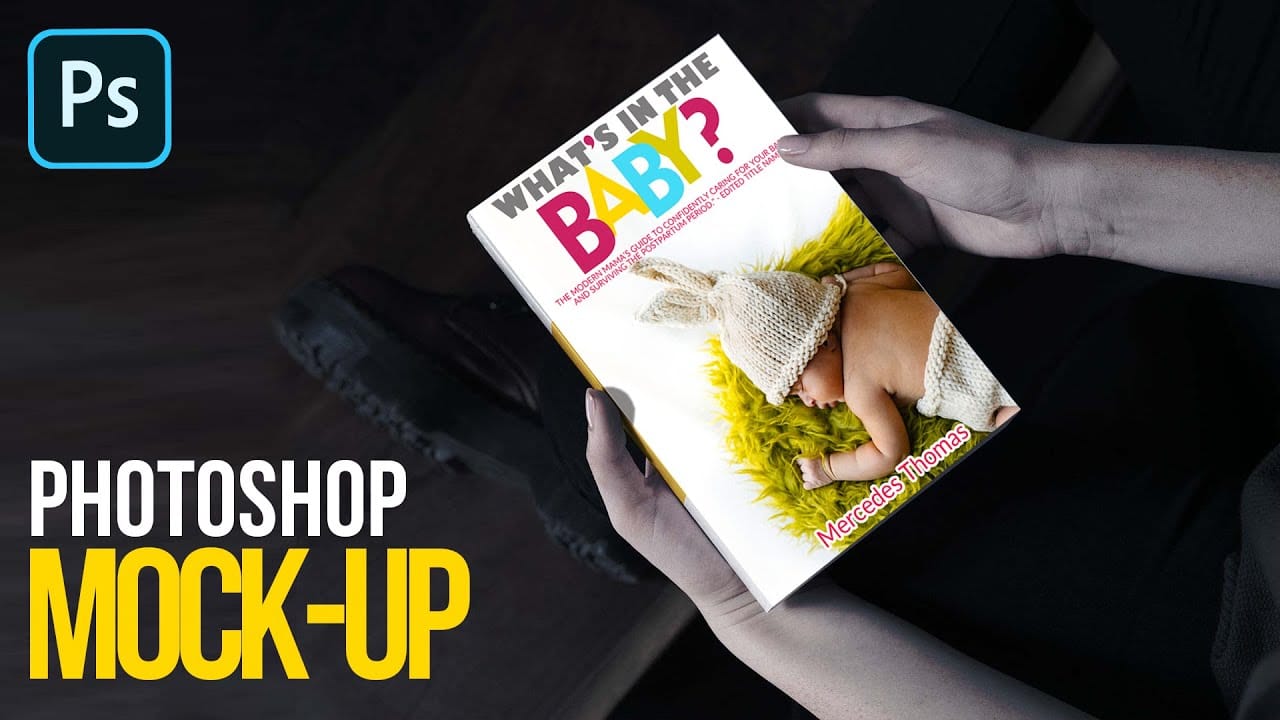
Easily create realistic mockups and templates in Photoshop
In this tutorial by Quistt, you'll discover how to craft realistic mockups and templates in Photoshop with ease. This comprehensive guide will walk you through the process of creating high-quality product showcases, whether you're designing for books, signs, t-shirts, or various other merchandise.
You'll learn to utilize Photoshop's powerful tools and features to produce mockups that look both professional and authentic. The tutorial covers techniques for adding realistic details and ensuring y
How to Create Reusable Drag & Drop Mockup Templates in Photoshop
Manually warping and blending logos onto product photos takes 15-30 minutes each time. Smart objects in Photoshop transform this repetitive process into a one-time setup that creates reusable templates.
This technique lets you drag and drop any design into a pre-configured mockup that automatically applies warping, blending, and lighting effects.
Watch the Tutorial
Essential Tips for Drag & Drop Mockups
* Create a rectangular shape layer as your container, then convert it to a smart objec

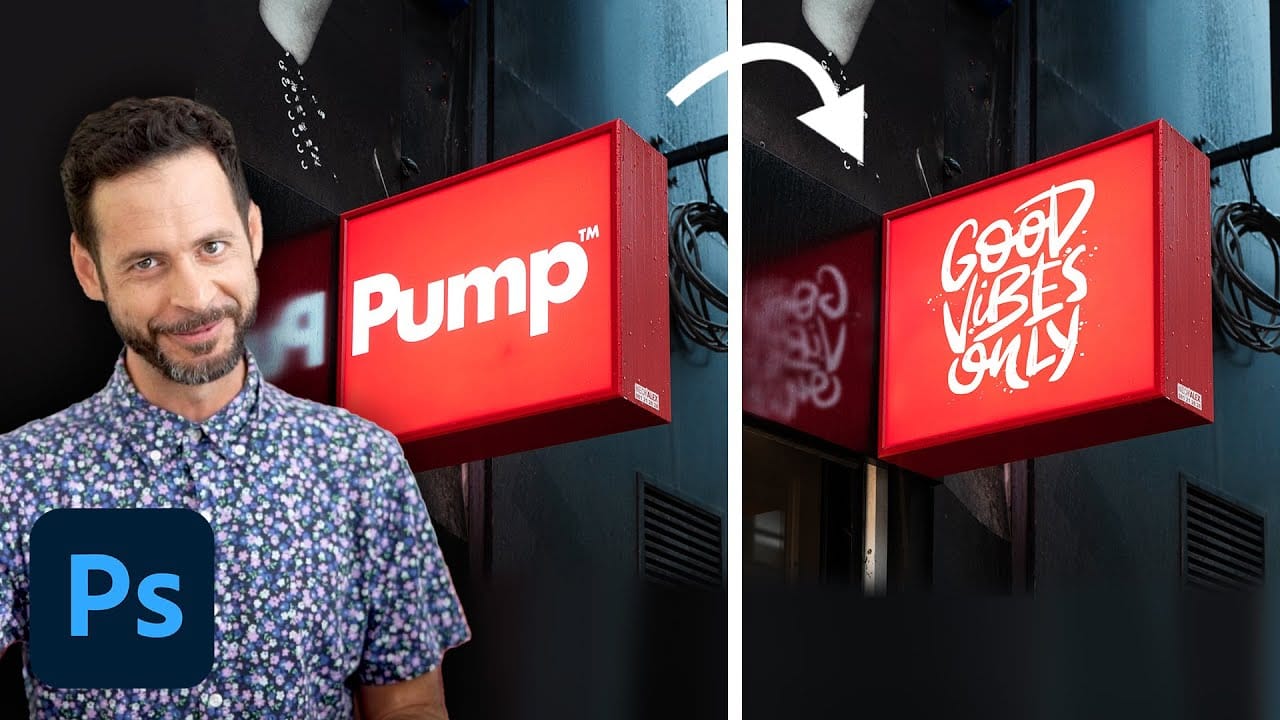
How to replace a sign for mockups in Photoshop
In this tutorial, Aaron Nace demonstrates how to customize signs in Photoshop for mockups. You'll learn how to efficiently remove existing graphics from a photographed sign and replace them with your own text and logos. Aaron covers techniques for placing your graphics accurately in perspective, ensuring they fit seamlessly into the original sign's design.
The tutorial also includes tips on managing multiple Photoshop documents that update in real-time, making it easier to see your changes as y