How to Create a Black Liquid Text Effect in Photoshop

How to Create a Black Liquid Text Effect in Photoshop

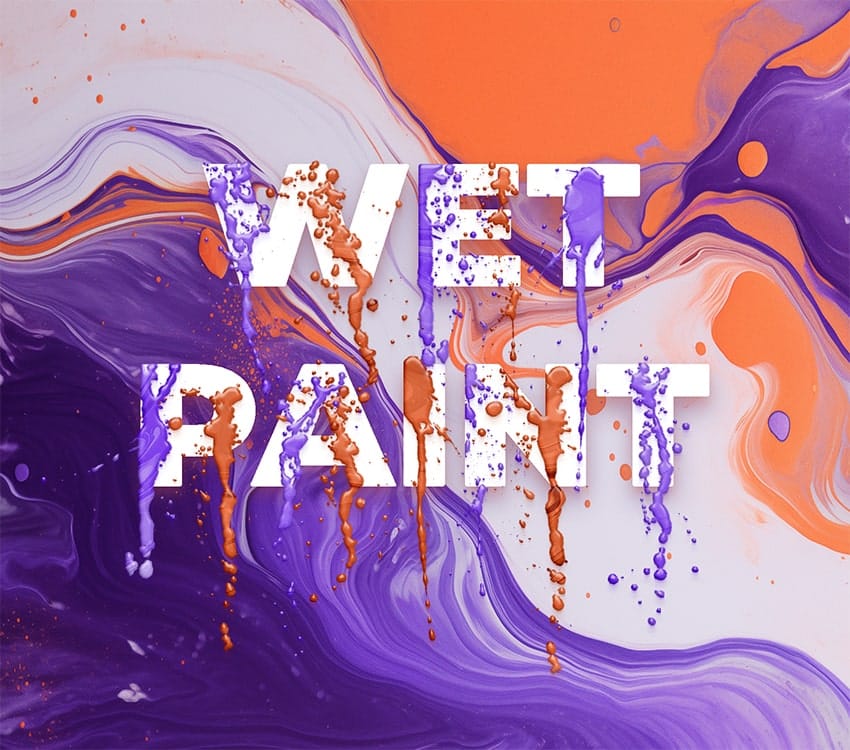
Black liquid typography creates a mysterious, viscous aesthetic that flows between elegant and edgy. This striking effect transforms ordinary text into something that appears to drip, bubble, and shine like thick ink or oil.

The technique combines vector shapes with strategic layer effects to build depth and dimension. Multiple duplicated layers work together to create the signature bubbly, reflective surface that makes liquid text so compelling.

Watch the Tutorial

Video by P A N T E R. Any links or downloads mentioned by the creator are available only on YouTube

The Science Behind Liquid Typography

Liquid text effects rely on visual cues that mimic how light interacts with fluid surfaces. Real liquids create complex reflections, refractions, and surface tensions that our eyes recognize immediately. Digital recreation requires careful attention to highlight placement and shadow gradients.

The key lies in layering multiple bevel and emboss effects with different intensities. Each layer contributes to the overall dimensionality - from subtle inner glows that suggest subsurface scattering to sharp highlights that indicate surface tension. This multi-layer approach creates the organic, three-dimensional quality that separates convincing liquid effects from flat alternatives.

Vector-based starting points offer significant advantages over raster text. They maintain crisp edges during scaling and provide the thick, chunky letterforms that work best for liquid treatments. Thin typography often fails to support the heavy dimensional effects required for believable liquid simulation.

Essential Tips for Liquid Text Effects

  • Start with thick, bold typography - thin fonts cannot support the dimensional effects needed for convincing liquid appearance
  • Use Smart Objects when importing vector text to maintain scalability and crisp edges throughout the process
  • Layer multiple bevel effects with decreasing sizes and varying opacities to build realistic depth and surface complexity
  • Adjust highlight and shadow opacity settings to control the liquid's apparent viscosity - higher values suggest thicker fluids
  • Set your Gloss Contour to create the characteristic bubble-like surface reflections that define liquid typography
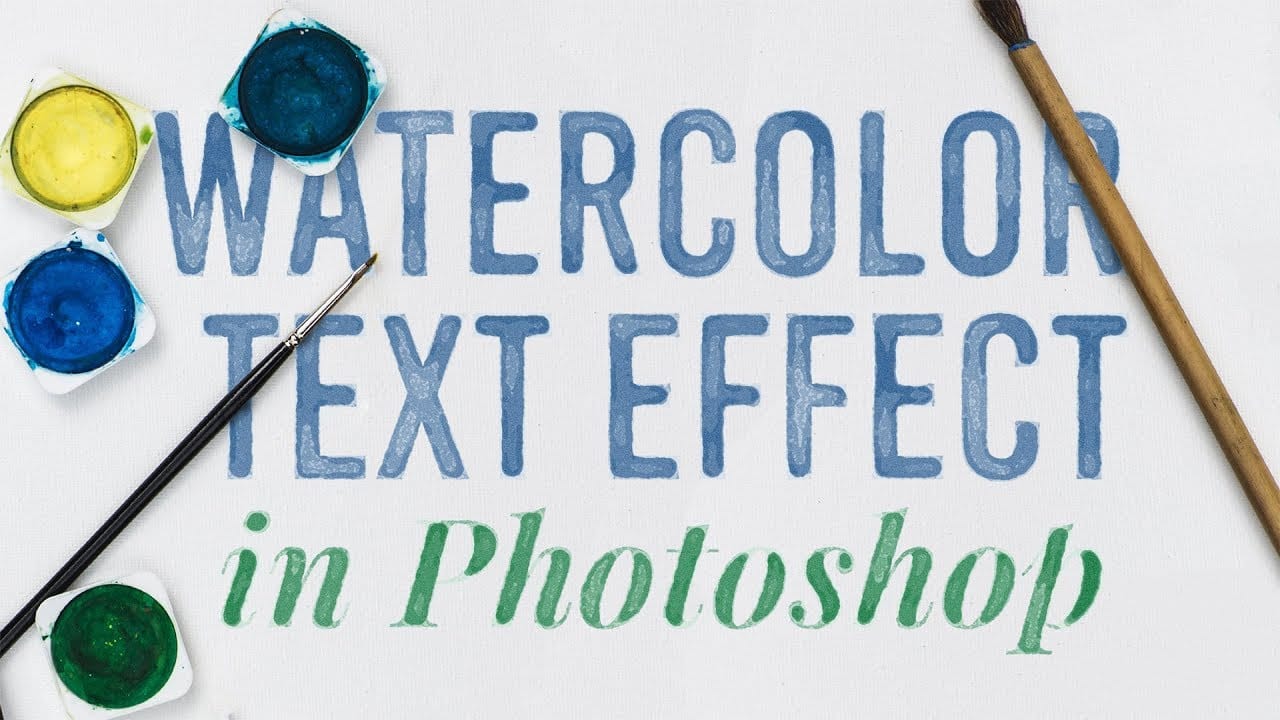
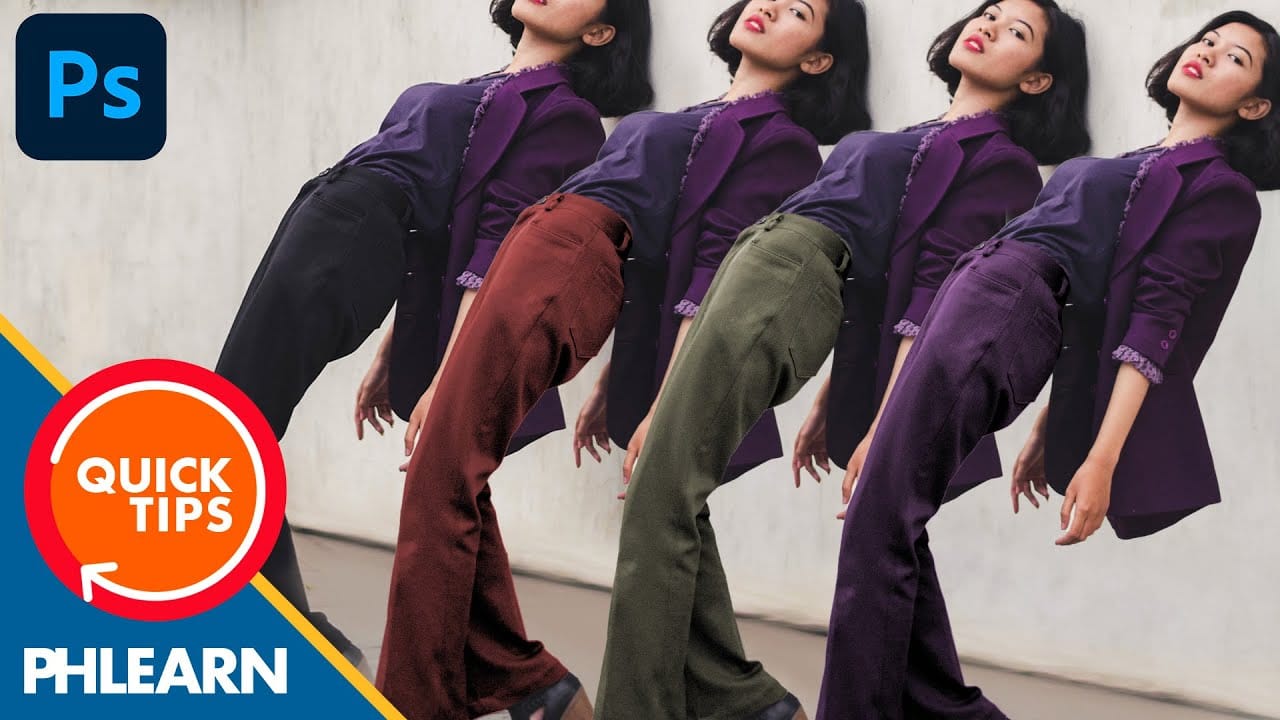
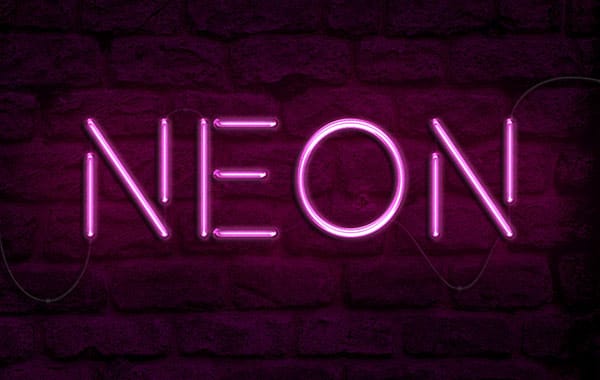
Explore more creative text effect techniques and color manipulation methods.

How to create a dripping paint text effect in Photoshop
In this tutorial, you will discover how to create a striking paint-dripping effect using Adobe Photoshop. This guide breaks down the process into clear, manageable steps, making it easy for you to follow along, regardless of your skill level. First, you will start by preparing the base image, where you will add the paint element. Then, you'll learn how to manipulate and position the paint to achieve the desired dripping effect. Each step includes helpful tips and tricks to enhance your work. F
How to create a watercolor text effect in Adobe Photoshop
In this tutorial by Chris Spooner from Spoon Graphics, you'll learn how to create a watercolor text effect in Photoshop using a combination of filters. One of the best features of this technique is the use of a Smart Object, allowing the styling to be applied to live text. This means you can easily go back, edit the wording, and fine-tune the settings to achieve the desired result. This tutorial offers a flexible and creative way to produce a beautiful watercolor style effect for your text. W
How to Change Black into Any Color in Photoshop
In this tutorial, Aaron Nace demonstrates how to transform black elements in your images into any color using Photoshop. This technique involves utilizing Levels and Hue/Saturation Adjustment Layers to achieve the desired color changes. Aaron guides you through the process of adjusting these settings to effectively modify black areas in your photos. This method is particularly useful for fashion and product photo retouching, allowing you to customize colors for creative or branding purposes. T
How to create a bright realistic neon text effect in Photoshop
Love neon signs? Ever wanted to create your own? With the magic software, we can easily experiment with and create a neon light text effect, no electricity necessary! In fact, whether you're a software expert or a complete beginner, doing so can be a breeze. In this video, we'll check out a couple of different ways to create neon light text effects—from using convenient Smart Objects, to creating text effects from scratch in Adobe Photoshop, to even quick and easy ways to experiment with text e

Get tutorials & freebies delivered to you.

Subscribe to the Photoshop Roadmap newsletter, a weekly roundup of new tutorials, insights and quality downloads, trusted by 6500+ readers.

You might also like

Complete Photoshop Editing Workflow: 5 Steps from Raw to Polished

Photoshop offers endless possibilities for photo enhancement, but many photographers never move beyond basic adjustments because the software feels overwhelming. This comprehensive workflow breaks down photo editing into five manageable stages that work consistently across different photography styles. The systematic approach covers everything from initial raw processing to advanced lighting...

Photoshop Workspace Basics: Navigation, Zooming, and Essential Interface Elements

Photoshop's interface can feel overwhelming when you first open the program. Dozens of panels, tools, and menus compete for attention, making simple tasks feel complicated. This tutorial breaks down the essential workspace elements and teaches fundamental navigation skills that form the foundation of efficient Photoshop work. Watch the...

How to Restore Old Damaged Photos Using Nano Banana in Photoshop

Old family photos with scratches, tears, and missing sections can seem beyond repair. Google's Nano Banana AI model, now integrated into Photoshop, makes full restoration possible in minutes rather than hours. This powerful tool excels at maintaining facial characteristics while automatically filling in damaged areas and adding realistic...

How to Get Higher Quality Results from Photoshop's Generative Fill Tool

Photoshop's Generative Fill creates impressive AI extensions, but the results often look blurry and pixelated when viewed at full size. This quality limitation makes many AI-generated areas unusable for printing or large displays. This technique shows how to work around the 1024x1024 pixel quality limit to create much...

How to Use Photoshop's Liquify Tool for Non-Destructive Portrait Retouching

Clothing wrinkles, hair that lacks volume, and awkward fabric bunching can distract from an otherwise great portrait. Photoshop's Liquify tool offers a powerful solution for smoothing out these issues while preserving the natural look of your subject. This tutorial demonstrates how to use the Liquify tool non-destructively with...

You’ve successfully subscribed to Photoshop Roadmap
Welcome back! You’ve successfully signed in.
Great! You’ve successfully signed up.
Success! Your email is updated.
Your link has expired
Success! Check your email for magic link to sign-in.