How to Calibrate Your Monitor for Photo Editing and Printing

How to Calibrate Your Monitor for Photo Editing and Printing

Perfect prints start with an accurate monitor. The colors you see on screen should match what comes out of your printer, but most displays ship with settings optimized for entertainment rather than professional work. This creates a disconnect between your digital edits and physical prints.

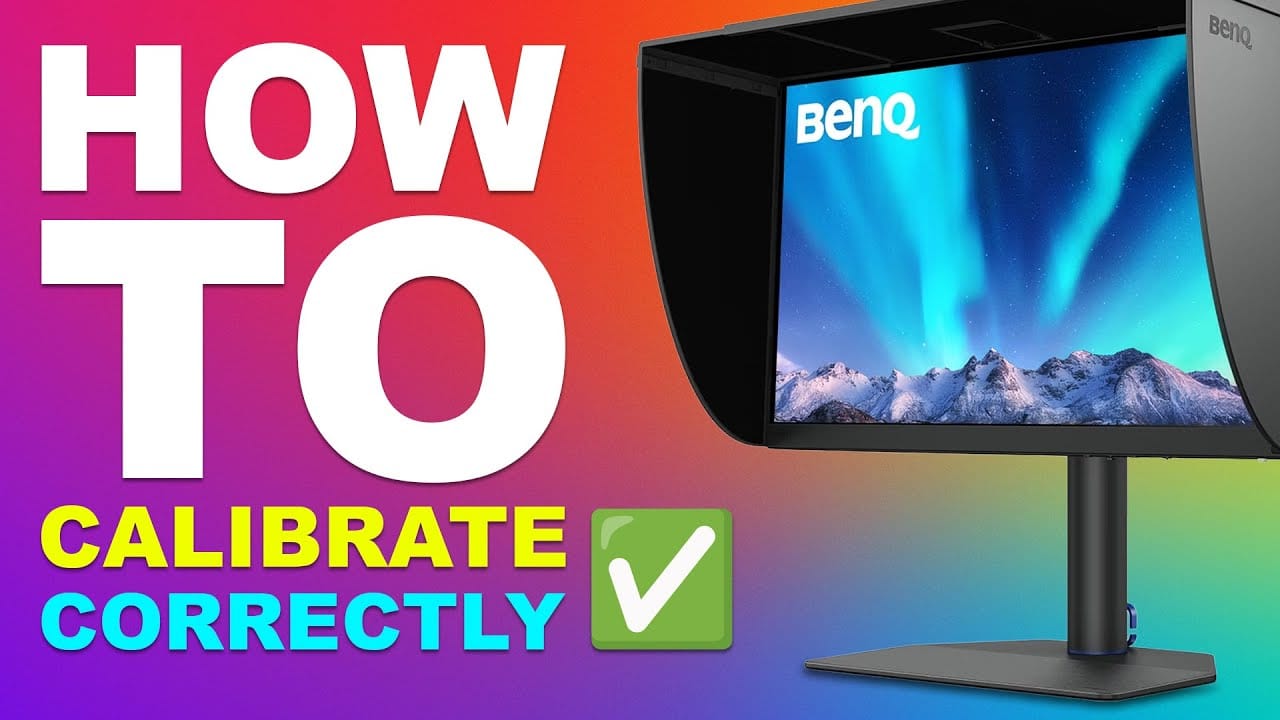
Professional photographer Glyn Dewis demonstrates the complete monitor calibration process using a BenQ display and Calibrite colorimeter. The video covers specific settings for photo editing work versus everyday computer use, explaining why standard calibration recommendations often produce displays that are too bright and contrasty for serious image editing.

Complete Monitor Calibration Tutorial

Video by Glyn Dewis. Any links or downloads mentioned by the creator are available only on YouTube

Why Standard Calibration Settings Fall Short for Photography

Most calibration guides recommend brightness levels between 80-120 candela and pure black points for maximum contrast. These settings work well for video consumption but create problems for photo editing. High brightness levels cause eye strain during long editing sessions, while absolute black points eliminate shadow detail that photographers need to see.

Professional photo editing requires a more nuanced approach that prioritizes accurate color representation and visible shadow detail over punch and contrast. The viewing environment also plays a crucial role - matching your monitor's white point to your room lighting creates consistency between screen viewing and print evaluation.

  • Room lighting temperature affects color perception significantly
  • Shadow detail visibility is essential for proper exposure decisions
  • Excessive brightness leads to prints that appear darker than expected
  • Delta E measurements below 2.0 indicate excellent color accuracy
  • Hardware calibration provides more precise control than software-only solutions

Practical Tips for Monitor Calibration

  • Set luminance to 60 candela instead of the standard 120 for comfortable editing sessions
  • Match your white point to your room lighting temperature (6000K in this example)
  • Use 0.5 candela black point rather than absolute zero to preserve shadow detail
  • Create separate calibration profiles for editing work versus entertainment use
  • Perform validation checks after calibration to verify Delta E accuracy below 2.0

More Tutorials about Photo Editing and Color Management

These resources cover additional techniques for achieving accurate colors in your photography workflow.

Complete Guide to Photoshop's Hue/Saturation Tool: Mastering Color Adjustments
Color correction and creative color grading often come down to mastering a single, powerful tool in Photoshop: the Hue/Saturation adjustment. While newer features like Camera Raw filters and advanced color wheels grab attention, the fundamentals of hue, saturation, and lightness remain the backbone of professional color work. Understanding these core principles unlocks precise control over every pixel in your images. This comprehensive tutorial covers everything from basic concepts to advanced
5 tips to make your photos better in Photoshop
Colin Smith from Photoshop Cafe shares a comprehensive tutorial on five essential tips to rapidly enhance your photos using Photoshop. These tips are designed to help both beginners and experienced users elevate the quality of their images with ease. One key aspect Smith covers is improving exposure. He demonstrates how to adjust brightness and contrast effectively to bring out the best in your photos, ensuring they are well-lit and visually appealing. Sharpening details is another crucial tip,
How to Adjust and Change Facial Features in Photoshop
Today we're testing out Photoshop's Face-Aware Liquify and Smart Portrait Neural Filters to adjust facial features and expressions of a subject! Learn how to make subtle adjustments to the size and positioning of facial features, and how to change facial expressions to evoke different emotions. Aaron Nace demonstrates how to use these powerful tools while maintaining care and respect for your clients and subjects. Explore the potential of these advanced Photoshop features to enhance portraits,
How to Color, Brighten and Sharpen Eyes in Photoshop
In this tutorial by Aaron Nace from Phlearn, learn how to enhance eyes in Photoshop to make them captivating and sharp. Techniques include coloring the eyes by sampling natural hues and adjusting lightness and saturation, using blending modes like "Soft Light" or "Overlay" for a natural look, and softening edges with Gaussian Blur. Dodge and Burn techniques are used to enhance depth and light in the pupils, while selective sharpening draws attention to the eyes, making them stand out in portrai

Get tutorials & freebies delivered to you.

Subscribe to the Photoshop Roadmap newsletter, a weekly roundup of new tutorials, insights and quality downloads, trusted by 6500+ readers.

You might also like

Complete Photoshop Editing Workflow: 5 Steps from Raw to Polished

Photoshop offers endless possibilities for photo enhancement, but many photographers never move beyond basic adjustments because the software feels overwhelming. This comprehensive workflow breaks down photo editing into five manageable stages that work consistently across different photography styles. The systematic approach covers everything from initial raw processing to advanced lighting...

Photoshop Workspace Basics: Navigation, Zooming, and Essential Interface Elements

Photoshop's interface can feel overwhelming when you first open the program. Dozens of panels, tools, and menus compete for attention, making simple tasks feel complicated. This tutorial breaks down the essential workspace elements and teaches fundamental navigation skills that form the foundation of efficient Photoshop work. Watch the...

How to Restore Old Damaged Photos Using Nano Banana in Photoshop

Old family photos with scratches, tears, and missing sections can seem beyond repair. Google's Nano Banana AI model, now integrated into Photoshop, makes full restoration possible in minutes rather than hours. This powerful tool excels at maintaining facial characteristics while automatically filling in damaged areas and adding realistic...

How to Get Higher Quality Results from Photoshop's Generative Fill Tool

Photoshop's Generative Fill creates impressive AI extensions, but the results often look blurry and pixelated when viewed at full size. This quality limitation makes many AI-generated areas unusable for printing or large displays. This technique shows how to work around the 1024x1024 pixel quality limit to create much...

How to Use Photoshop's Liquify Tool for Non-Destructive Portrait Retouching

Clothing wrinkles, hair that lacks volume, and awkward fabric bunching can distract from an otherwise great portrait. Photoshop's Liquify tool offers a powerful solution for smoothing out these issues while preserving the natural look of your subject. This tutorial demonstrates how to use the Liquify tool non-destructively with...

You’ve successfully subscribed to Photoshop Roadmap
Welcome back! You’ve successfully signed in.
Great! You’ve successfully signed up.
Success! Your email is updated.
Your link has expired
Success! Check your email for magic link to sign-in.