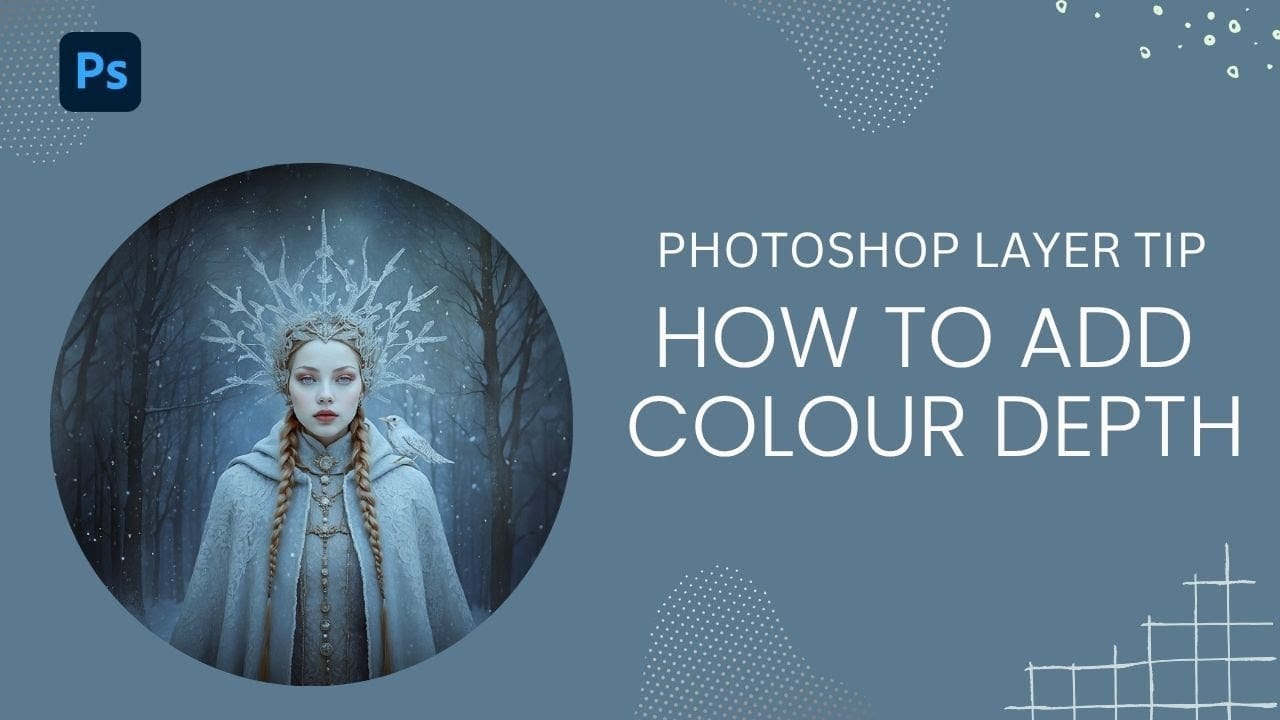
How to Add Color Depth Using Color Dodge Layers in Photoshop

How to Add Color Depth Using Color Dodge Layers in Photoshop

Color depth transforms flat images into rich, dimensional works that hold the viewer's attention. The secret lies in selectively enhancing specific areas rather than applying blanket adjustments that can muddy your colors.

The color dodge technique offers precise control over where and how you add vibrancy. This method works particularly well for portrait enhancement, bringing life to eyes, lips, hair, and jewelry without creating an over-processed look.

Watch the Tutorial

Video by SandraD Imagery. Any links or downloads mentioned by the creator are available only on YouTube

Understanding Non-Destructive Color Enhancement

The color dodge method relies on non-destructive editing principles that preserve your original image data. Each color enhancement exists on its own layer, allowing complete control over individual adjustments long after the initial edit.

This technique differs from traditional lighting adjustments because it focuses purely on color richness rather than brightness. The approach works by sampling existing colors from your image and applying them selectively with low flow settings.

  • Separate layers for each area (lips, eyes, hair, jewelry)
  • Low flow percentages (5-16%) for subtle application
  • Color sampling from existing image tones
  • Opacity adjustments for fine-tuning intensity

Practical Tips for Color Dodge Enhancement

  • Create a new blank layer for each area you want to enhance rather than working on a single layer
  • Keep brush flow between 5-16% to build color gradually and avoid harsh application
  • Sample colors from lighter areas within the same region for natural-looking highlights
  • Use the Alt/Option key to quickly switch between brush and eyedropper tools
  • Apply this technique at the end of your workflow after completing other color corrections

Explore more techniques for enhancing colors and adding depth to your Photoshop projects.

3 must-try techniques to enhance colors in Photoshop
When you're editing a photo in Photoshop, making your colors pop is likely on the top of your to-do list. There are a variety of great tools to use in Photoshop, but with these three techniques, you will be able to get more rich colors in your edits, while also having more control over how they appear. With the help of layer masks, blend if, and camera raw, you'll be surprised by how these lesser-known Photoshop tricks can improve the look of your edits. Watch tutorial
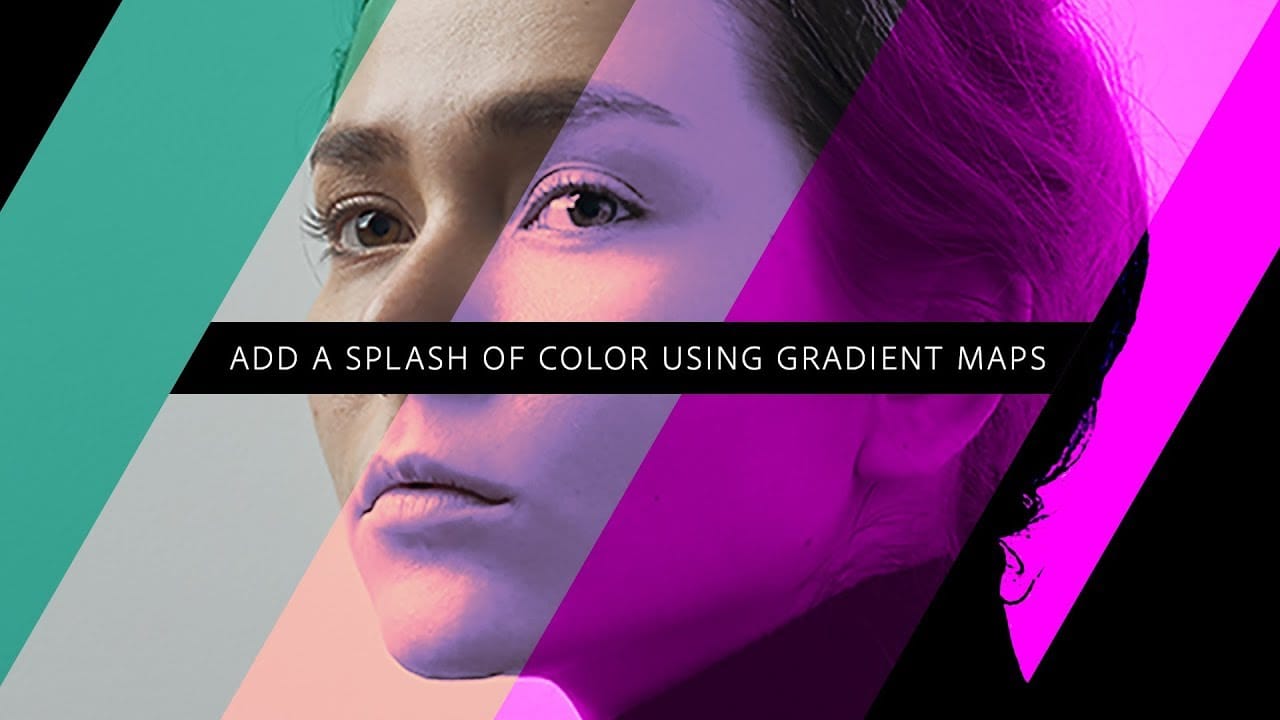
Add a splash of color using gradient maps in Photoshop
In this engaging tutorial, Adobe Evangelist Paul Trani reveals the power of Gradient Maps in Photoshop to introduce stunning colors to your designs. Gradient Maps are a versatile tool that applies color gradients to your images, enabling you to create striking visual effects with ease. Paul walks you through the process of applying and adjusting Gradient Maps, demonstrating how this technique can significantly enhance the depth and vibrancy of your designs. The tutorial covers essential tips an
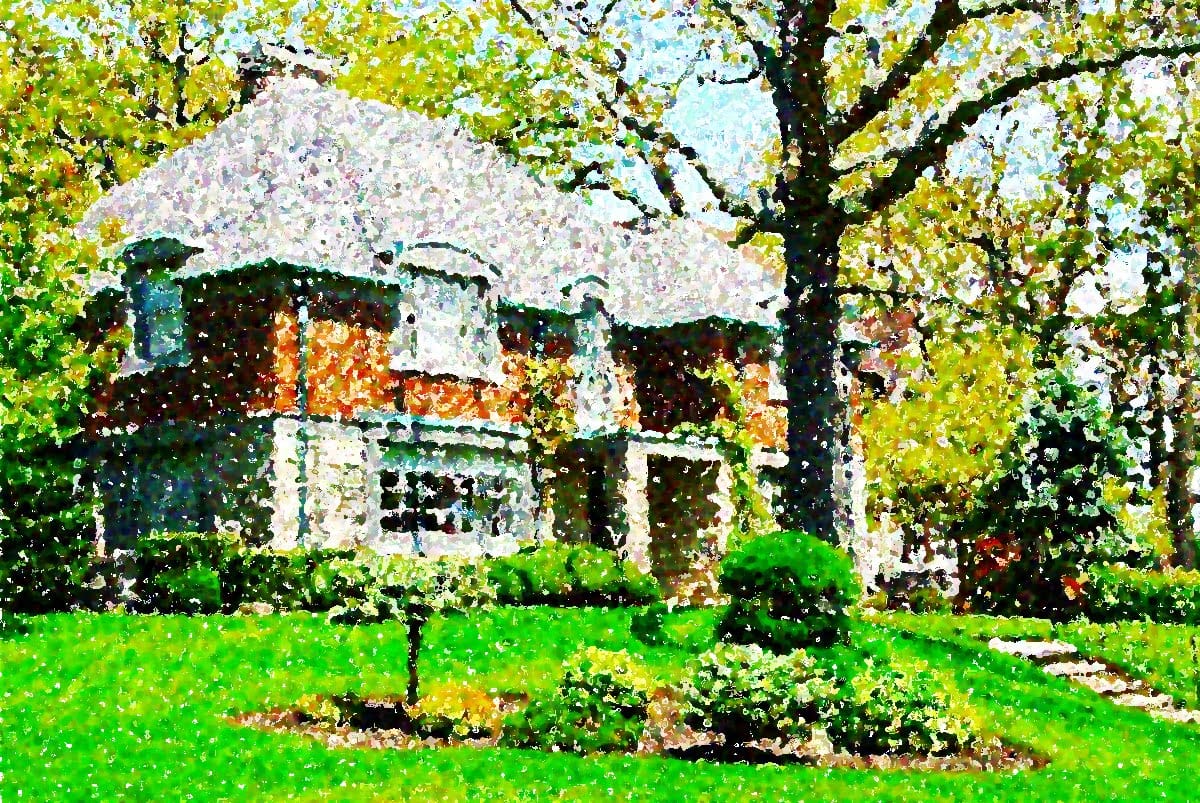
Apply a nice saturated paint effect to your photos in Photoshop
This beginner-friendly Photoshop tutorial by Marcin Mikus will teach you how to transform a regular photo into a painting. Marcin begins by duplicating the background layer, enhancing the image's vibrance and saturation for a vivid look. Next, they convert the duplicated layer into a smart object and apply the "Oil Paint" filter, adjusting the settings to achieve the desired painted effect. The tutorial also suggests experimenting with other artistic filters like "Colored Pencil" for various st
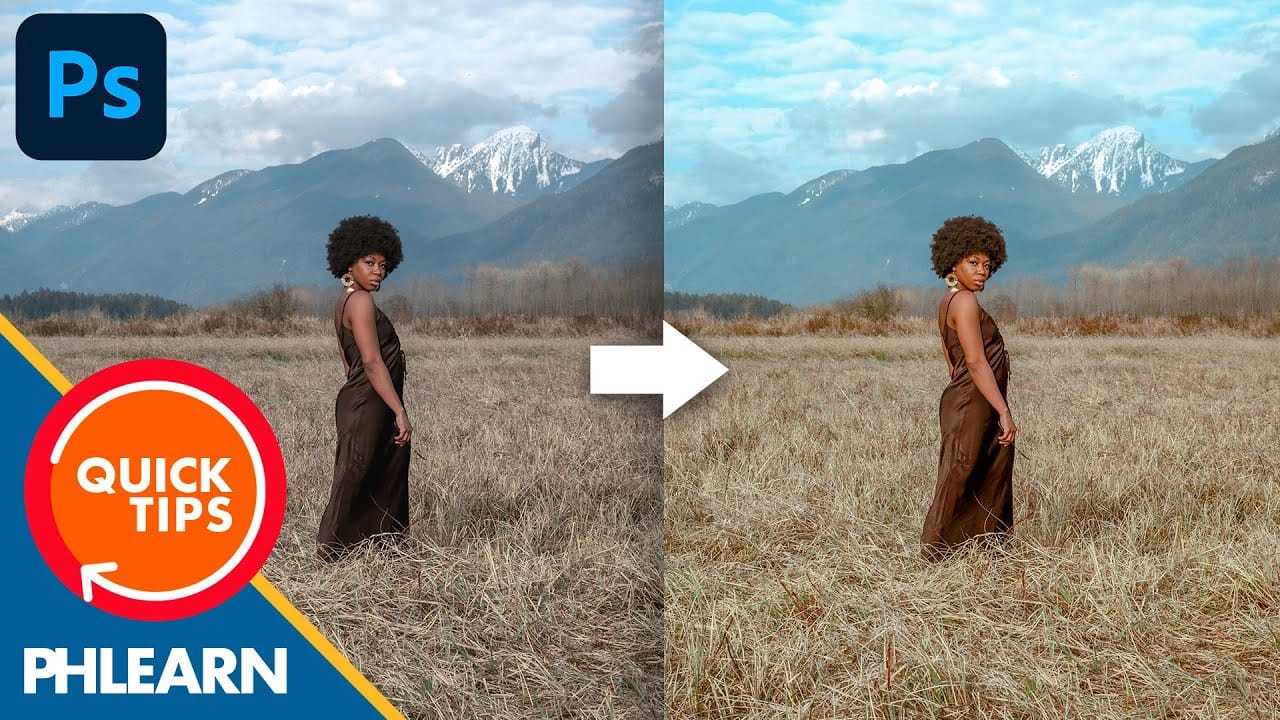
Create a bright and beautiful color grade in Photoshop
In this tutorial, Aaron Nace from Phlearn demonstrates how to enhance your photos with a bright and vibrant color grade using the Camera RAW filter in Photoshop. This technique is particularly effective for model photography and landscape shots, offering a way to elevate the visual appeal of your images with a polished, professional finish. Aaron guides you through the process of applying and adjusting color grades, showing how the Camera RAW filter can be used to fine-tune colors and achieve a

Get tutorials & freebies delivered to you.

Subscribe to the Photoshop Roadmap newsletter, a weekly roundup of new tutorials, insights and quality downloads, trusted by 6500+ readers.

You might also like

Complete Photoshop Editing Workflow: 5 Steps from Raw to Polished

Photoshop offers endless possibilities for photo enhancement, but many photographers never move beyond basic adjustments because the software feels overwhelming. This comprehensive workflow breaks down photo editing into five manageable stages that work consistently across different photography styles. The systematic approach covers everything from initial raw processing to advanced lighting...

Photoshop Workspace Basics: Navigation, Zooming, and Essential Interface Elements

Photoshop's interface can feel overwhelming when you first open the program. Dozens of panels, tools, and menus compete for attention, making simple tasks feel complicated. This tutorial breaks down the essential workspace elements and teaches fundamental navigation skills that form the foundation of efficient Photoshop work. Watch the...

How to Restore Old Damaged Photos Using Nano Banana in Photoshop

Old family photos with scratches, tears, and missing sections can seem beyond repair. Google's Nano Banana AI model, now integrated into Photoshop, makes full restoration possible in minutes rather than hours. This powerful tool excels at maintaining facial characteristics while automatically filling in damaged areas and adding realistic...

How to Get Higher Quality Results from Photoshop's Generative Fill Tool

Photoshop's Generative Fill creates impressive AI extensions, but the results often look blurry and pixelated when viewed at full size. This quality limitation makes many AI-generated areas unusable for printing or large displays. This technique shows how to work around the 1024x1024 pixel quality limit to create much...

How to Use Photoshop's Liquify Tool for Non-Destructive Portrait Retouching

Clothing wrinkles, hair that lacks volume, and awkward fabric bunching can distract from an otherwise great portrait. Photoshop's Liquify tool offers a powerful solution for smoothing out these issues while preserving the natural look of your subject. This tutorial demonstrates how to use the Liquify tool non-destructively with...

You’ve successfully subscribed to Photoshop Roadmap
Welcome back! You’ve successfully signed in.
Great! You’ve successfully signed up.
Success! Your email is updated.
Your link has expired
Success! Check your email for magic link to sign-in.