Epic 3D Text Effects in Photoshop

Epic 3D Text Effects in Photoshop

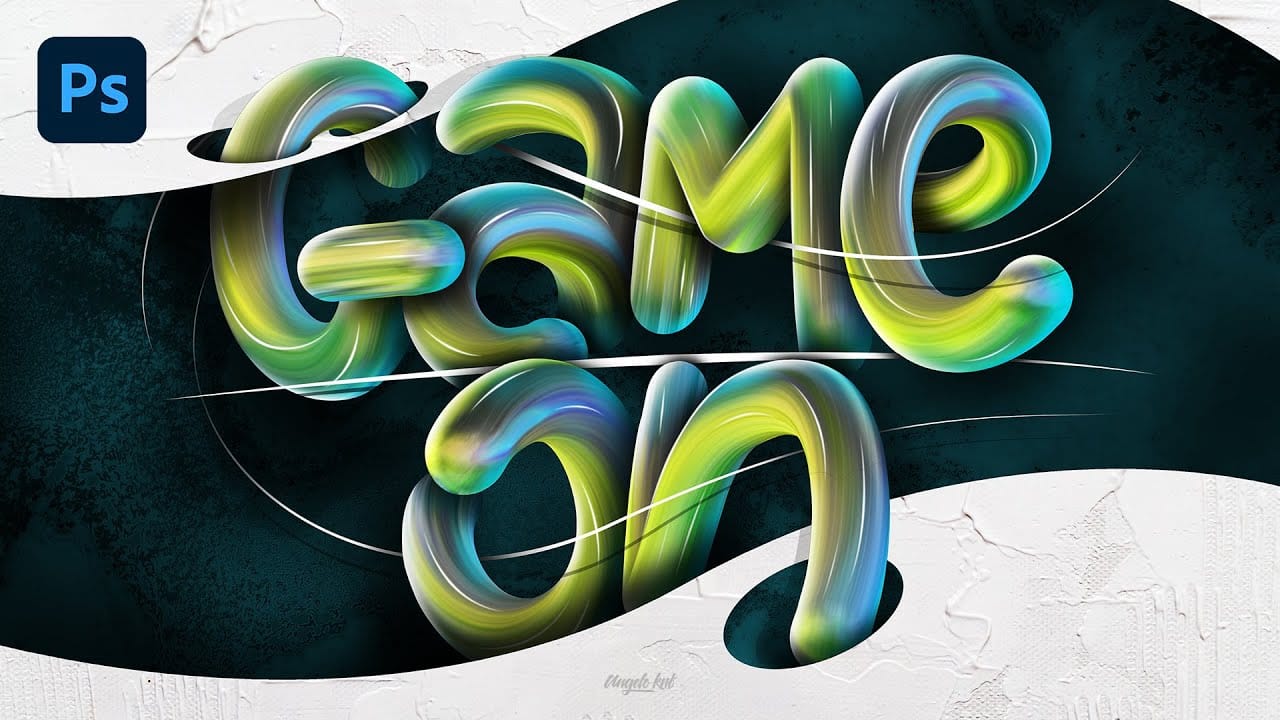
Transform ordinary text into dynamic 3D visuals using Photoshop's 3D workspace. This tutorial will guide you through creating stunning typographic effects, adding captivating depth and realism to your designs.

You'll learn to build foundational 3D shapes and refine them with Photoshop's compositing tools, combining 3D extrusion precision with artistic freedom for polished, professional results.

Watch the Full Video Tutorial

Video by Texturelabs. Any links or downloads mentioned by the creator are available only on YouTube

Integrating Photoshop's 3D and Compositing Workflows

Photoshop's 3D workspace, though often overlooked, can transform 2D text into extruded 3D forms. While not a dedicated 3D rendering program like Cinema 4D or Blender, it offers accessible tools for impactful 3D typography.

Its strength lies in combining initial 3D extrusion with Photoshop's traditional compositing tools. This hybrid approach, using layers, masks, and adjustments, allows for precise control over textures, lighting, and effects, ensuring the final image aligns with your creative vision.

  • Utilizing Photoshop's 3D workspace for text extrusion.
  • The hybrid workflow that combines 3D and traditional compositing.
  • Adjusting material properties like metallic and roughness for surface quality.
  • Applying Image-Based Lighting (IBL) for natural illumination and reflections.
  • Generating matte layers to create precise masks for targeted adjustments.

Useful Tips for Crafting 3D Text Effects

  • Prepare your text layers: Use live type or shape layers for optimal scaling and detail preservation when converting to 3D. Converting type to a shape layer allows for precise stroke control.
  • Combine 3D objects efficiently: After extruding individual text elements, use the Merge 3D Layers command to place them into a single 3D environment, simplifying scene management.
  • Customize materials and lighting: Adjust properties like base color, metallic, and roughness on individual materials. Experiment with Image-Based Lighting (IBL) for natural reflections and an infinite light source for directional shadows.
  • Save camera views: Utilize the Save View option in the camera settings to quickly return to preferred angles after navigating the 3D space, preventing accidental changes.
  • Generate mattes for compositing: Before rasterizing your final render, create a separate render with flat black and white materials to generate precise masks. These mattes allow for targeted adjustments using levels or hue/saturation layers.

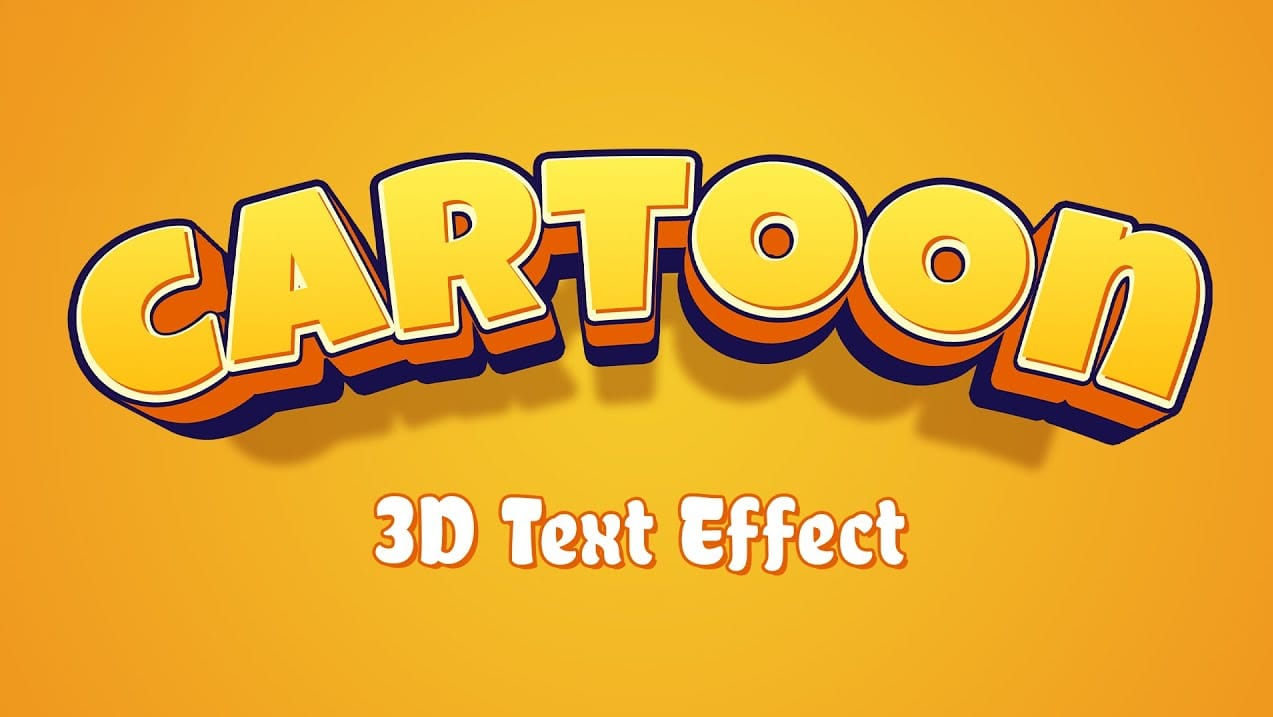
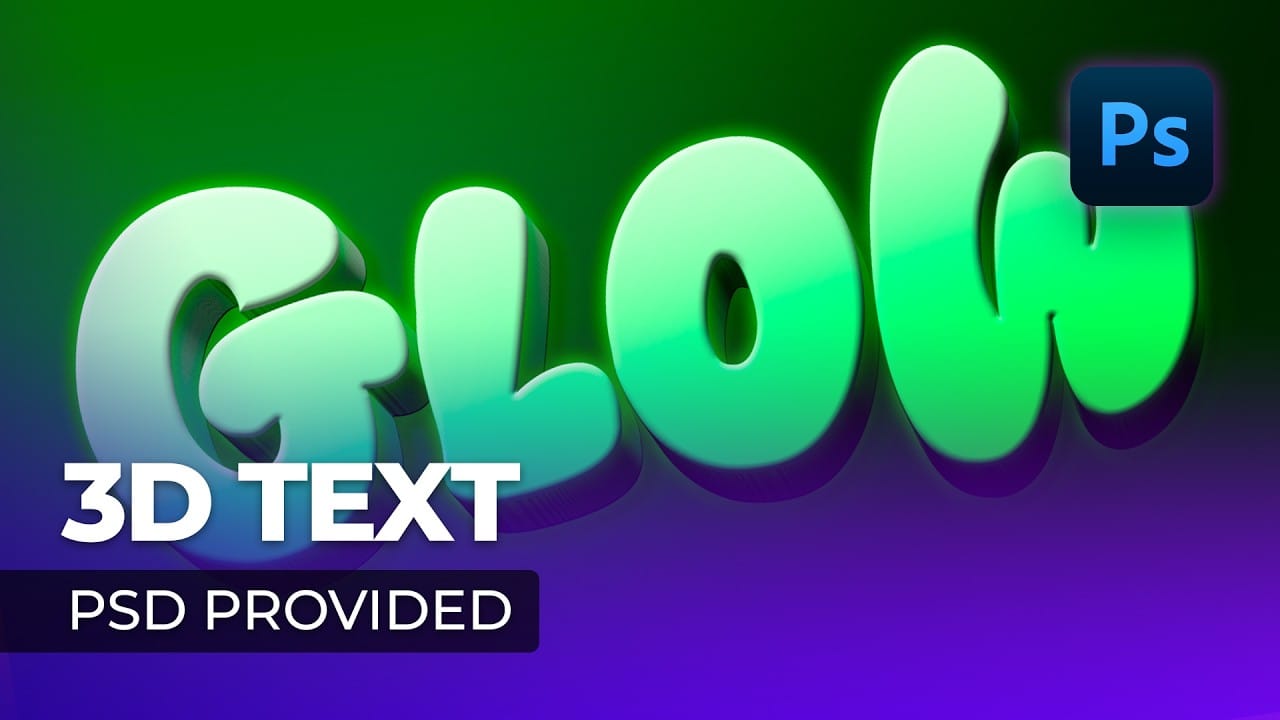
More Tutorials about 3D Text Effects

Explore additional resources to further enhance your skills in creating captivating 3D text.

Colorful Painted 3D Text Effect Tutorial in Photoshop
In this tutorial by Angelo Konofaos, you'll explore how to create a 3D-style text effect in Photoshop, alongside techniques like adding shadows, highlights, shines, and colors. Utilizing a variety of Photoshop tools such as the Mixer Brush, Pen Tool, clipping masks, and adjustment layers, the tutorial demonstrates the process of refining text to achieve a polished and dimensional look. For optimal results, Konofaos recommends using a pen tablet like the Wacom Intuos to enhance precision and fl
Cartoon 3D Text Effect in Photoshop
In this tutorial from PhoTuts, you'll discover how to create a colorful and playful cartoon-style 3D text effect in Photoshop, using basic techniques. The tutorial not only guides you through the steps to design vibrant and fun text that stands out, but also includes the font used in the tutorial available for download. This ensures you can easily follow along and replicate the dynamic, eye-catching effects, making it ideal for injecting a sense of whimsy and creativity into your designs. Wat
Creating a 3D Glowing Text Effect in Photoshop
Adding depth and luminosity to text can transform a simple design into something visually striking. The combination of 3D extrusion and glow effects creates text that appears to leap off the page, making it perfect for logos, headers, and eye-catching graphics. This tutorial demonstrates how to build a complete 3D text effect with glowing elements using Smart Objects and layer effects. The technique covers everything from creating dimensional text to applying multiple glow layers for enhanced v
Colorful Glossy and Shiny 3D Text Effect in Photoshop
In this Envato Tuts+ tutorial, Monikazza Grubena demonstrates how to create a glossy text effect in Photoshop using the layer style panel. The tutorial is straightforward and efficient, ideal for both beginners and experienced users. Monikazza explains the process clearly, making it easy to follow along and replicate the effect on your own projects. The tutorial also highlights the value of Envato Elements, which offers a wide range of professional shiny and glossy text effects, along with othe

Get tutorials & freebies delivered to you.

Subscribe to the Photoshop Roadmap newsletter, a weekly roundup of new tutorials, insights and quality downloads, trusted by 6500+ readers.

You might also like

Complete Photoshop Editing Workflow: 5 Steps from Raw to Polished

Photoshop offers endless possibilities for photo enhancement, but many photographers never move beyond basic adjustments because the software feels overwhelming. This comprehensive workflow breaks down photo editing into five manageable stages that work consistently across different photography styles. The systematic approach covers everything from initial raw processing to advanced lighting...

Photoshop Workspace Basics: Navigation, Zooming, and Essential Interface Elements

Photoshop's interface can feel overwhelming when you first open the program. Dozens of panels, tools, and menus compete for attention, making simple tasks feel complicated. This tutorial breaks down the essential workspace elements and teaches fundamental navigation skills that form the foundation of efficient Photoshop work. Watch the...

How to Restore Old Damaged Photos Using Nano Banana in Photoshop

Old family photos with scratches, tears, and missing sections can seem beyond repair. Google's Nano Banana AI model, now integrated into Photoshop, makes full restoration possible in minutes rather than hours. This powerful tool excels at maintaining facial characteristics while automatically filling in damaged areas and adding realistic...

How to Get Higher Quality Results from Photoshop's Generative Fill Tool

Photoshop's Generative Fill creates impressive AI extensions, but the results often look blurry and pixelated when viewed at full size. This quality limitation makes many AI-generated areas unusable for printing or large displays. This technique shows how to work around the 1024x1024 pixel quality limit to create much...

How to Use Photoshop's Liquify Tool for Non-Destructive Portrait Retouching

Clothing wrinkles, hair that lacks volume, and awkward fabric bunching can distract from an otherwise great portrait. Photoshop's Liquify tool offers a powerful solution for smoothing out these issues while preserving the natural look of your subject. This tutorial demonstrates how to use the Liquify tool non-destructively with...

You’ve successfully subscribed to Photoshop Roadmap
Welcome back! You’ve successfully signed in.
Great! You’ve successfully signed up.
Success! Your email is updated.
Your link has expired
Success! Check your email for magic link to sign-in.