Easily Enhance Your Photos With HDR Toning in Photoshop

Easily Enhance Your Photos With HDR Toning in Photoshop

HDR (High Dinamic Range) images are created using multiple photographs, each captured at a different exposure. It may happen you didn’t have the chance of shooting more than one image.. don’t worry, even if you haven’t got what’s needed to create a real HDR image, you can fake it.

In this tutorial I’ll show you how to enhance your images faking an HDR effect using the new HDR Toning command in Photoshop CS5. We’ll apply this effect to different images so you can see how this would work with different type of landscape shots.
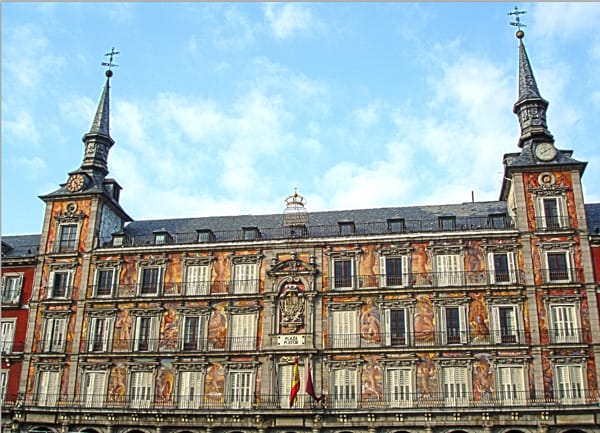
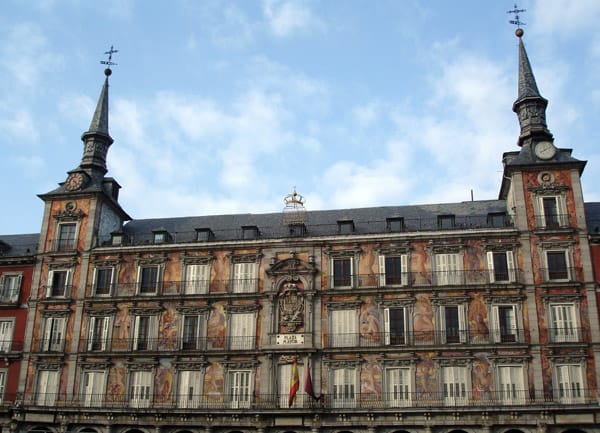
Download and open the first image from Stock.xchng (requires free subscription to download). The image is quite big, you may leave it that way or simply reduce the size to something more easy to handle.

Go to Image > Adjustments > HDR Toning.
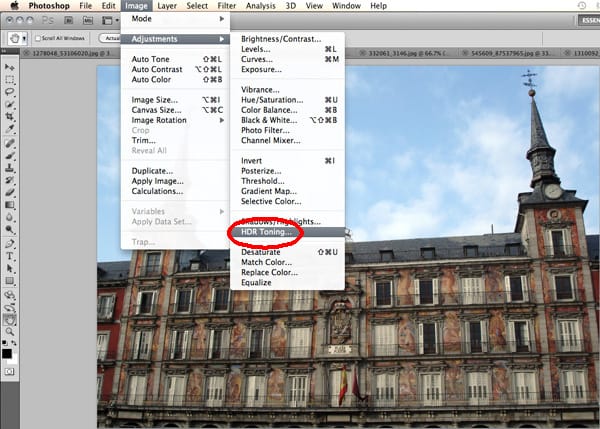
Start with a Default Preset and make sure Method is set to Local Adaptation.
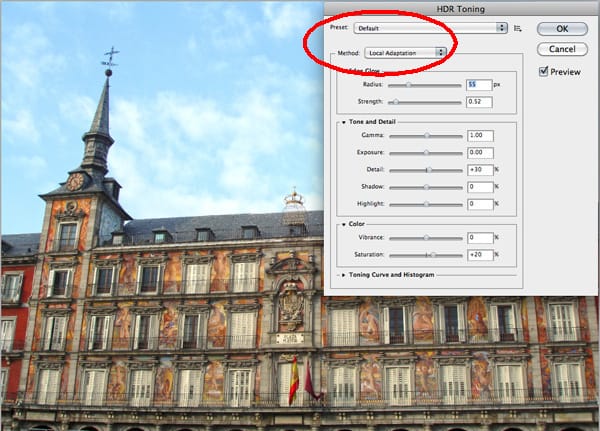
On the HDR Toning window enter the following values:

Edge Glow: set Radius to 12 px and Strength to 1.40

Tone and Detail: set Gamma to 1.10 and Detail to +97%

Color: set Vibrance to +30% and Saturation to +20%

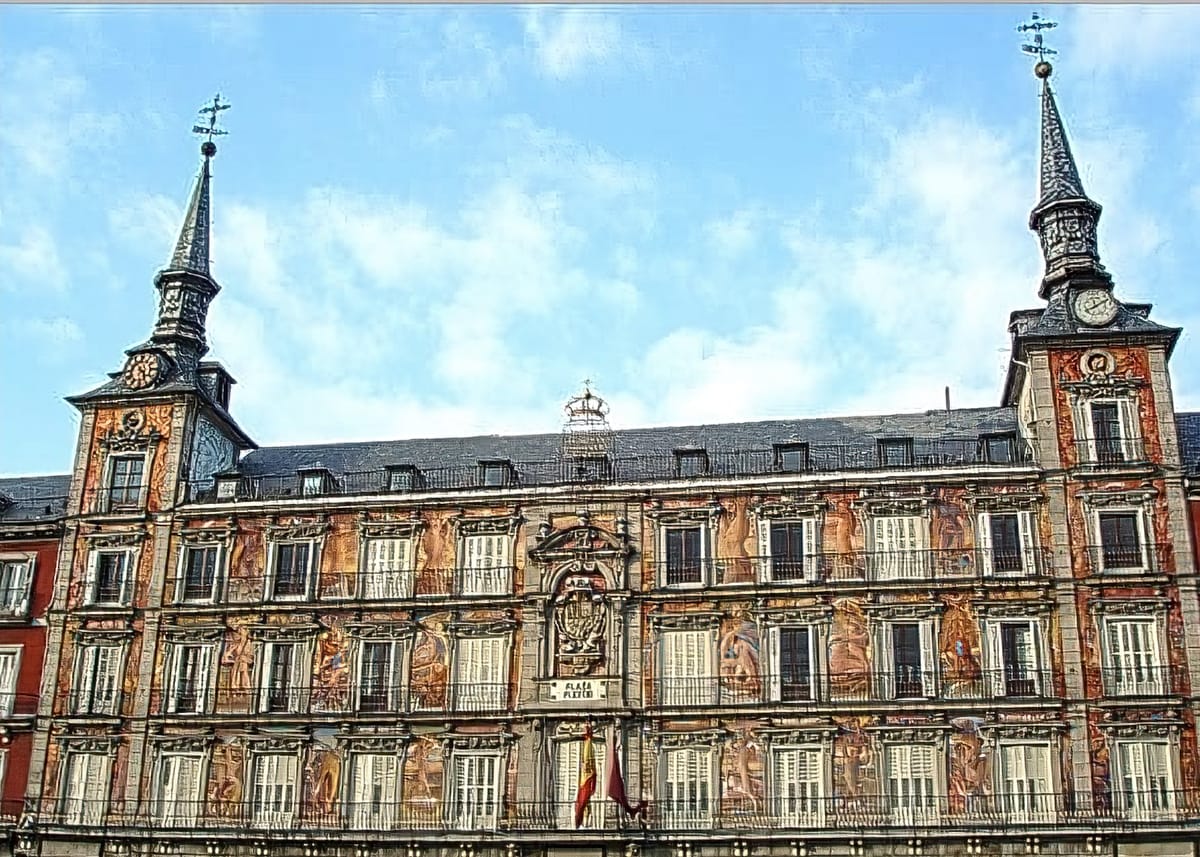
Click OK and that’s it. An extremely fast and easy way to enhance your images with a subtle HDR look.

Click on the image below to view it at full size.

Two More Examples

Open the second image and go to Image > Adjustments > HDR Toning
Start with a Default Preset and make sure Method is set to Local Adaptation.

On the HDR Toning window enter the following values:

Edge Glow: set Radius to 17 px and Strenghth to 0.51

Tone and Detail: set Gamma to 1.60, Exposure to -1.00, Detail to +175%, Shadow to +27% and Highlights to +23%

Color: set Vibrance to +70% and Saturation to +20%

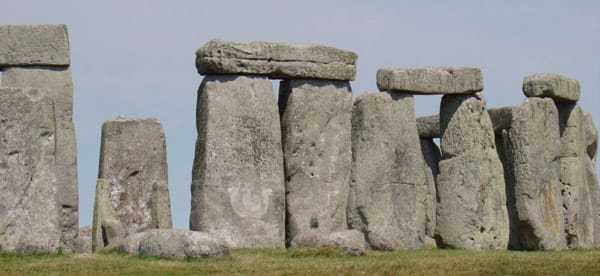
Click OK. Your image should look like the one below.

Click on the image below to view it at full size.
Open the third image and go to Image > Adjustments > HDR Toning

Start with a Default Preset and make sure Method is set to Local Adaptation.

On the HDR Toning window enter the following values:

Edge Glow: set Radius to 40 px and Strength to 1.00

Tone and Detail: set Gamma to 1.10, Detail to +175%, Shadow to +30% and Highlights to -5%

Color: set Vibrance to +50% and Saturation to +20%

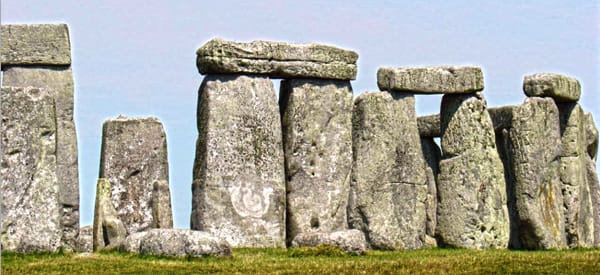
Click OK. Your image should look like this:

Click on the image below to view it at full size.

Get tutorials & freebies delivered to you.

Subscribe to the Photoshop Roadmap newsletter, a weekly roundup of new tutorials, insights and quality downloads, trusted by 6500+ readers.

You might also like

Colorful Christmas Text Effects Photoshop Tutorials

This collection of colorful Christmas text effects tutorials in Photoshop offers a fun way to spread holiday cheer. You can create eye-catching designs that convey your affection for family and friends with just a few simple steps. Each tutorial is laid out in a clear, step-by-step format, making it accessible...

How to Use Photoshop's Match Color Tool for Consistent Image Tones

Color consistency between images can make or break a professional composition. When combining photos from different sources, lighting conditions and camera settings create jarring color mismatches that immediately reveal the edit. Photoshop's Match Color tool provides a direct solution, automatically analyzing and transferring the color characteristics from one...

How to Build an Element Library for Faster Photoshop Composites

Creating Photoshop composites becomes much smoother when you have pre-cut elements ready to use. Building a collection of inspiring images and cutting them out ahead of time eliminates the tedious prep work. This approach lets you jump straight into the creative process when inspiration strikes, rather than stopping to hunt...

How to Replace Any Sky in Photoshop Using Selection Tools and Color Adjustments

A dull, overexposed sky can drain the life from an otherwise compelling photograph. Sky replacement transforms flat images into dramatic scenes that capture attention and convey mood. This tutorial demonstrates the complete process of replacing skies in Photoshop using built-in selection tools, smart objects, and color matching techniques for natural-looking...

How to Use Gemini 3 Nano Banana Pro in Photoshop for Advanced AI Editing

Google's Gemini 3 Nano Banana Pro brings powerful AI capabilities to Photoshop with features like focus shifting, text recognition, and 4K resolution support. Adobe integrated this advanced model immediately upon release. The tool excels at maintaining context while transforming images, creating storyboards, and generating realistic text replacements with...

How to Create Custom Moon Brushes in Photoshop

Custom brushes unlock creative possibilities that standard Photoshop tools can't match. Moon brushes add dramatic celestial elements to composite images and fantasy scenes. This technique transforms moon photographs into reusable brush presets through proper selection, masking, and sizing adjustments. Watch the Tutorial Essential Tips for Creating Moon Brushes...

You’ve successfully subscribed to Photoshop Roadmap
Welcome back! You’ve successfully signed in.
Great! You’ve successfully signed up.
Success! Your email is updated.
Your link has expired
Success! Check your email for magic link to sign-in.