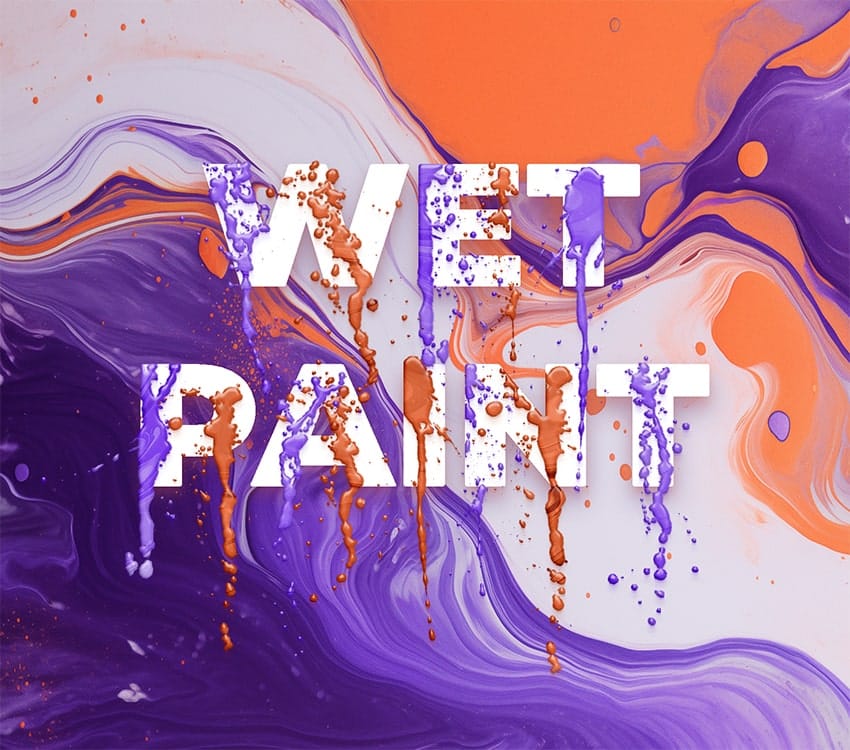
Unleash a captivating visual aesthetic by learning how to create a dynamic dripping paint effect in Photoshop. This technique transforms ordinary text and logos into artistic, fluid designs that command attention. Discover a unique method that relies on Photoshop's powerful filters, rather than traditional hand-painting.
This tutorial provides a step-by-step guide to achieve this stunning effect, enabling you to apply it to various design projects. Elevate your creative work with a professional touch that looks intricate but is surprisingly easy to master.
Watch the Video
Understanding the Displace Filter for Creative Effects
The foundation of this unique dripping paint effect lies in the intelligent application of Photoshop's Displace filter. This powerful tool uses a separate image, known as a displacement map, to distort the main artwork. By carefully crafting this map, designers can achieve highly specific and controlled distortions, creating the illusion of fluidity and movement. The key is to understand how grayscale values in the map influence the direction and intensity of the displacement.
This method allows for a procedural approach to design, where effects are generated through a series of filter applications rather than manual drawing. It opens up possibilities for creating complex visual textures and transformations that are easily repeatable and adjustable. The technique emphasizes a systematic workflow, ensuring consistent and professional results across different projects.
- Displace Filter: Core engine for image distortion.
- Displacement Map: A separate image dictating distortion.
- Grayscale Values: Determine distortion direction and intensity.
- Procedural Design: Filter-based creation for complex effects.
- Repeatable Results: Achieve consistent output with systematic steps.
Practical Tips for Dripping Paint Effects
- Set default colors before applying the Fibers filter by pressing
D, as the filter generates its look based on current foreground and background colors. - Convert the displacement map background to a Smart Object to keep filters live, allowing for non-destructive adjustments later.
- Use 50% gray values in your displacement map to ensure no distortion, as only darker values push the image in one direction (downward for drips).
- Reapply the
Displacefilter multiple times usingCommand/Control + Fto build up the dripping effect and create intricate details. - Invert the selection of the original text layer (
Command/Control + Shift + I) to apply filters like Wave only to the drips, preserving the main text.
Related Articles and Tutorials about Dripping Paint Effects
Explore additional resources to further enhance your skills in creating dynamic and artistic paint-related effects in Photoshop.
