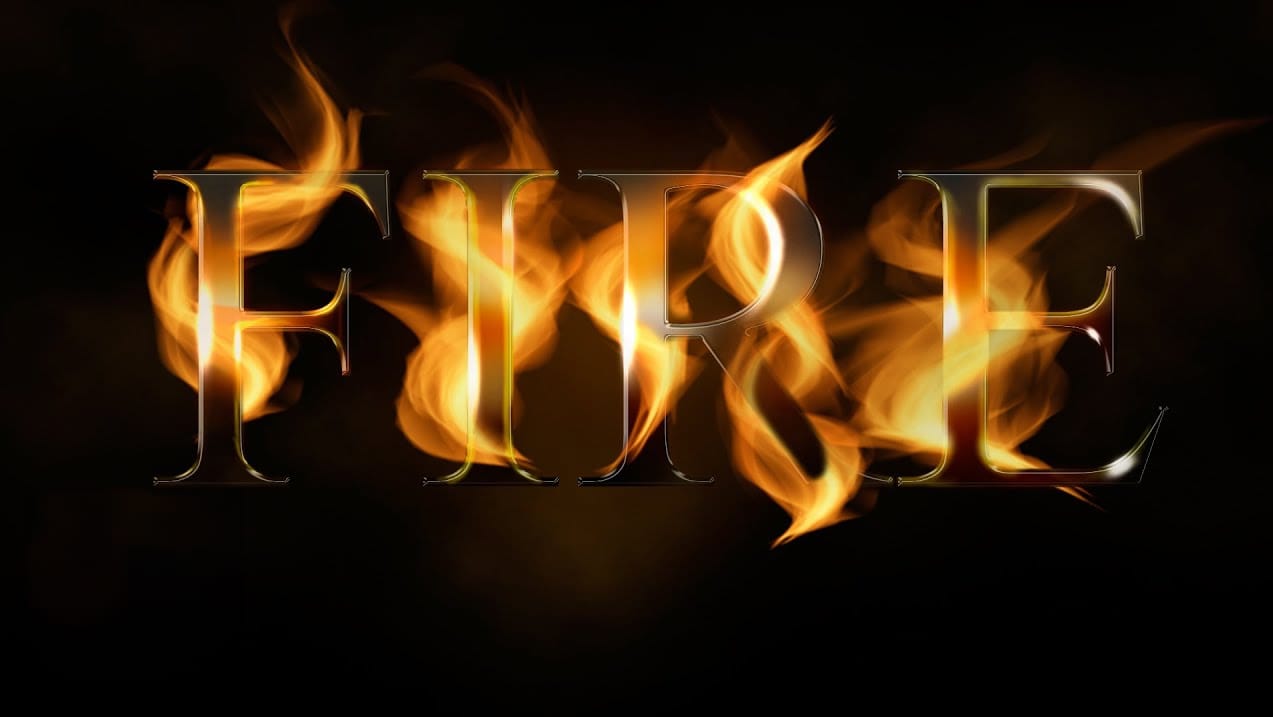
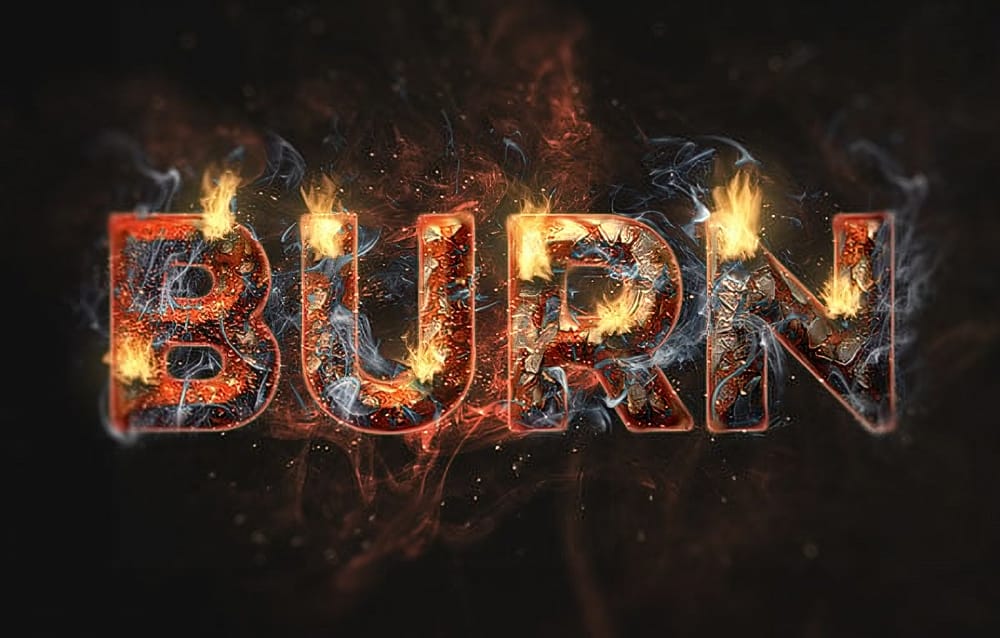
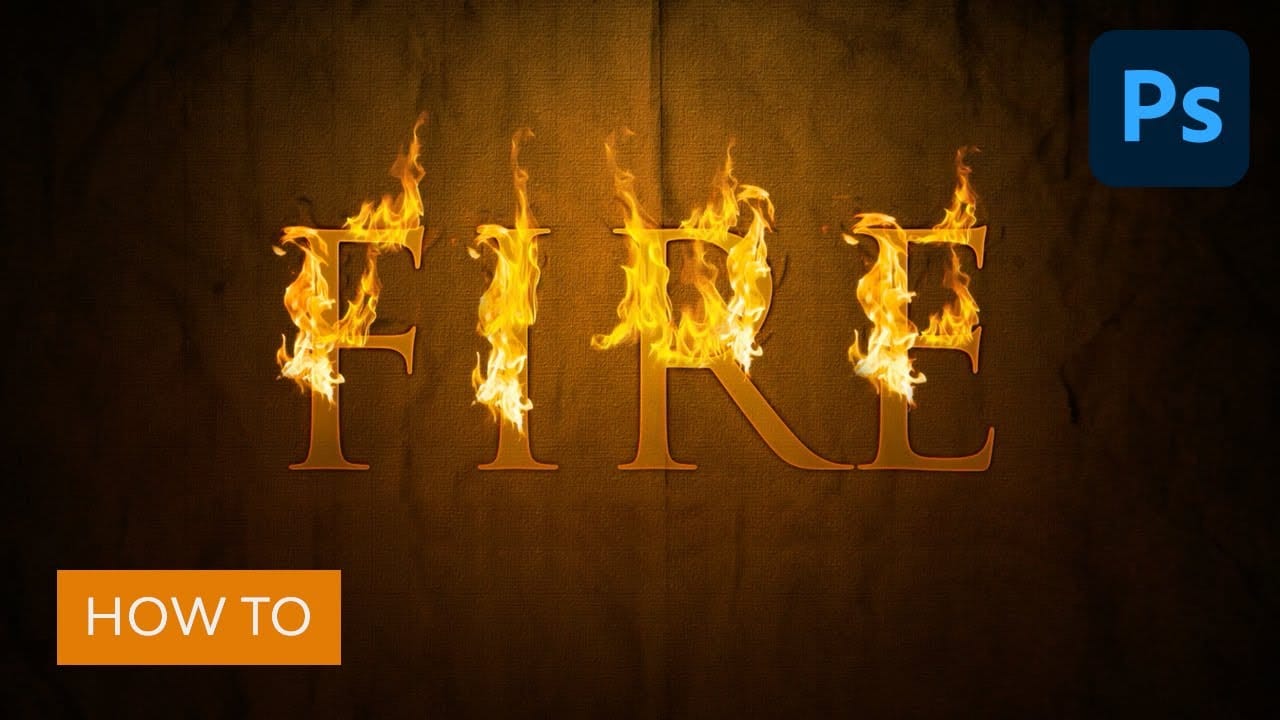
A text on fire effect offers a visually striking way to elevate your graphic design projects, adding an element of intense drama and powerful energy. This technique can transform ordinary text into a captivating visual statement, making your designs truly memorable.
This tutorial provides a comprehensive guide to crafting a realistic fire text effect in Photoshop. You will learn to manipulate layers, apply specialized filters, and blend elements seamlessly, all to achieve an authentic fiery appearance that stands out.
Watch the Full Tutorial
Video by Envato Tuts+. Any links or downloads mentioned by the creator are available only on YouTube
Mastering Layer Blending and Fire Effects
Crafting a convincing fire text effect in Photoshop relies heavily on the strategic use of layer blending modes and precise filter applications. Building depth and realism involves starting with foundational elements like background textures and then progressively adding complexity with various overlays and shadows.
The interaction between different layers, combined with careful opacity adjustments, is crucial for simulating the glow and intensity of flames. Understanding how to integrate these elements ensures the text not only appears ablaze but also seamlessly blends into its environment, creating a cohesive and striking visual impact.
- Applying grunge textures for background depth
- Utilizing layer blending modes for luminosity and overlay effects
- Creating dynamic gradient overlays for color transitions
- Employing channel manipulation to extract flame details
- Integrating Gaussian Blur and other filters for realistic flame rendering
Practical Tips for Creating Fire Text
- Begin with a textured background and add a grunge texture to establish immediate depth.
- Use
overlayandsoftlightblending modes to integrate textures and gradients subtly into your composition. - Manipulate individual color channels to isolate and refine specific elements like flames for cleaner integration.
- Employ
Gaussian Blurwith varying pixel radii to soften shadows and create a realistic glow around the text and flames. - Experiment with
opacityandcoloradjustments on multiple layers to build the intense, vibrant look of real fire.
More Tutorials about Fire Effects in Photoshop
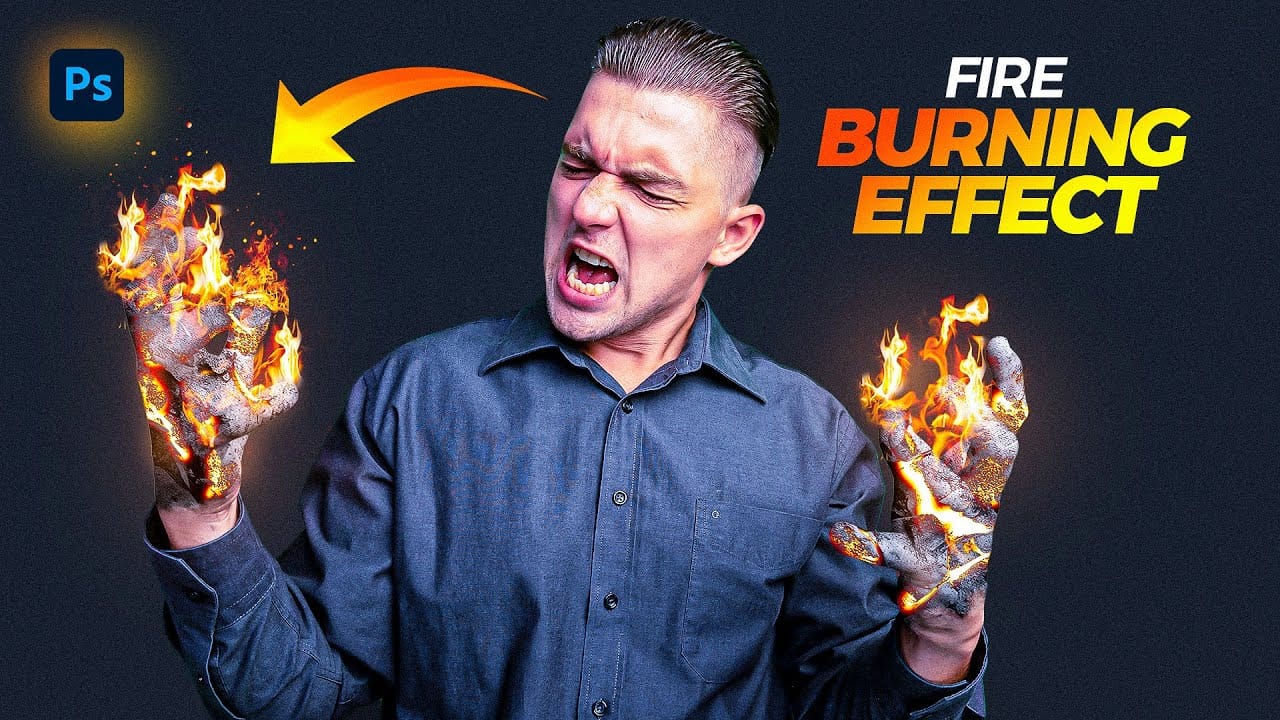
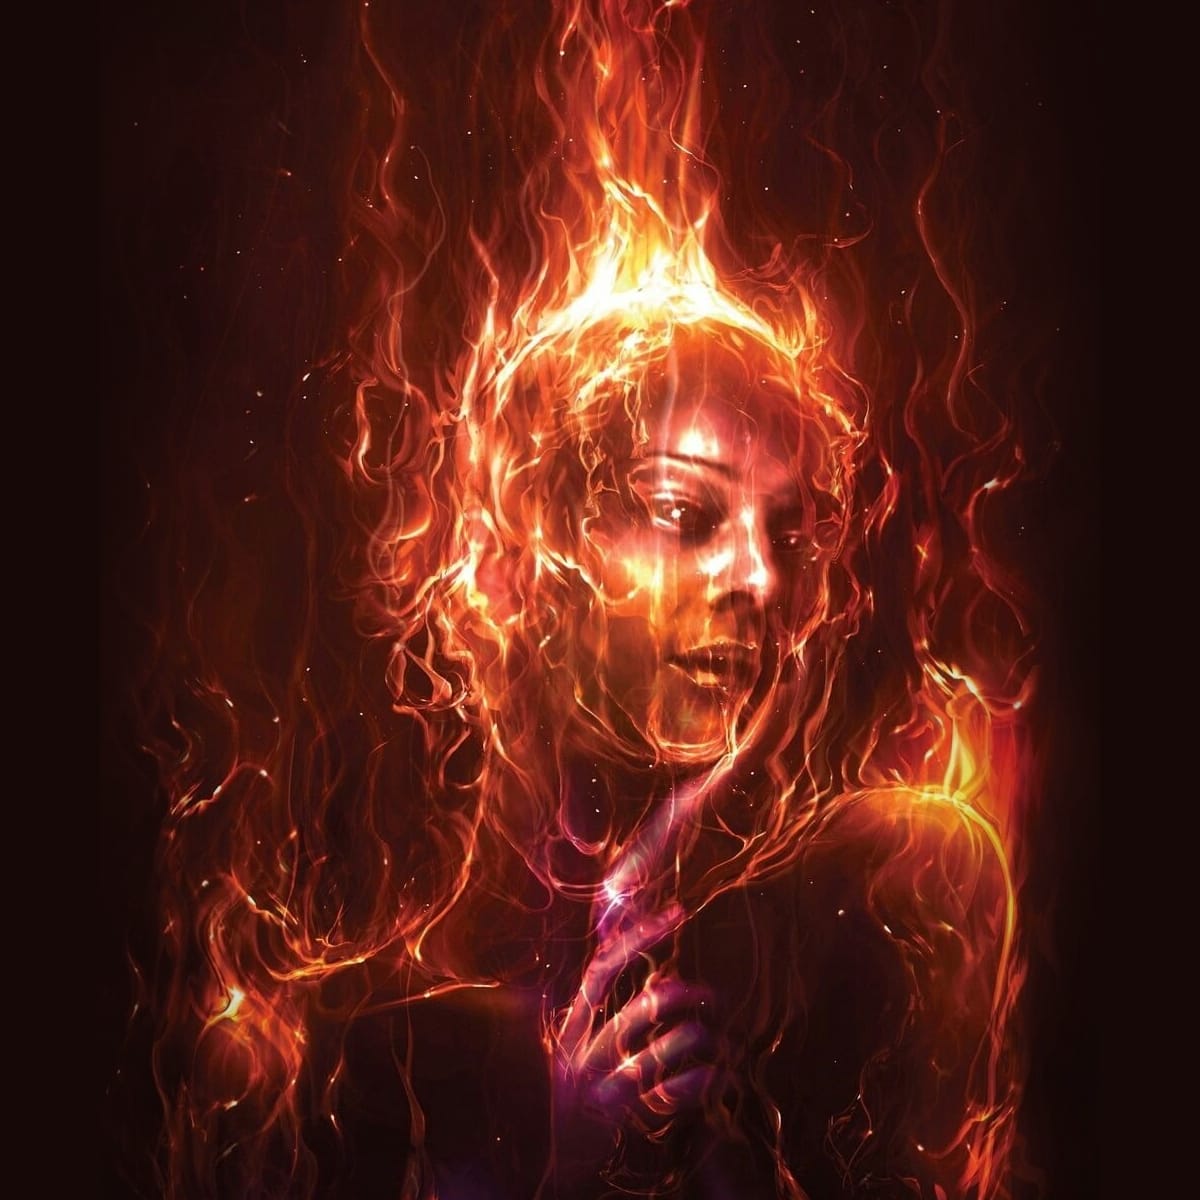
Discover additional techniques to create stunning fire effects and apply burning elements to your designs.
