Cut Out Glass in Photoshop with Blending Modes

Cut Out Glass in Photoshop with Blending Modes

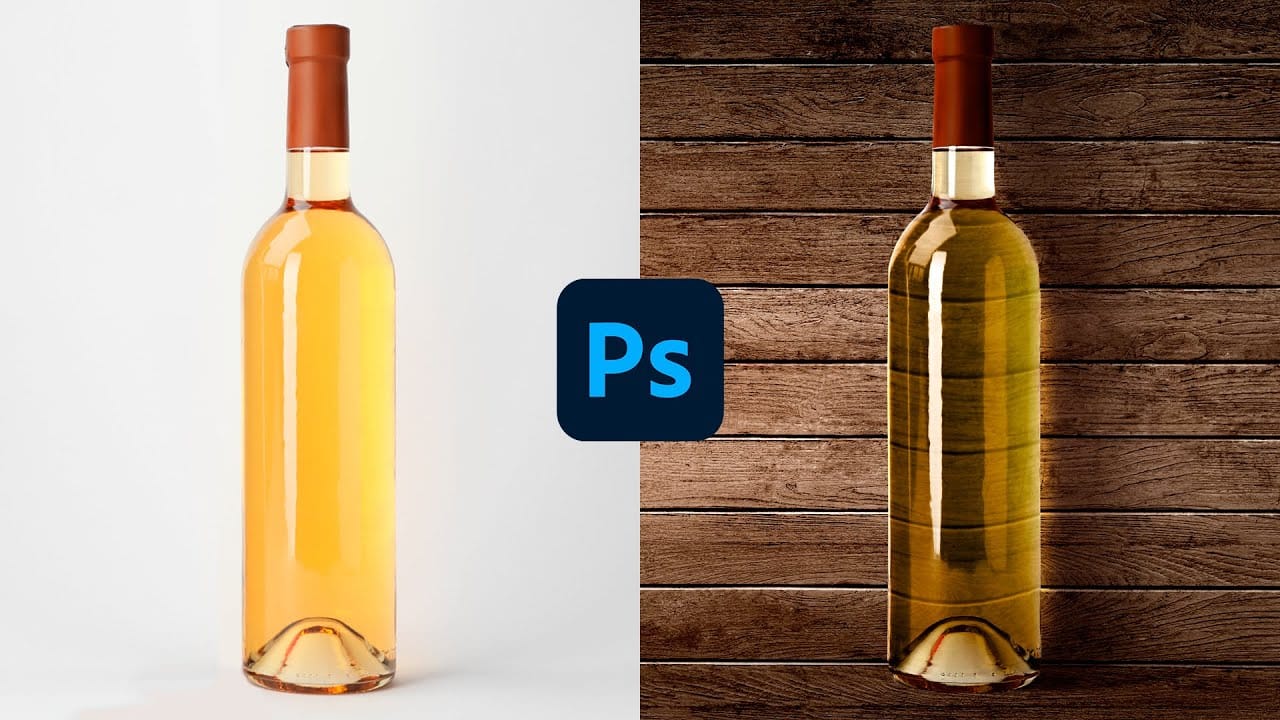
Achieving a realistic cut-out of transparent objects, like glass bottles, can be a significant challenge in Photoshop. Traditional masking often struggles to maintain the natural light, shadow, and reflective qualities inherent in such items, leading to flat or artificial results.

This video tutorial offers an advanced technique to meticulously mask transparent objects into new backgrounds. It leverages the power of blending modes and strategic layer organization to perfectly integrate the object, ensuring the final composite looks authentic and visually compelling.

Learn How to Mask Glass and Transparent Objects

Video by Photoshop Training Channel. Any links or downloads mentioned by the creator are available only on YouTube

The Art of Transparency: Blending Modes for Realistic Glass Effects

Masking transparent objects in Photoshop often presents a unique challenge, as the goal extends beyond merely isolating the object from its background. True realism requires preserving how light interacts with the transparent surface, including subtle reflections, refractions, and the way background elements appear distorted through the glass. Standard masking techniques, while effective for opaque objects, frequently fall short in capturing these intricate details, often resulting in a rigid or unnatural appearance when placed into a new scene.

This advanced method addresses these complexities by deconstructing the transparent object into its fundamental visual components: shadows, highlights, and color. By isolating these elements into separate layers and applying specific blending modes, artists gain precise control over each aspect of the transparency. For instance, `Multiply` blending mode effectively isolates shadows, while `Screen` emphasizes highlights, allowing the underlying background to show through naturally.

Separating these components enables fine-tuned adjustments and a more dynamic interaction with the new environment. It also facilitates adding realistic elements such as surface highlights and shadows that convincingly anchor the object to its new setting, creating an illusion of depth and physical presence that is crucial for believable composites.

Practical Tips for Masking Transparent Objects

  • Utilize a group layer mask to control all internal layers with a single mask, ensuring consistent boundaries and an efficient workflow.
  • Duplicate the object layer three times and rename them for clarity: Shadows, Highlights, and Color.
  • Desaturate the Shadows layer and apply the `Multiply` blending mode to reveal only the dark areas.
  • Desaturate the Highlights layer and set its blending mode to `Screen` to bring out the bright, reflective parts.
  • Keep the Color layer unsaturated and use the `Color` blending mode to maintain original hues without luminosity interference.
  • Integrate solid parts of the object (e.g., bottle top) by painting white on a new layer positioned beneath the shadows layer, within the group.

More Tutorials about Masking and Blending in Photoshop

Explore additional techniques and creative approaches to mastering complex selections and seamless layer integration.

The Science of All 27 Blend Modes in Photoshop
Explore the comprehensive world of Photoshop's blend modes with Piximperfect's detailed tutorial. This guide provides an in-depth look at all 27 blend modes, breaking down the science and mathematical principles behind each one. You'll start by understanding the basic concept of blend mode groups and their shared properties, before diving into the specifics of individual modes. The tutorial offers clear explanations and practical examples to demonstrate how each blend mode interacts with layers
Create Realistic Wet Glass Effect in Photoshop
Create the Most Realistic Wet Glass or Window Effect with Natural Reflections & Textures in Photoshop! In this comprehensive tutorial, we will explore the art of blending three distinct textures to construct a captivating water droplet effect, authentic condensation, and the weathered appearance of glass, all culminating in a truly immersive visual experience. Through the mastery of advanced blending modes, strategic masking techniques, and the deft application of specialized brushes, we will b
Realistic Blend Effect in Photoshop
In this advanced Photoshop tutorial, WebFlippy guides you through creating a realistic blend effect for text, graphics, or logos on any surface. This tutorial is designed to help you seamlessly integrate elements into various backgrounds, making them look like a natural part of the scene. WebFlippy starts by demonstrating how to properly blend text or logos using Photoshop's powerful tools and techniques. You'll learn how to adjust and match the texture, lighting, and perspective of your surfac
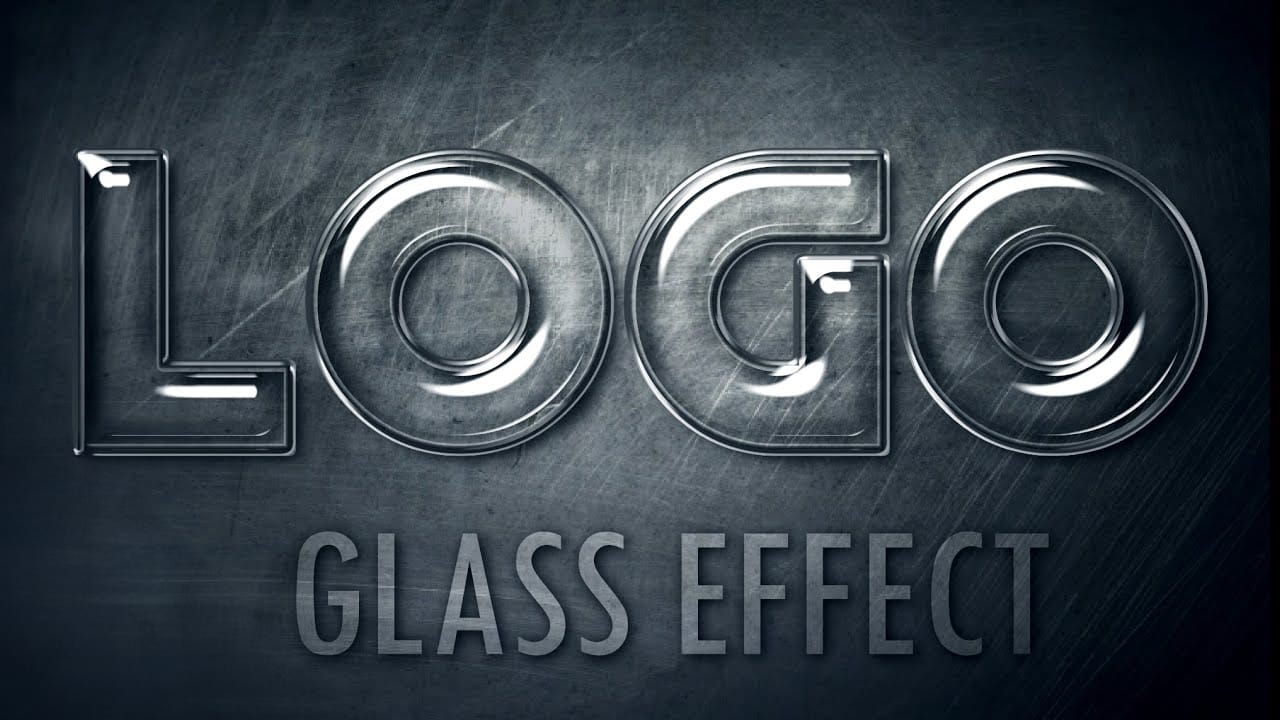
Shiny Glass Text Effect in Photoshop
In this tutorial by Learning Screen, you'll learn how to create a shiny glass text effect using the Layer Styles option in Photoshop. The step-by-step guide will show you how to apply this glass effect to any layer or text object, enhancing its appearance with a sleek, transparent look. You'll also learn how to save the effect as a layer style preset, allowing you to quickly and easily apply the glass effect to other layers or text in your projects. This tutorial is perfect for adding a modern

Get tutorials & freebies delivered to you.

Subscribe to the Photoshop Roadmap newsletter, a weekly roundup of new tutorials, insights and quality downloads, trusted by 6500+ readers.

You might also like

Complete Photoshop Editing Workflow: 5 Steps from Raw to Polished

Photoshop offers endless possibilities for photo enhancement, but many photographers never move beyond basic adjustments because the software feels overwhelming. This comprehensive workflow breaks down photo editing into five manageable stages that work consistently across different photography styles. The systematic approach covers everything from initial raw processing to advanced lighting...

Photoshop Workspace Basics: Navigation, Zooming, and Essential Interface Elements

Photoshop's interface can feel overwhelming when you first open the program. Dozens of panels, tools, and menus compete for attention, making simple tasks feel complicated. This tutorial breaks down the essential workspace elements and teaches fundamental navigation skills that form the foundation of efficient Photoshop work. Watch the...

How to Restore Old Damaged Photos Using Nano Banana in Photoshop

Old family photos with scratches, tears, and missing sections can seem beyond repair. Google's Nano Banana AI model, now integrated into Photoshop, makes full restoration possible in minutes rather than hours. This powerful tool excels at maintaining facial characteristics while automatically filling in damaged areas and adding realistic...

How to Get Higher Quality Results from Photoshop's Generative Fill Tool

Photoshop's Generative Fill creates impressive AI extensions, but the results often look blurry and pixelated when viewed at full size. This quality limitation makes many AI-generated areas unusable for printing or large displays. This technique shows how to work around the 1024x1024 pixel quality limit to create much...

How to Use Photoshop's Liquify Tool for Non-Destructive Portrait Retouching

Clothing wrinkles, hair that lacks volume, and awkward fabric bunching can distract from an otherwise great portrait. Photoshop's Liquify tool offers a powerful solution for smoothing out these issues while preserving the natural look of your subject. This tutorial demonstrates how to use the Liquify tool non-destructively with...

You’ve successfully subscribed to Photoshop Roadmap
Welcome back! You’ve successfully signed in.
Great! You’ve successfully signed up.
Success! Your email is updated.
Your link has expired
Success! Check your email for magic link to sign-in.