Creating a Grunge Text Effect in Photoshop Using Displacement Maps

Creating a Grunge Text Effect in Photoshop Using Displacement Maps

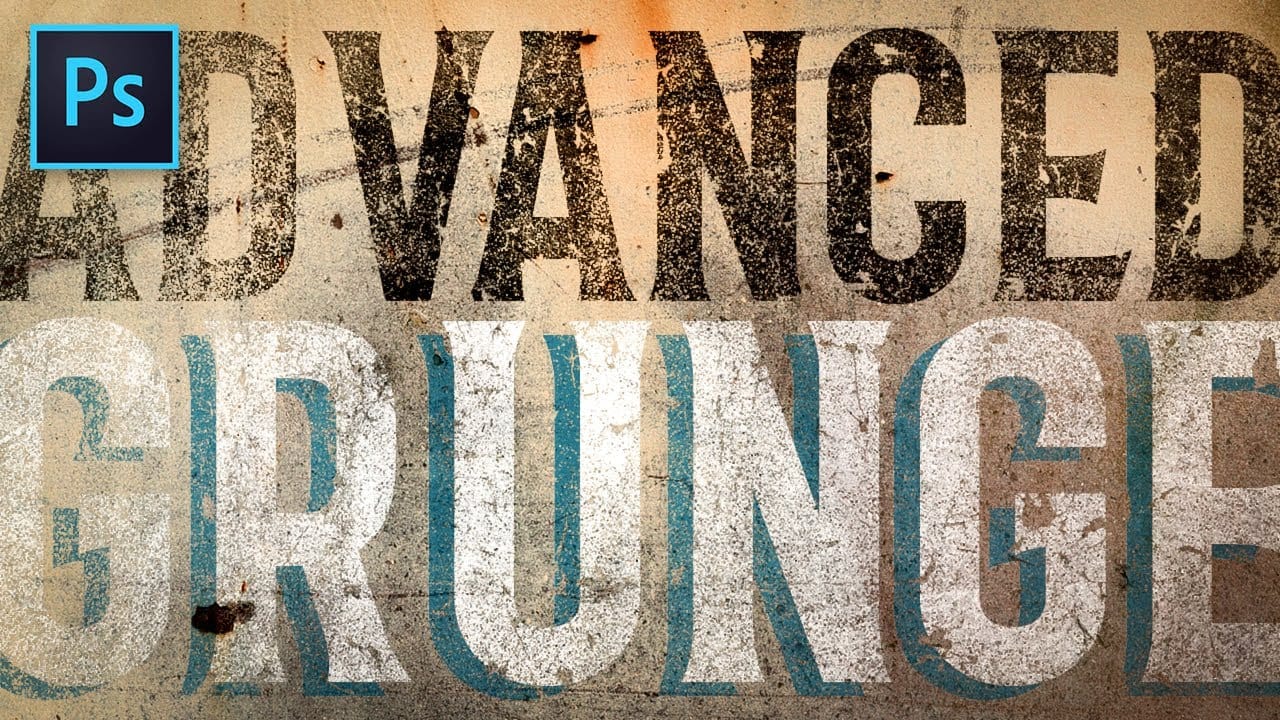
Grunge typography transforms clean, modern fonts into weathered, distressed masterpieces that feel authentic and rebellious. This aesthetic captures the raw energy of underground culture, where imperfection becomes a powerful design statement.

This video tutorial demonstrates how to create convincing grunge text effects using Photoshop's displacement mapping technique. You'll learn to blend typography seamlessly with textured backgrounds for professional-quality results.

Watch the Video Tutorial

Video by P A N T E R. Any links or downloads mentioned by the creator are available only on YouTube

Understanding Displacement Mapping for Typography

Displacement mapping creates realistic text distortion by using grayscale information from texture images to shift pixels. This technique produces natural-looking wear patterns that simple layer masks cannot achieve.

The process involves creating a displacement map from your background texture, then applying it to duplicate text layers with varying intensities. Different color channels provide unique distortion characteristics for layered effects.

  • Blue channels typically create subtle, fine distortions
  • Green channels produce more pronounced texture variations
  • Smart objects preserve editability throughout the process
  • Gaussian blur softens displacement maps for smoother results
  • Channel selections create precise masking from texture contrast

Practical Tips for Grunge Text Effects

  • Convert text to smart objects before applying filters to maintain non-destructive editing capabilities
  • Use displacement values between 15-30 pixels for subtle texture integration without overwhelming the text
  • Apply different channel selections to multiple text copies for varied distortion levels
  • Blur displacement maps with 3-5 pixel Gaussian blur to prevent harsh, unrealistic distortions
  • Adjust underlying layer blending options to fine-tune how texture shows through the text

Explore more grunge design techniques and texture-based effects.

Grunge and Dirty Retro Photo Effect in Photoshop
In this tutorial we are going to learn how to give a grunge dirty retro photo effect to any image in a quick and easy way. For this matter we are going to use the awesome Perfect Effects Free Edition Photoshop plugin, which is, by the way, absolutely free. 👁️This is an older tutorial, and some external links or data sources mentioned may no longer be accessible. However, the content covers a unique topic and remains valuable despite any broken connections. We've kept the post intact for its ed
Advanced Grunge Text Effect in Photoshop
In this advanced tutorial from Texturelabs, you'll learn innovative grunge techniques for distressing text and logos in Photoshop. Going beyond traditional layer masks, this tutorial introduces a novel approach to incorporating grunge and texture elements seamlessly. Notably, the tutorial avoids using layer masks, offering a fresh perspective on achieving distressed effects. Texturelabs also provides downloadable grunge textures including Light distress, Heavy cracks, and Weathered painted met
Create a grunge textured triptych in Photoshop
In this tutorial, the author, Gavin Hoey, guides the reader through the process of creating a beautiful and grungy textured triptych on a grunge background. The triptych features autumn leaves, with the colors toned in shades of brown, red, and yellow. The tutorial covers the steps to achieve this effect in Photoshop. The author provides detailed instructions and techniques to help the reader replicate the desired look. By following the tutorial, the reader can learn how to create a visually st
Understanding Grunge Design: Typography, Textures, and Visual Style
Grunge design refuses to play by conventional rules. Born from underground zines and music culture in the late '80s, this aesthetic embraces chaos, imperfection, and raw authenticity over polished perfection. The style thrives on distressed typography, layered textures, and intentional disorder. As digital design becomes increasingly automated and clean, grunge offers a refreshing counterpoint that celebrates the handmade and imperfect. Watch the Video The Evolution of Grunge Aesthetics Gr

Get tutorials & freebies delivered to you.

Subscribe to the Photoshop Roadmap newsletter, a weekly roundup of new tutorials, insights and quality downloads, trusted by 6500+ readers.

You might also like

Complete Photoshop Editing Workflow: 5 Steps from Raw to Polished

Photoshop offers endless possibilities for photo enhancement, but many photographers never move beyond basic adjustments because the software feels overwhelming. This comprehensive workflow breaks down photo editing into five manageable stages that work consistently across different photography styles. The systematic approach covers everything from initial raw processing to advanced lighting...

Photoshop Workspace Basics: Navigation, Zooming, and Essential Interface Elements

Photoshop's interface can feel overwhelming when you first open the program. Dozens of panels, tools, and menus compete for attention, making simple tasks feel complicated. This tutorial breaks down the essential workspace elements and teaches fundamental navigation skills that form the foundation of efficient Photoshop work. Watch the...

How to Restore Old Damaged Photos Using Nano Banana in Photoshop

Old family photos with scratches, tears, and missing sections can seem beyond repair. Google's Nano Banana AI model, now integrated into Photoshop, makes full restoration possible in minutes rather than hours. This powerful tool excels at maintaining facial characteristics while automatically filling in damaged areas and adding realistic...

How to Get Higher Quality Results from Photoshop's Generative Fill Tool

Photoshop's Generative Fill creates impressive AI extensions, but the results often look blurry and pixelated when viewed at full size. This quality limitation makes many AI-generated areas unusable for printing or large displays. This technique shows how to work around the 1024x1024 pixel quality limit to create much...

How to Use Photoshop's Liquify Tool for Non-Destructive Portrait Retouching

Clothing wrinkles, hair that lacks volume, and awkward fabric bunching can distract from an otherwise great portrait. Photoshop's Liquify tool offers a powerful solution for smoothing out these issues while preserving the natural look of your subject. This tutorial demonstrates how to use the Liquify tool non-destructively with...

You’ve successfully subscribed to Photoshop Roadmap
Welcome back! You’ve successfully signed in.
Great! You’ve successfully signed up.
Success! Your email is updated.
Your link has expired
Success! Check your email for magic link to sign-in.