Creating a Blurry Heatmap Text Effect with Gradient Maps in Photoshop

Creating a Blurry Heatmap Text Effect with Gradient Maps in Photoshop

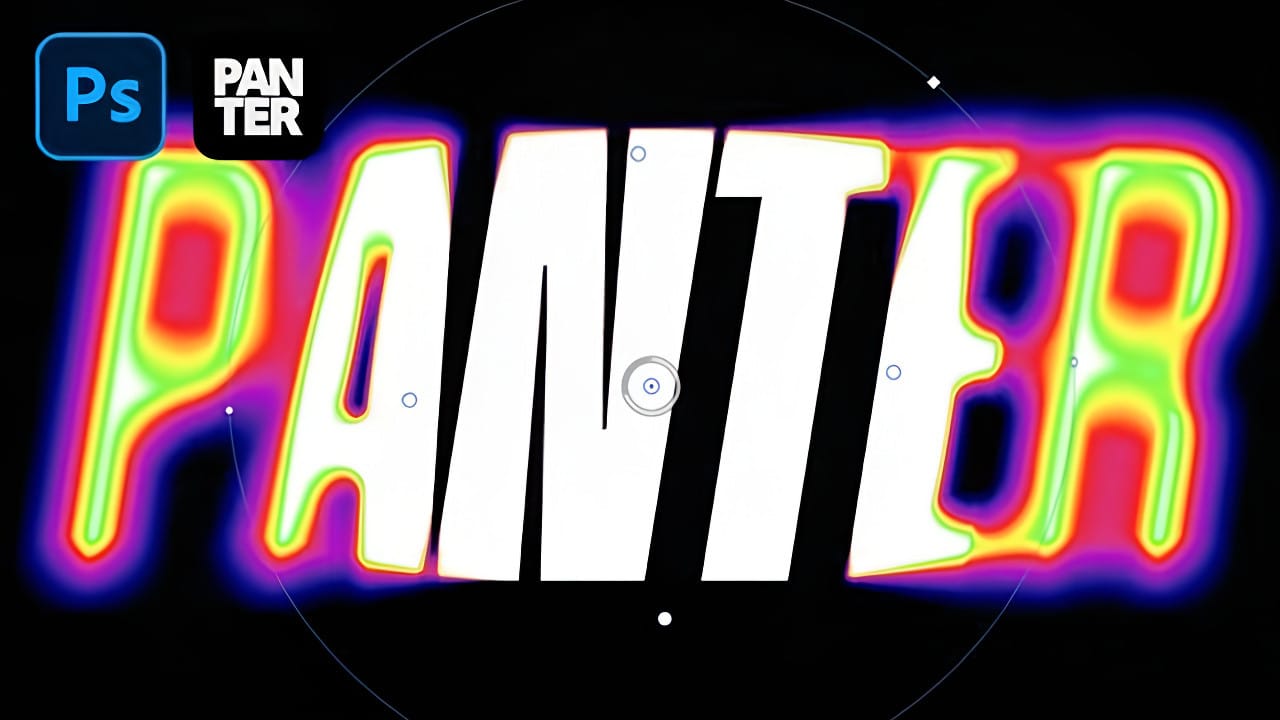
Heatmap effects transform ordinary text into dynamic, energy-filled visuals that pulse with color and movement. These vibrant gradients suggest thermal imaging or data visualization, making them perfect for tech presentations, gaming graphics, or modern branding projects.

This technique combines Photoshop's gradient mapping with strategic blur effects to create text that appears to radiate heat and intensity. The result captures attention while maintaining professional polish.

Watch the Tutorial

Video by P A N T E R. Any links or downloads mentioned by the creator are available only on YouTube

Understanding Gradient Maps and Heat Visualization

Gradient maps replace the luminosity values of an image with corresponding colors from a gradient. Dark areas receive colors from one end of the gradient, while bright areas get colors from the opposite end. This technique mimics how thermal imaging cameras display temperature variations.

The color sequence used in heatmap visualizations follows scientific conventions. Cool blues and purples represent lower temperatures, transitioning through reds and yellows to represent increasing heat. This familiar color language makes the effect instantly recognizable and emotionally impactful.

Iris blur adds the final touch by creating focal points and depth. The controlled blur softens harsh edges while preserving the central text, creating a natural falloff that enhances the thermal effect's realism.

Practical Tips for Heatmap Text Effects

  • Choose bold, thick fonts like Mango Grotesque Extra Bold Italic to ensure the text remains readable after blur effects
  • Build your gradient map with the classic heat sequence: blue to purple to red to yellow to green for authentic thermal imaging colors
  • Use Convert to Smart Object before applying Iris Blur to maintain editability and non-destructive workflow
  • Adjust the Iris Blur's circular handles to control where the effect transitions from sharp to blurred areas
  • Keep the roundness slider at 100% for natural circular falloff, or reduce it for more geometric shapes

Explore more creative text and visual effects techniques in Photoshop.
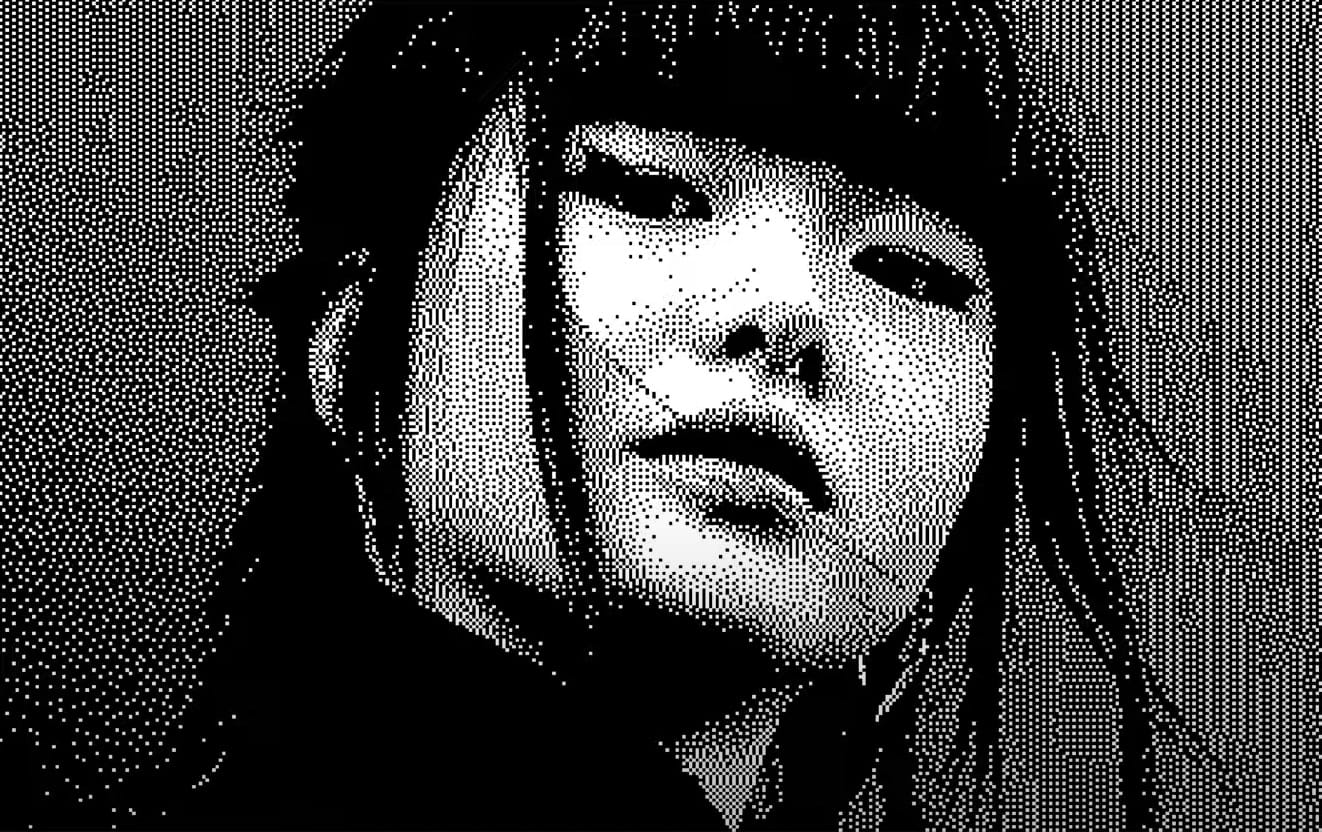
Creating a Bitmap Diffusion Dither Effect in Photoshop
Bitmap dithering creates distinctive black and white patterns that transform photographs into stylized, high-contrast artwork. This technique produces scattered dot patterns that maintain visual detail while reducing images to pure monochrome values, offering a unique alternative to traditional bitmap conversion methods. This tutorial demonstrates how to achieve professional bitmap diffusion effects using Photoshop's export settings and specific file format workflows. You'll learn to control di
How to Add and Remove Fog in Photoshop
In this Photoshop tutorial, the author, Aaron Nace from Phlearn, teaches how to add and remove fog in your photos. The process is straightforward and can be accomplished in a few easy steps. The tutorial guides the user through the necessary techniques to achieve the desired effect. By following the instructions provided, one can seamlessly incorporate or eliminate fog from their images, enhancing the overall visual impact. The tutorial offers a practical and accessible approach, making it sui
Learn How to Create a Magma Hot Text Effect in Photoshop
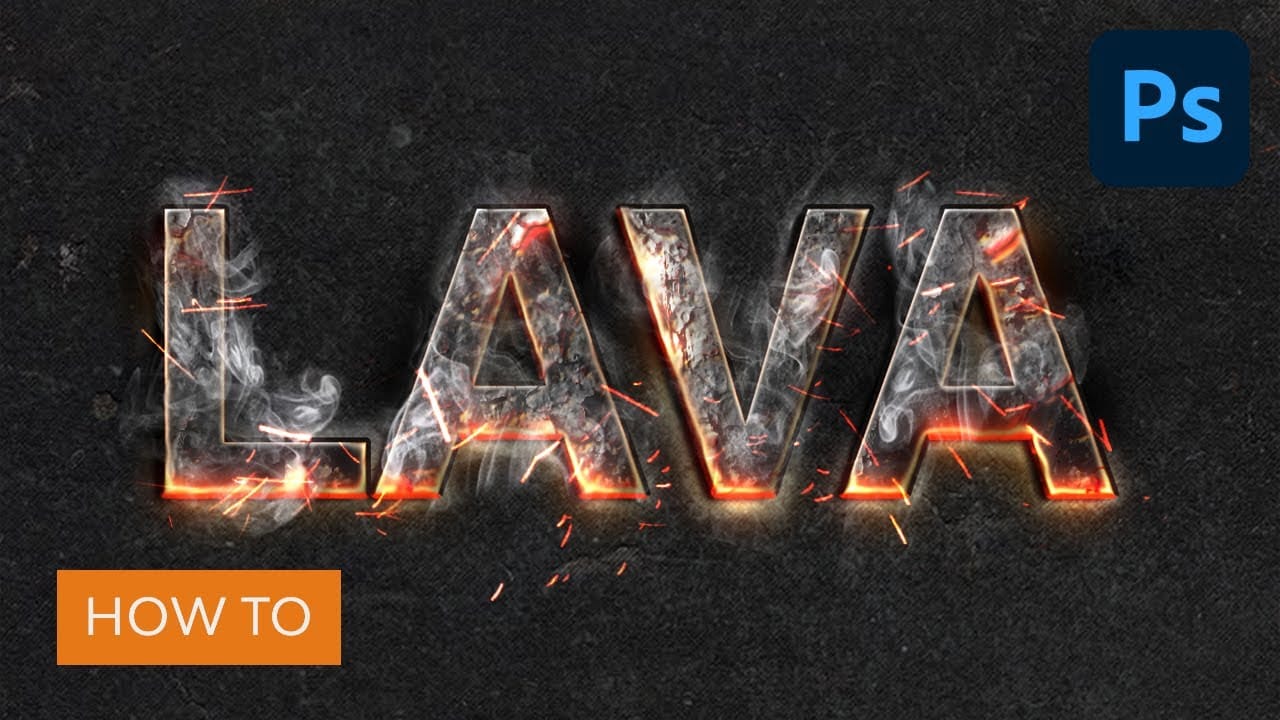
In this tutorial, you'll discover how to create a sizzling magma text effect using Photoshop. The process involves applying various layer styles and incorporating textures to achieve a realistic, molten lava appearance. Starting with a basic text layer, you'll use gradients, color overlays, and inner glow effects to simulate the intense heat and glowing cracks of magma. Additionally, you'll learn how to apply textures to enhance the realism and depth of the effect. Perfect for adding a fiery t
Beautiful Photo Blur Effect in Photoshop
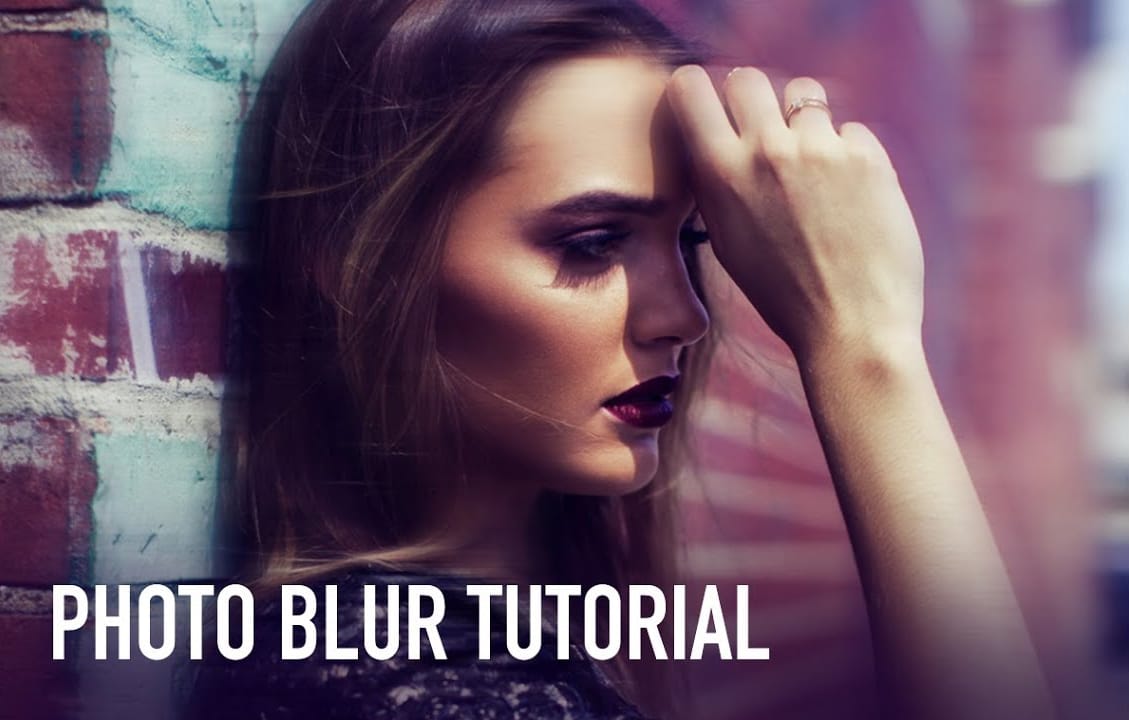
Applying a beautiful blur effect to your photos in Photoshop has never been easier. Jessica Kobeissi's tutorial guides you through the process, showing you how to achieve a stunning, professional-looking result. With just a few simple steps, you can transform your images and add a touch of elegance. The blur effect creates a soft, dreamy look that draws the viewer's attention to the focal point of your photograph. Whether you're looking to enhance a portrait or add a creative flair to a landsca

Get tutorials & freebies delivered to you.

Subscribe to the Photoshop Roadmap newsletter, a weekly roundup of new tutorials, insights and quality downloads, trusted by 6500+ readers.

You might also like

Complete Photoshop Editing Workflow: 5 Steps from Raw to Polished

Photoshop offers endless possibilities for photo enhancement, but many photographers never move beyond basic adjustments because the software feels overwhelming. This comprehensive workflow breaks down photo editing into five manageable stages that work consistently across different photography styles. The systematic approach covers everything from initial raw processing to advanced lighting...

Photoshop Workspace Basics: Navigation, Zooming, and Essential Interface Elements

Photoshop's interface can feel overwhelming when you first open the program. Dozens of panels, tools, and menus compete for attention, making simple tasks feel complicated. This tutorial breaks down the essential workspace elements and teaches fundamental navigation skills that form the foundation of efficient Photoshop work. Watch the...

How to Restore Old Damaged Photos Using Nano Banana in Photoshop

Old family photos with scratches, tears, and missing sections can seem beyond repair. Google's Nano Banana AI model, now integrated into Photoshop, makes full restoration possible in minutes rather than hours. This powerful tool excels at maintaining facial characteristics while automatically filling in damaged areas and adding realistic...

How to Get Higher Quality Results from Photoshop's Generative Fill Tool

Photoshop's Generative Fill creates impressive AI extensions, but the results often look blurry and pixelated when viewed at full size. This quality limitation makes many AI-generated areas unusable for printing or large displays. This technique shows how to work around the 1024x1024 pixel quality limit to create much...

How to Use Photoshop's Liquify Tool for Non-Destructive Portrait Retouching

Clothing wrinkles, hair that lacks volume, and awkward fabric bunching can distract from an otherwise great portrait. Photoshop's Liquify tool offers a powerful solution for smoothing out these issues while preserving the natural look of your subject. This tutorial demonstrates how to use the Liquify tool non-destructively with...

You’ve successfully subscribed to Photoshop Roadmap
Welcome back! You’ve successfully signed in.
Great! You’ve successfully signed up.
Success! Your email is updated.
Your link has expired
Success! Check your email for magic link to sign-in.