Create waterdrops in Photoshop

Create waterdrops in Photoshop

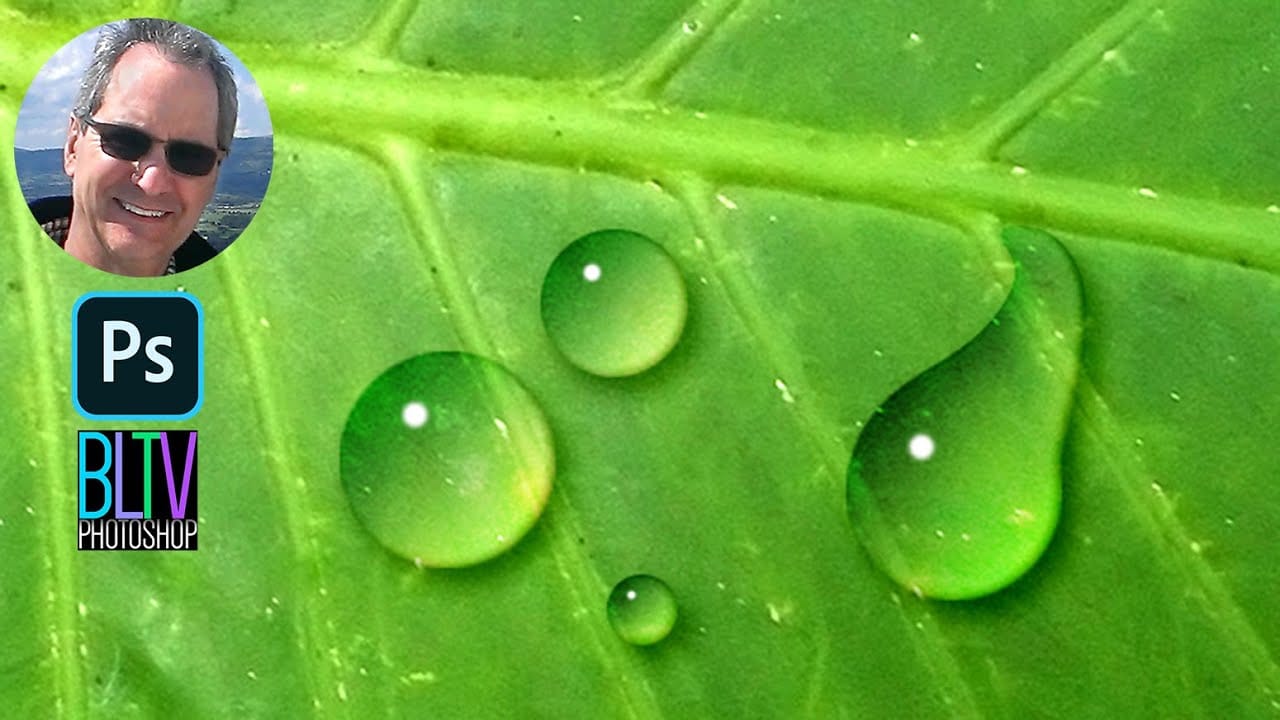
A simple gradient applied from the upper left corner to the lower right corner forms the foundation of convincing digital water drops. This technique transforms a basic circular selection into droplets that appear to hold actual depth and weight on any surface. The effect relies on precise layer style combinations and strategic highlight placement rather than complex filters or specialized brushes.

Watch the Video

Video by Blue Lightning TV. Any links or downloads mentioned by the creator are available only on YouTube

The Science Behind Digital Water Drop Effects

Water drops appear three-dimensional because of how light interacts with their curved surfaces. The meniscus creates natural gradients from bright highlights to deeper shadows, while surface tension maintains the characteristic dome shape. Digital recreation requires mimicking these optical properties through careful gradient placement and shadow modeling.

The Overlay blend mode becomes essential because it preserves both highlights and shadows while allowing the underlying image to show through. This mimics how real water drops remain transparent while still casting shadows and reflecting light. The combination of inner shadows and drop shadows creates the dual effect of the drop sitting on a surface while also appearing to have internal depth.

Layer styles provide the most control over these effects because they remain editable and scale proportionally. The specific angle settings for shadows (-30 degrees for inner shadow, 127 degrees for drop shadow) correspond to natural lighting conditions where light sources create consistent shadow directions across multiple drops.

Practical Tips for Creating Water Drops

  • Hold Shift while dragging with the Elliptical Marquee Tool to maintain perfect circular selections for realistic drop shapes
  • Position gradients from upper left to lower right to match natural lighting patterns and create convincing depth
  • Adjust Distance and Size values in layer styles based on your image resolution to maintain proper proportions
  • Use the Liquify filter's Forward Warp tool to create irregular drop shapes that mimic real water behavior on surfaces
  • Group drop layers with their highlights before duplicating to maintain proper relationships when creating multiple drops

More Tutorials about Water Effects

Explore additional water-related Photoshop techniques and creative effects.
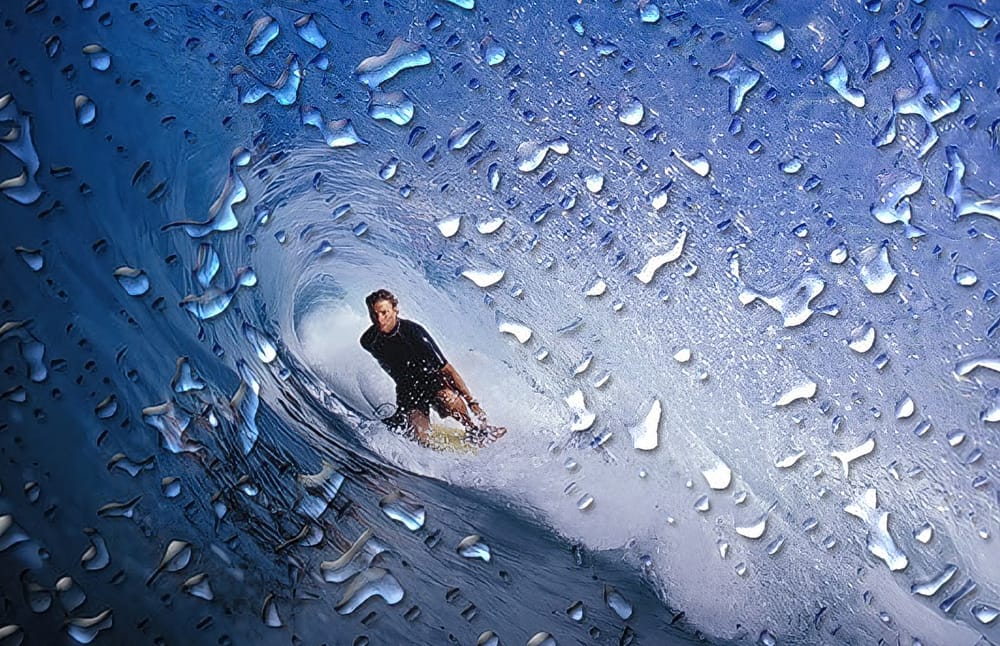
Add Realistic Water Drops To A Photo
This Photoshop Effects tutorial guides you in adding realistic water drops to your photos, making it seem as though water has splashed across the image. You'll explore various filters and adjustments to create random shapes that resemble water droplets. The tutorial emphasizes the importance of using simple layer styles to enhance these shapes, focusing on adding shadows and highlights. This technique helps in achieving that lifelike quality you desire in your images. To wrap up the process, a
Learn How to Create a Watercolor Photo Effect in Photoshop
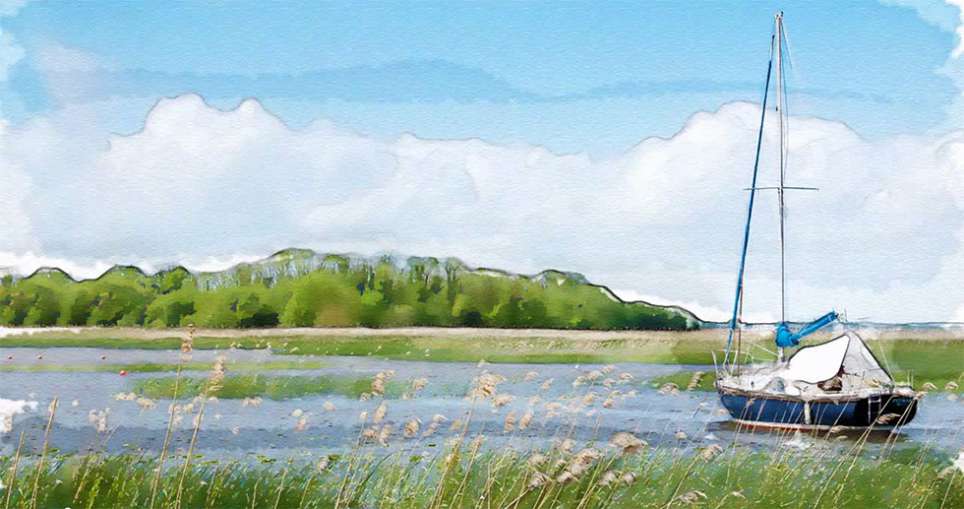
In this tutorial by Blue Lightning TV, Marty demonstrates how to transform an ordinary photograph into a stunning hand-painted watercolor painting using Photoshop. This method surpasses the built-in watercolor filter in Photoshop by allowing users to hand paint the image, offering greater nuance and control. The process begins with setting up the document at 1280 by 720 pixels with a resolution of 72 pixels per inch, then renaming the initial layer to "base" and creating a copy named "smart blur
Photoshop Watercolor Photo Effect Tutorial
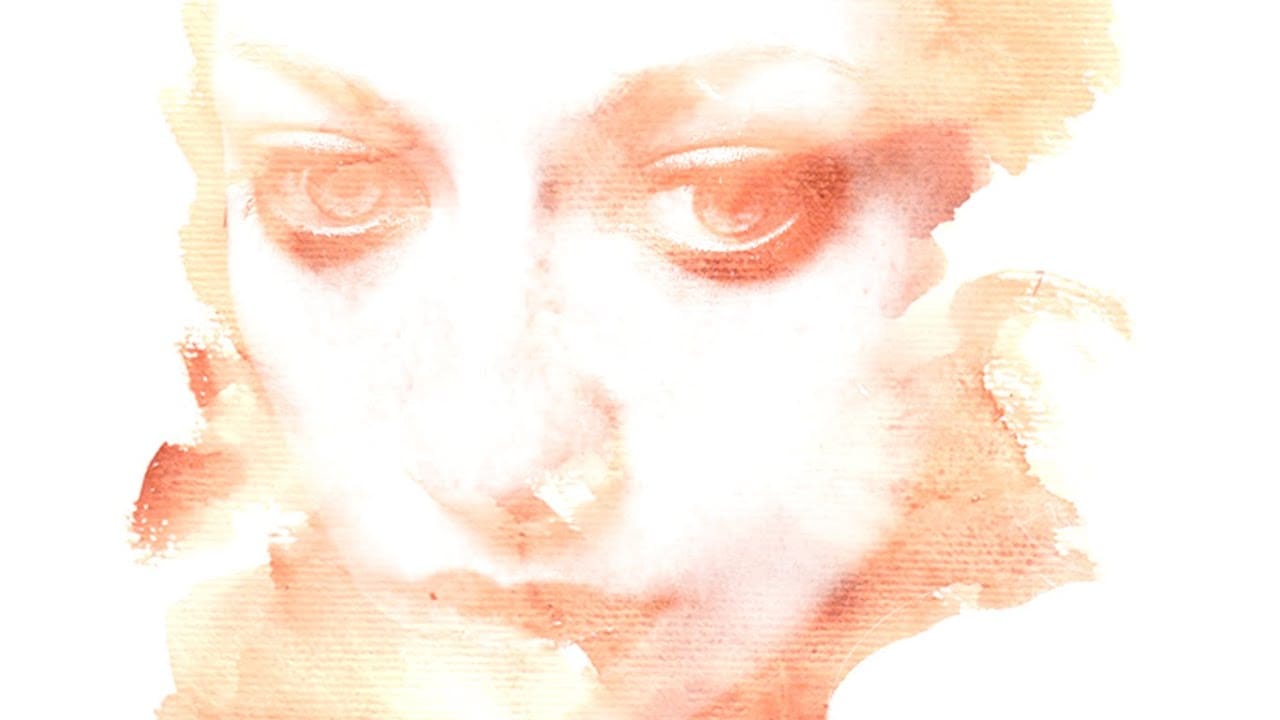
In this comprehensive tutorial by Arunz Creations, you'll discover how to transform a portrait into a beautiful watercolor painting using Photoshop. The process begins by organizing your layers into a group and temporarily hiding it. Next, you'll select specific colors from the portrait using the Color Range tool to create a precise selection. After applying the selection as a mask on the group and inverting it, you'll create a new empty layer beneath the group and fill it with white to serve a
Create Raindrops on a Window in Photoshop
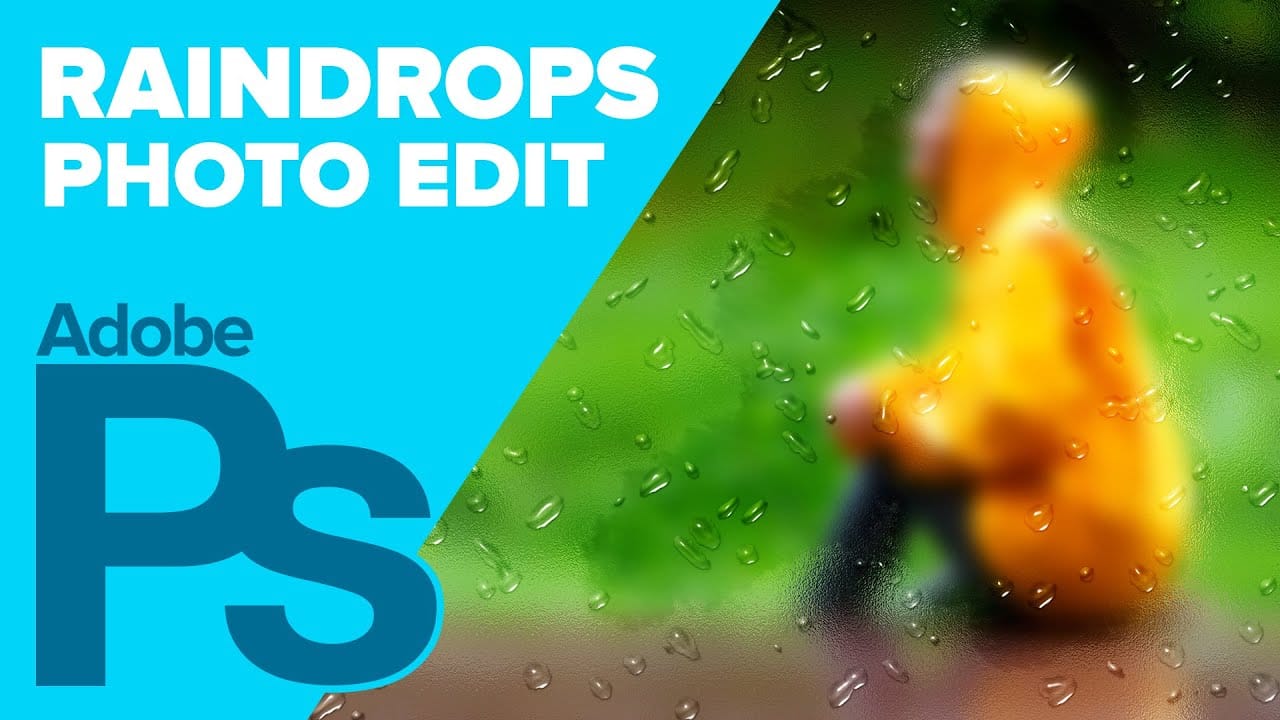
In this Photoshop tutorial by Howard Pinsky, you'll explore how to create realistic raindrops on a window. The process uses a custom brush, Layer Styles, and Filters, ensuring you have all the tools needed for a convincing final look. You will learn how to adjust these elements to create raindrops of various sizes and shapes, making them appear as natural as possible. Additionally, the tutorial covers how to design a 'frosted' window effect. This includes simulating moisture that has been parti

Get tutorials & freebies delivered to you.

Subscribe to the Photoshop Roadmap newsletter, a weekly roundup of new tutorials, insights and quality downloads, trusted by 6500+ readers.

You might also like

Creating Pixelated Dither Effects in Photoshop

The pixelated dither effect transforms modern photographs into retro-inspired artwork reminiscent of early video games and vintage computer graphics. This distinctive visual style uses controlled color reduction and strategic pixelation to create images that balance nostalgic charm with contemporary design appeal. The technique relies on Photoshop's export settings...

How to Create a Vector Stencil from a Portrait Using Photoshop and Illustrator

Stencil art transforms complex portraits into bold, graphic statements using just black and white shapes. This simplified aesthetic has defined everything from street art to commercial design, creating instantly recognizable images that work across any medium. This tutorial demonstrates the complete workflow for converting a photograph into a clean vector...

How to Create Dotted Halftone Motion Blur Effects in Photoshop

The distinctive look of dotted halftone patterns combined with dynamic motion blur creates striking visual effects that bridge vintage print aesthetics with modern digital design. This technique transforms portrait photography into graphic art pieces with flowing, particle-like textures. The process involves layering multiple filter effects to achieve that coveted Instagram-worthy...

Master Photoshop Adjustment Layers for Non-Destructive Editing

Fine-tuning images without destroying original pixel data transforms ordinary photos into compelling visuals. Adjustment layers provide the flexibility to experiment with colors, contrast, and tones while maintaining complete control over every edit. This comprehensive guide demonstrates how to harness Photoshop's most powerful adjustment layers for landscape photography, from...

Understanding Color Theory for Digital Image Editing

Color theory forms the foundation of every successful digital editing project. From the visible spectrum to RGB channels, understanding how colors interact determines whether your adjustments look natural or artificial. This comprehensive breakdown covers essential color models, temperature and tint relationships, and the practical connections between traditional color theory and...

You’ve successfully subscribed to Photoshop Roadmap
Welcome back! You’ve successfully signed in.
Great! You’ve successfully signed up.
Success! Your email is updated.
Your link has expired
Success! Check your email for magic link to sign-in.