Create a text on a foggy rainy window in Photoshop

Create a text on a foggy rainy window in Photoshop

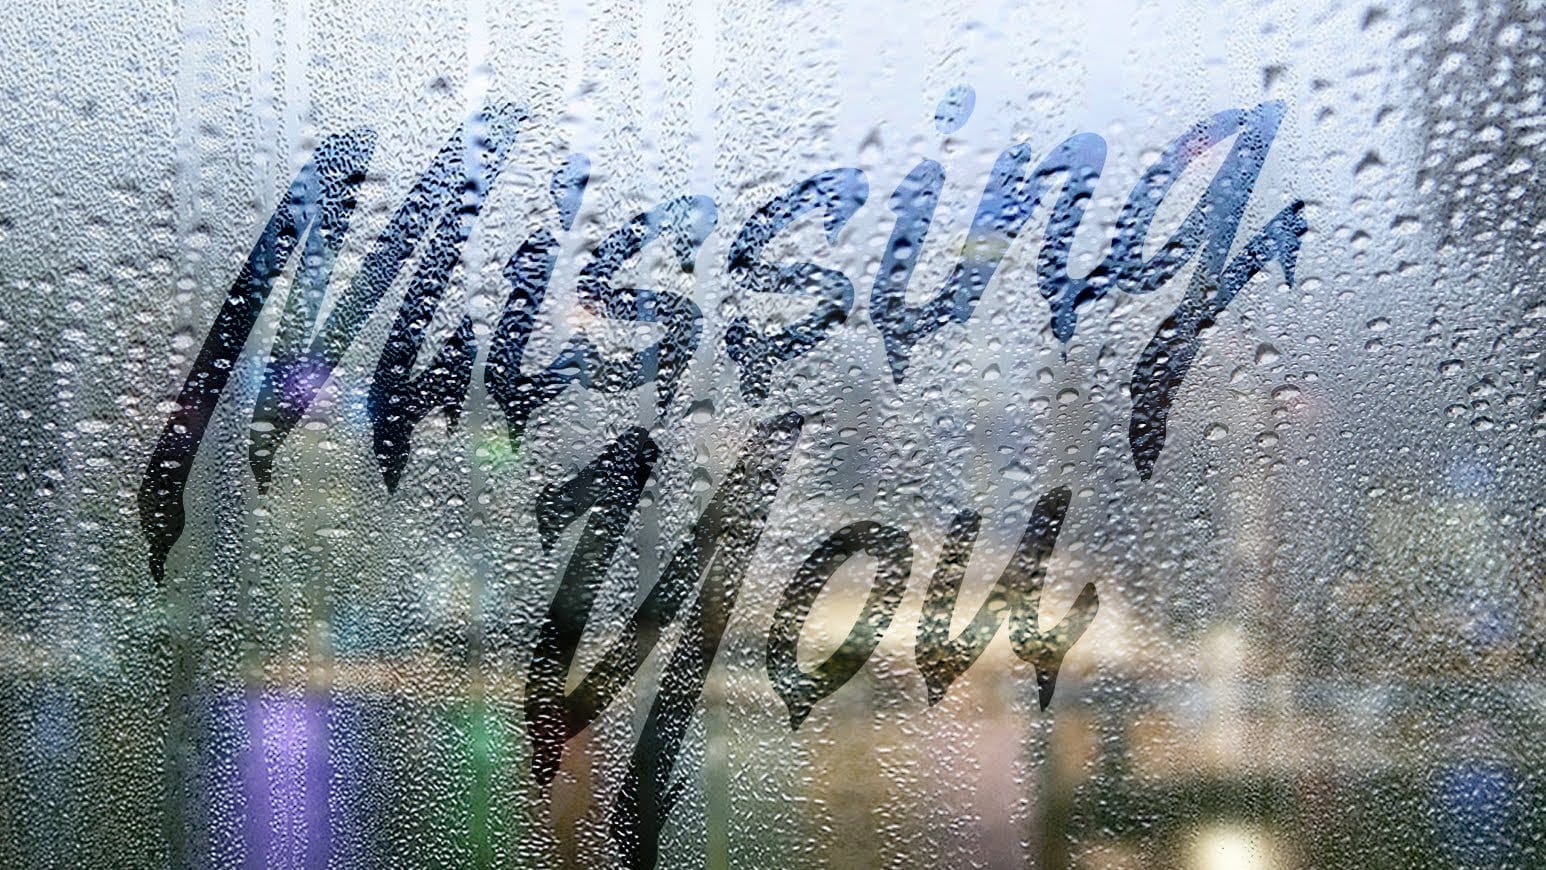
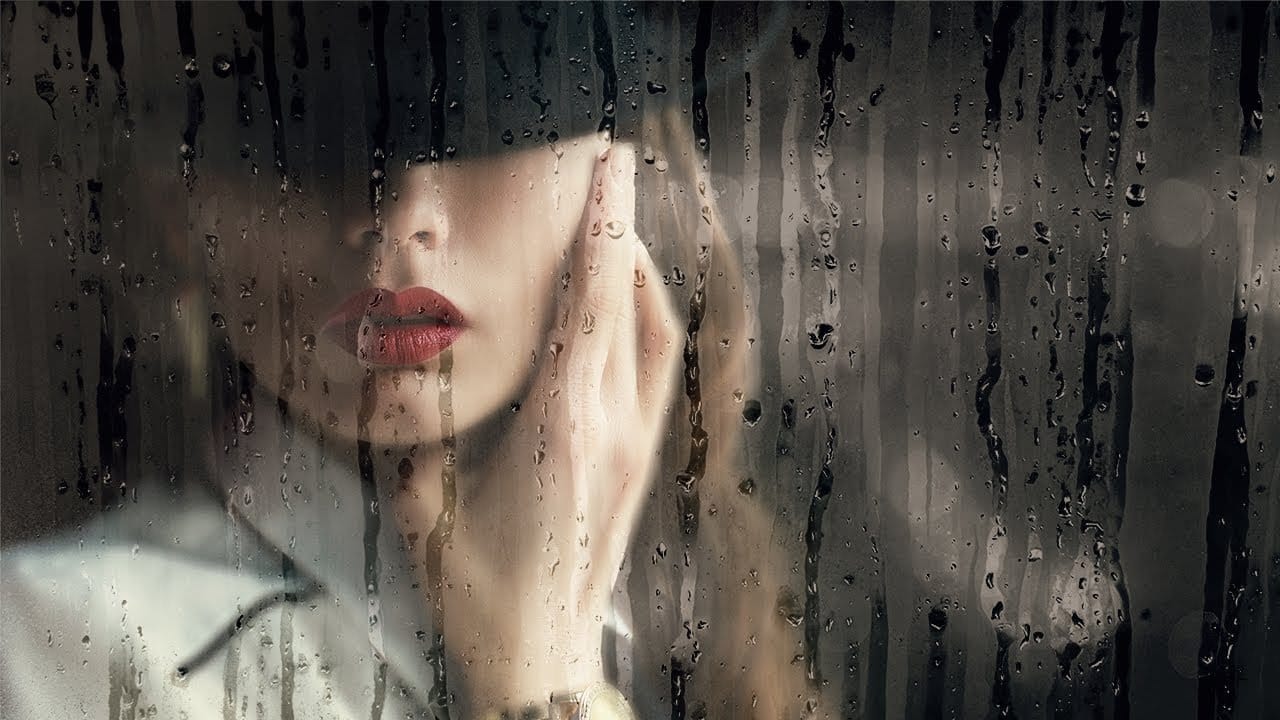
This tutorial teaches digital artists to realistically simulate handwritten text on a foggy, rainy windowpane, enhancing images with unique atmospheric depth. Learn to integrate background photos, apply non-destructive blurs, manipulate text for realistic drips, and enhance specific areas for visual impact.

Watch the Video

Video by Blue Lightning. Any links or downloads mentioned by the creator are available only on YouTube

Practical Tips for Creating Rain Text in Photoshop

  • Convert background images to Smart Objects before applying blur to allow for non-destructive edits and flexibility.
  • Hold down Shift while dragging elements with the Move Tool to maintain their center alignment within the document.
  • Press Ctrl + 0 (Windows) or Cmd + 0 (Mac) to fit a large transform bounding box onto your screen for easier resizing.
  • Use the Liquify filter to create realistic drip-like effects for text, mimicking rain running down the glass.
  • Enhance specific areas of text by creating a duplicate layer, inverting its layer mask, and brushing white over the desired sections to reveal the underlying text.

More Tutorials about Window Effects and Atmospheric Elements

Explore additional resources to deepen your understanding of creating realistic window effects and atmospheric elements in Photoshop.
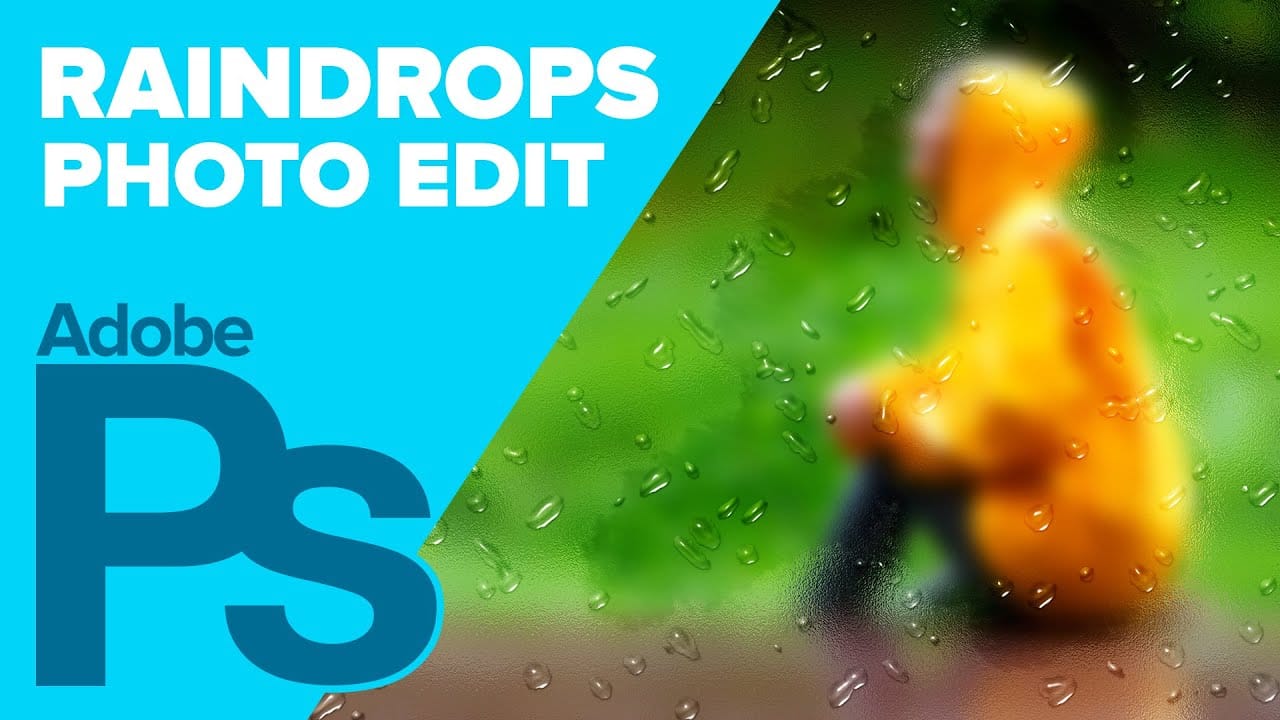
Create Raindrops on a Window in Photoshop
In this Photoshop tutorial by Howard Pinsky, you'll explore how to create realistic raindrops on a window. The process uses a custom brush, Layer Styles, and Filters, ensuring you have all the tools needed for a convincing final look. You will learn how to adjust these elements to create raindrops of various sizes and shapes, making them appear as natural as possible. Additionally, the tutorial covers how to design a 'frosted' window effect. This includes simulating moisture that has been parti
Create a beautiful wet glass effect with raindrops in Photoshop
In this tutorial by PiXimperfect, we will use the power of observation to achieve any effect we desire. We'll start off by applying a different kind of blur that looks much more natural than Gaussian Blur. Then, we will limit the blur only to certain areas to go with the texture by using Color Range. Next, using blend modes, we will put up another layer of texture on top of our subject to add depth and authenticity to the effect and the overall mood of the image. In the end, the power of Adjust
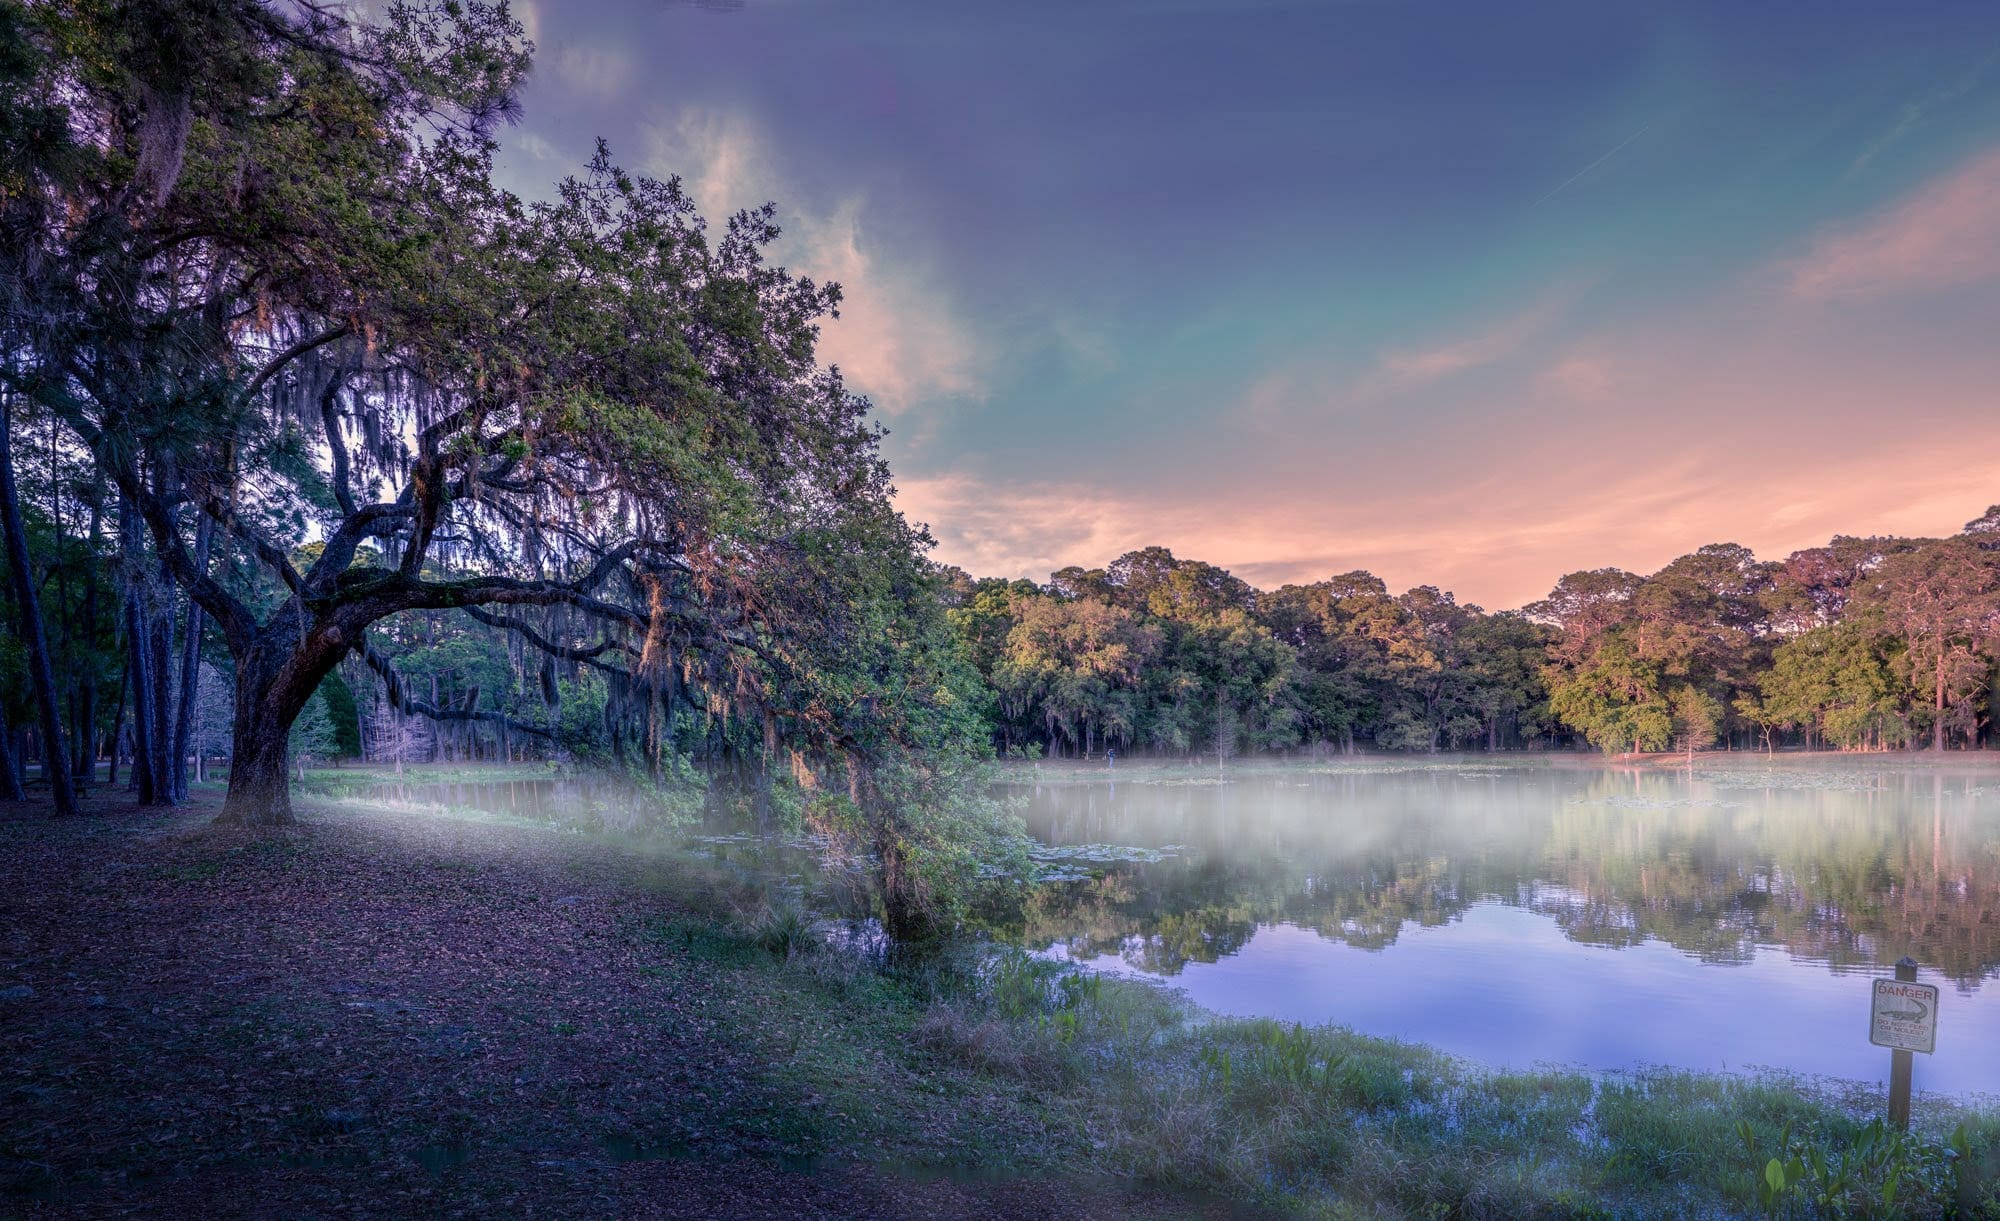
Add fog and mist to a photo in Photoshop
This tutorial by Serge Ramelli will show you how to add fog and mist to your landscape photos using Photoshop. It's a simple process that can be applied to a wide range of images. The steps are straightforward and easy to follow. You'll learn how to create a layer of fog or mist and adjust its opacity and blending mode to achieve the desired effect. This technique can help add depth and atmosphere to your photos, transforming a flat landscape into a more moody and evocative scene. Whether you'
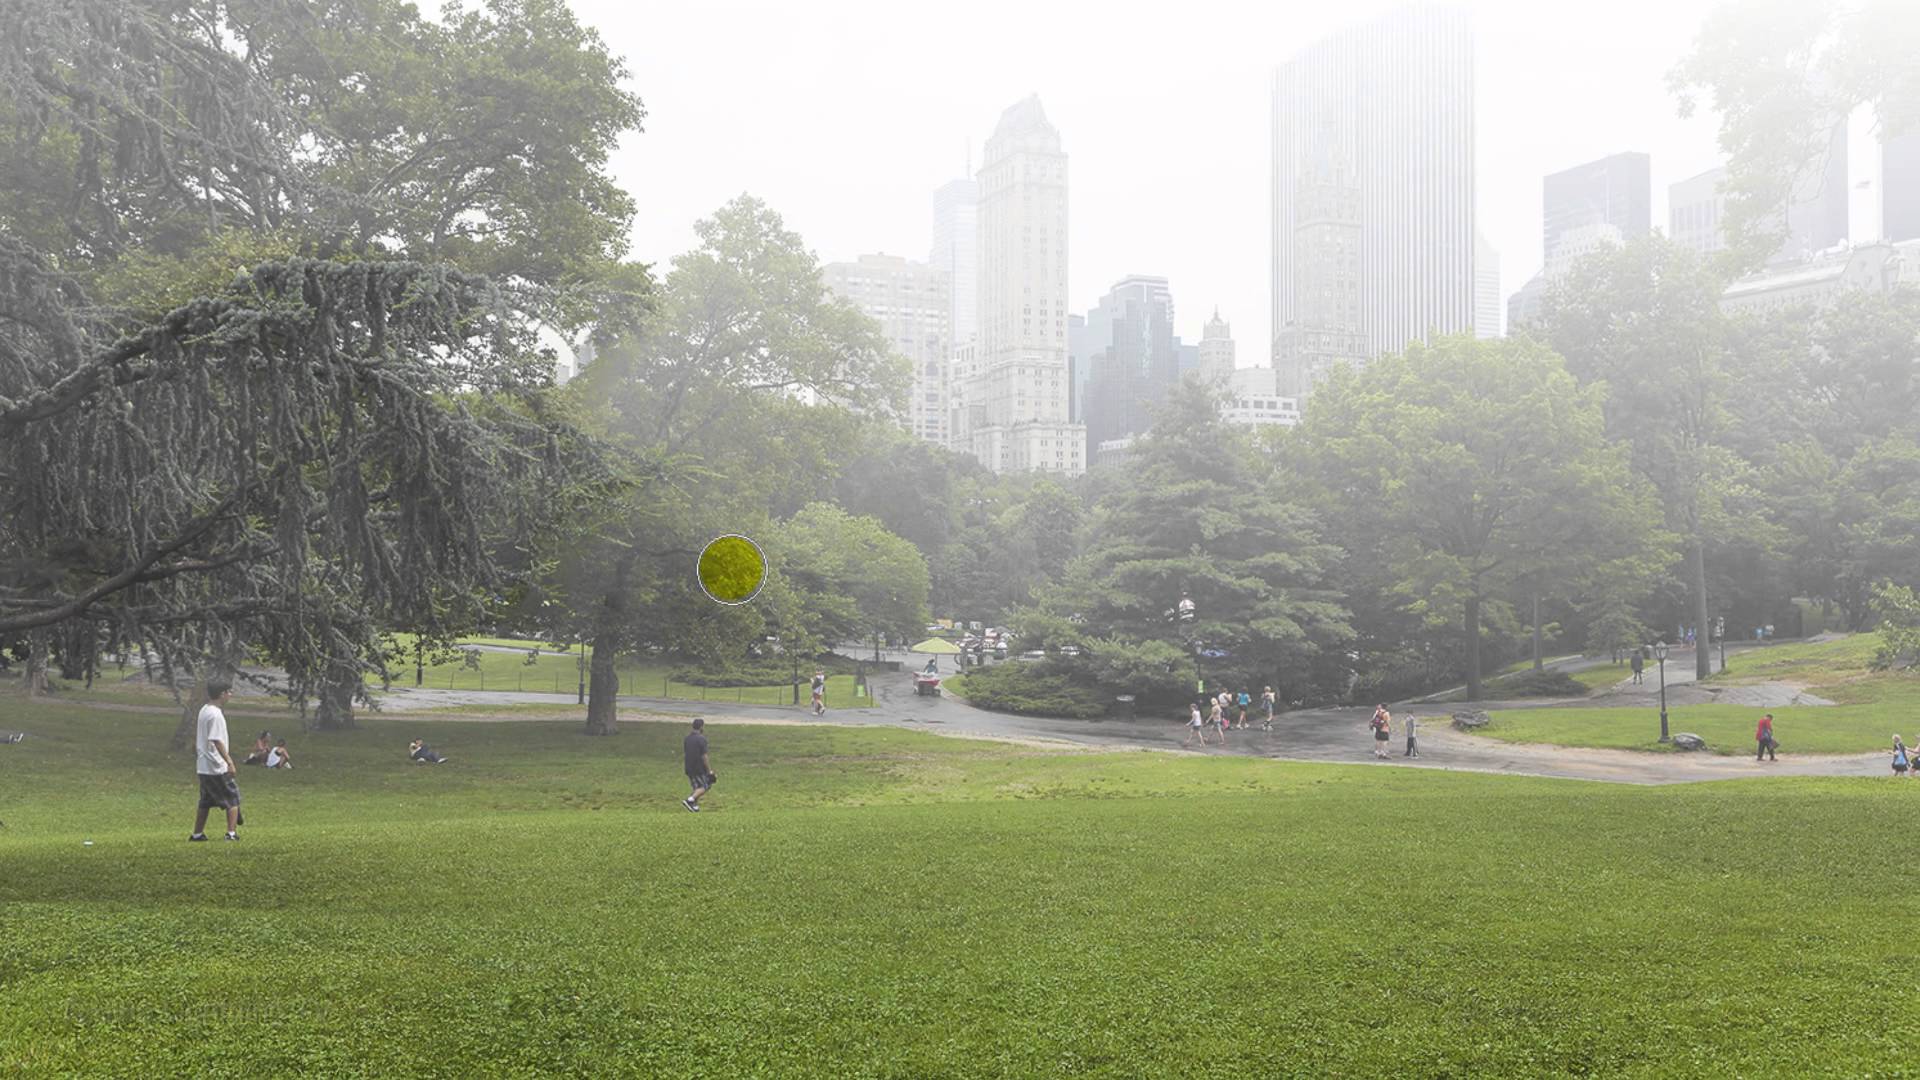
How to Create Realistic, Fog and Mist in Photoshop
In this Photoshop tutorial by Marty from Blue Lightning TV, you’ll learn how to create realistic fog and mist effects in your photos. The video begins by explaining the visual differences between fog and mist: fog is a thick blanket that obscures distant objects, while mist lingers closer to the ground. For a fog effect, Marty recommends using a photo shot from a low perspective. He guides you through adjusting color and brightness with Hue/Saturation and Gradient tools to create a lighter, mis

Get tutorials & freebies delivered to you.

Subscribe to the Photoshop Roadmap newsletter, a weekly roundup of new tutorials, insights and quality downloads, trusted by 6500+ readers.

You might also like

Creating Pixelated Dither Effects in Photoshop

The pixelated dither effect transforms modern photographs into retro-inspired artwork reminiscent of early video games and vintage computer graphics. This distinctive visual style uses controlled color reduction and strategic pixelation to create images that balance nostalgic charm with contemporary design appeal. The technique relies on Photoshop's export settings...

How to Create a Vector Stencil from a Portrait Using Photoshop and Illustrator

Stencil art transforms complex portraits into bold, graphic statements using just black and white shapes. This simplified aesthetic has defined everything from street art to commercial design, creating instantly recognizable images that work across any medium. This tutorial demonstrates the complete workflow for converting a photograph into a clean vector...

How to Create Dotted Halftone Motion Blur Effects in Photoshop

The distinctive look of dotted halftone patterns combined with dynamic motion blur creates striking visual effects that bridge vintage print aesthetics with modern digital design. This technique transforms portrait photography into graphic art pieces with flowing, particle-like textures. The process involves layering multiple filter effects to achieve that coveted Instagram-worthy...

Master Photoshop Adjustment Layers for Non-Destructive Editing

Fine-tuning images without destroying original pixel data transforms ordinary photos into compelling visuals. Adjustment layers provide the flexibility to experiment with colors, contrast, and tones while maintaining complete control over every edit. This comprehensive guide demonstrates how to harness Photoshop's most powerful adjustment layers for landscape photography, from...

Understanding Color Theory for Digital Image Editing

Color theory forms the foundation of every successful digital editing project. From the visible spectrum to RGB channels, understanding how colors interact determines whether your adjustments look natural or artificial. This comprehensive breakdown covers essential color models, temperature and tint relationships, and the practical connections between traditional color theory and...

You’ve successfully subscribed to Photoshop Roadmap
Welcome back! You’ve successfully signed in.
Great! You’ve successfully signed up.
Success! Your email is updated.
Your link has expired
Success! Check your email for magic link to sign-in.