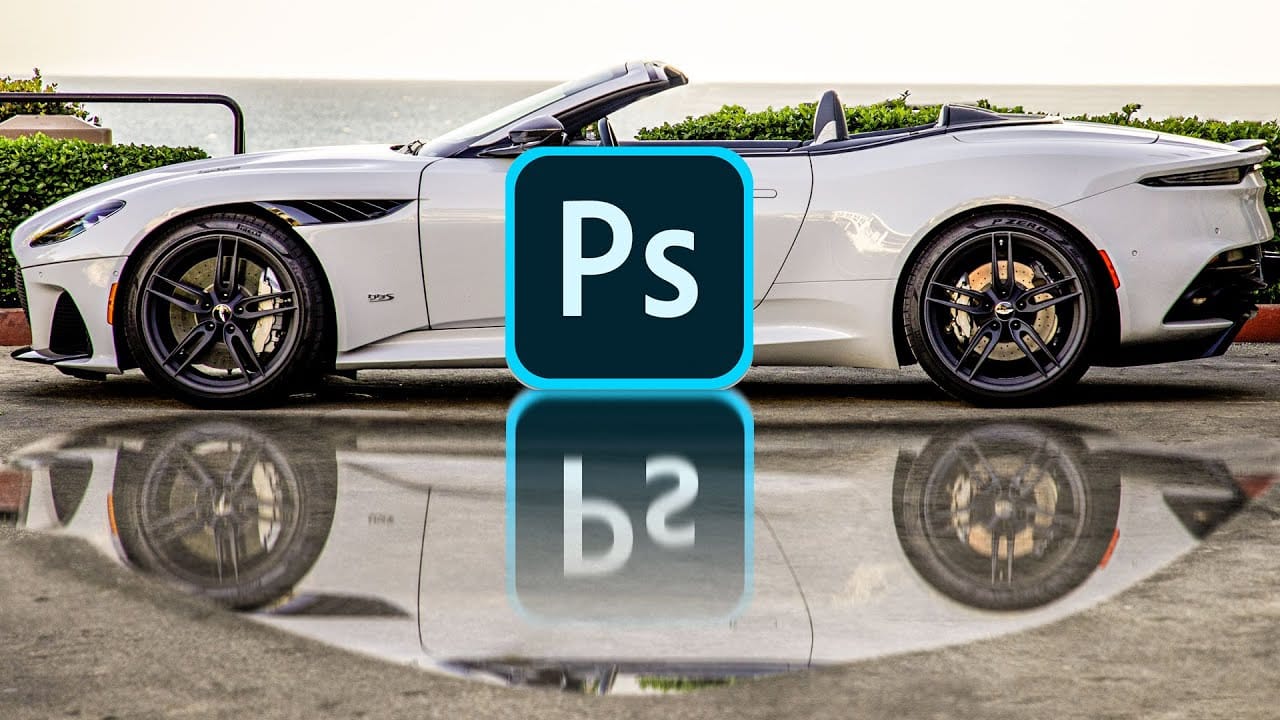
Creating convincing reflections in Photoshop requires different approaches depending on the shape of your object. While the basic concept remains the same—duplicating and flipping the original—the transformation techniques vary significantly between geometric shapes like boxes and curved forms like bottles or cylinders.
This tutorial demonstrates the specific methods needed to create realistic reflections for both box-shaped and cylindrical objects. You'll learn how to use perspective warp for angular shapes, standard warp for curved surfaces, and finishing techniques that bring both types of reflections to life with proper shadows and opacity adjustments.
Watch the Tutorial
Understanding Reflection Geometry in Digital Composites
The physics of reflections follow predictable rules that digital artists must replicate to achieve believable results. When light bounces off a reflective surface, it creates a mirror image that appears to extend below the surface plane. The key challenge lies in accurately representing how different object geometries interact with this reflective plane.
Box-shaped objects create reflections with straight edges that maintain their angular relationships but require perspective correction to account for viewing angle. The reflection appears to recede into the surface, which means the bottom edge of the reflection should align perfectly with the object's base while the top portions may need geometric adjustment.
Cylindrical and curved objects present different challenges because their reflections must maintain the curvature relationships while flipping vertically. The curved edges need careful warping to preserve the natural flow of the original shape while accounting for how those curves would appear when viewed through a reflective surface.
Practical Tips for Object Reflections
- Use
Perspective Warpfor angular objects like boxes to maintain straight edges while adjusting depth perception - Apply standard
Warptransformation for curved objects to preserve natural curvature in the reflection - Create gradient masks starting from the object's base to the reflection's midpoint for realistic fade effects
- Set reflection blend mode to Multiply at 75% opacity for natural surface interaction
- Link the object, shadow, and reflection layers to maintain positioning relationships when moving elements
Related Articles and Tutorials
Explore more advanced reflection and lighting techniques for your Photoshop projects.