This tutorial explores the process of designing an authentic Old West Wanted poster using Adobe Photoshop. It guides users through combining various elements to achieve a convincing vintage aesthetic, replicating the classic look of historical documents.
Viewers will learn how to integrate supplied templates, apply specific layer styles, and manipulate text and imagery to craft a unique and visually compelling poster. The video demonstrates techniques for aging effects and realistic texture application, enhancing the poster's historical feel.
Watch the Tutorial
Crafting Authenticity: The Visual Language of Vintage Posters
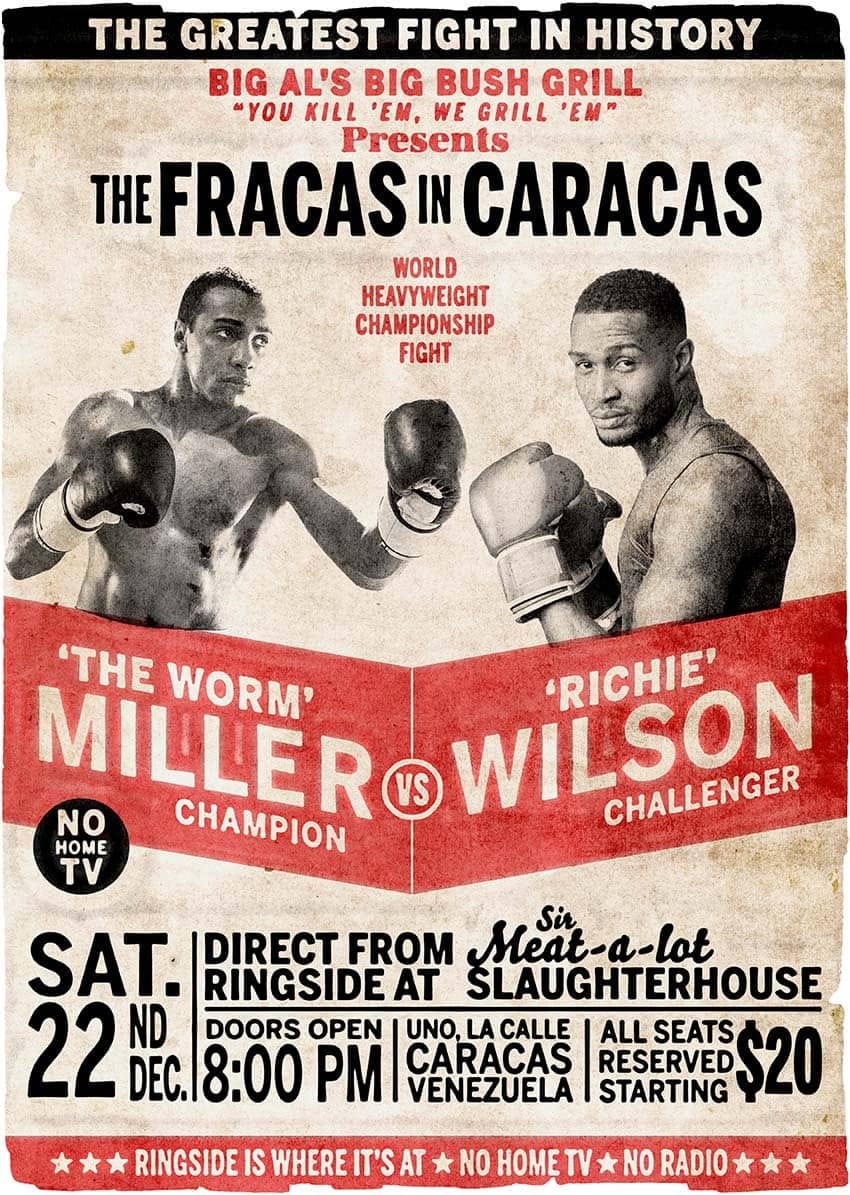
Vintage posters, particularly those from the Old West era, rely heavily on specific visual cues to evoke a sense of history and realism. These elements often include distressed textures, aged paper, and typefaces that reflect the printing techniques of the period. The interplay of these components is crucial for creating a believable artifact rather than a mere digital image.
Achieving an authentic aged appearance in digital art involves more than just applying a single filter. It requires a layered approach, combining subtle imperfections like grain and scratches with strategic color shifts and dimensional effects. For instance, the use of specific blend modes and opacity settings can simulate the way ink might have absorbed into old paper, while bevels and shadows add tactile realism to embedded elements.
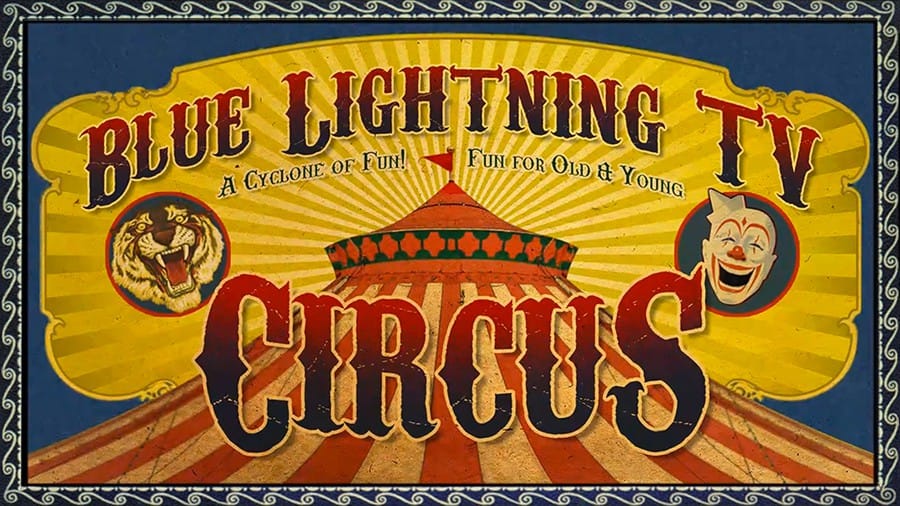
The choice of typography also plays a significant role in historical accuracy. Fonts that mimic hand-set type or woodblock prints, combined with slight distortions or scale adjustments, contribute immensely to the overall period feel. Furthermore, the strategic placement of ornamental borders and decorative cartouches helps frame the content, anchoring the design in its historical context.
Practical Tips for Vintage Poster Design
- Utilize the
Multiplyblend mode for paper textures and cartouches to seamlessly integrate them with underlying layers, allowing background details to show through. - Apply
Bevel & EmbossandDrop Shadowlayer styles to elements like nail heads and the poster base to add realistic depth and dimension. - Employ a
Clipping Maskwith adjustment layers, such as Levels, to restrict edits to specific elements, ensuring precise control over brightness and contrast for individual components like photos. - Use the Filter Gallery's Grain effect to introduce a subtle, aged texture to photographs, enhancing their vintage appearance and blending them with the overall poster aesthetic.
- Group related layers into folders (e.g., "Face," "Paper," "Text") to maintain an organized Layers panel and simplify bulk adjustments, such as changing the opacity of all text layers simultaneously.
- Leverage a
Layer Maskon a grouped folder (e.g., containing text, face, cartouche, borders) and paint with a "scratches" brush to selectively reveal the background, simulating wear and tear. - Employ the
Warptool after creating a composite snapshot of your poster to introduce subtle, natural-looking distortions to the poster's edges, further enhancing its aged and worn appearance.
More Tutorials about Poster Design
Explore more creative techniques and design principles for digital art and graphic design with these related articles and tutorials.