Create Liquid Melting Acid Text in Perspective in Photoshop

Create Liquid Melting Acid Text in Perspective in Photoshop

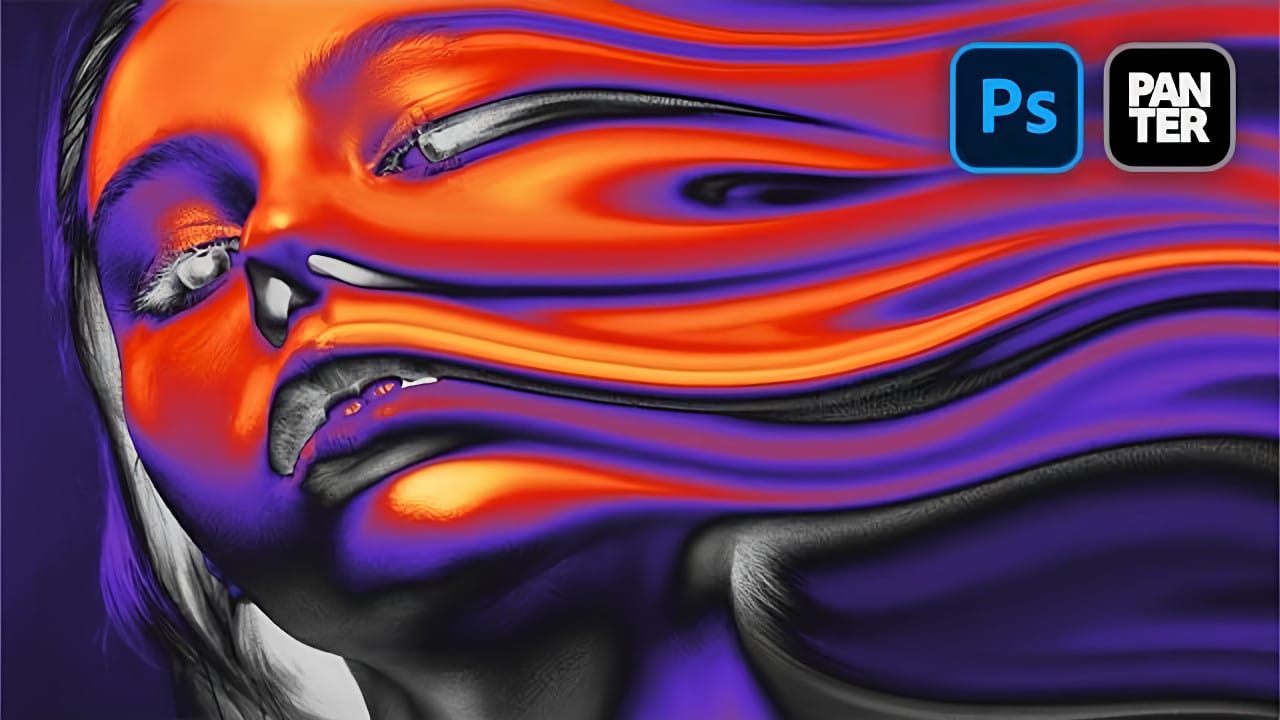
Acid text effects capture the raw energy of corrosive transformation, turning ordinary typography into flowing, organic shapes that appear to melt and dissolve. This distinctive visual style suggests powerful forces reshaping matter itself, creating text that seems alive with chemical reaction.

The technique transforms flat letters into dimensional, perspective-distorted forms using strategic blur effects, liquify tools, and gradient mapping to achieve that signature melting appearance.

Watch the Video Tutorial

Video by P A N T E R. Any links or downloads mentioned by the creator are available only on YouTube

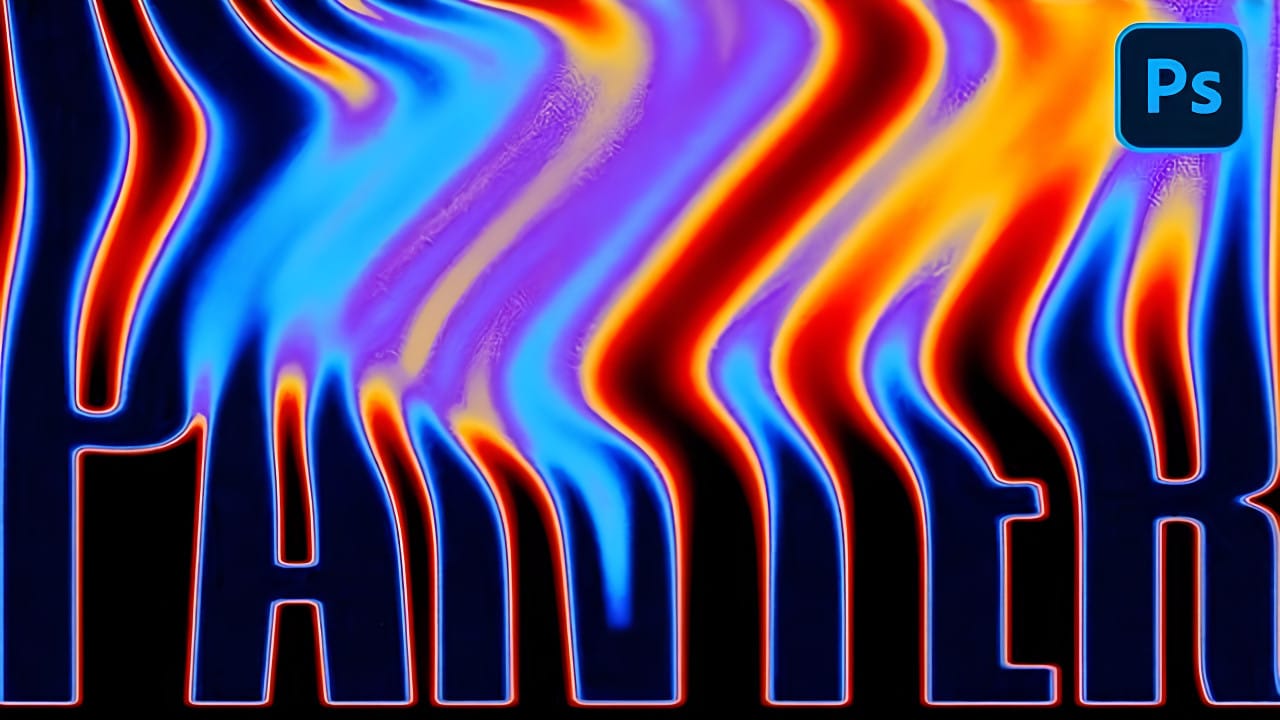
Understanding Perspective Distortion in Typography

Perspective distortion creates the illusion of three-dimensional depth on a flat canvas. The technique involves manipulating anchor points to push text into isometric angles, making letters appear to recede into space rather than sitting flat on the page.

Smart objects preserve the original text quality throughout multiple transformations. This non-destructive workflow allows for complex distortions without losing crisp letter edges that remain essential even in melting effects.

  • Tilt-shift blurring creates depth of field that enhances the perspective illusion
  • Multiple blur layers build realistic atmospheric perspective
  • Anchor point manipulation controls the direction and intensity of perspective distortion
  • Smart object conversion maintains editability throughout the transformation process

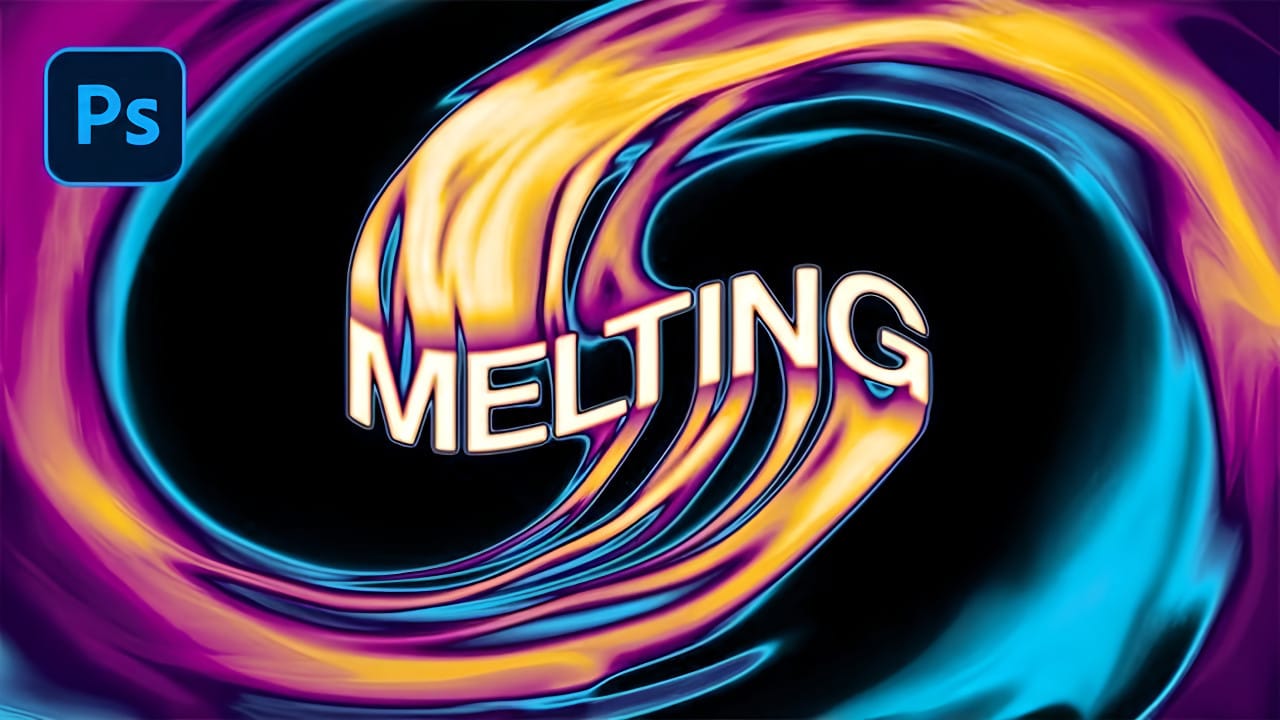
Practical Tips for Melting Text Effects

  • Start with bold, thick fonts that maintain readability after liquification and distortion
  • Apply tilt-shift blur in opposing directions to create realistic depth of field
  • Use gentle pressure settings in the Liquify tool to avoid harsh, unnatural distortions
  • Build gradient maps with multiple color stops to create complex acid-like color transitions
  • Add monochromatic noise as the final step to enhance texture without affecting colors

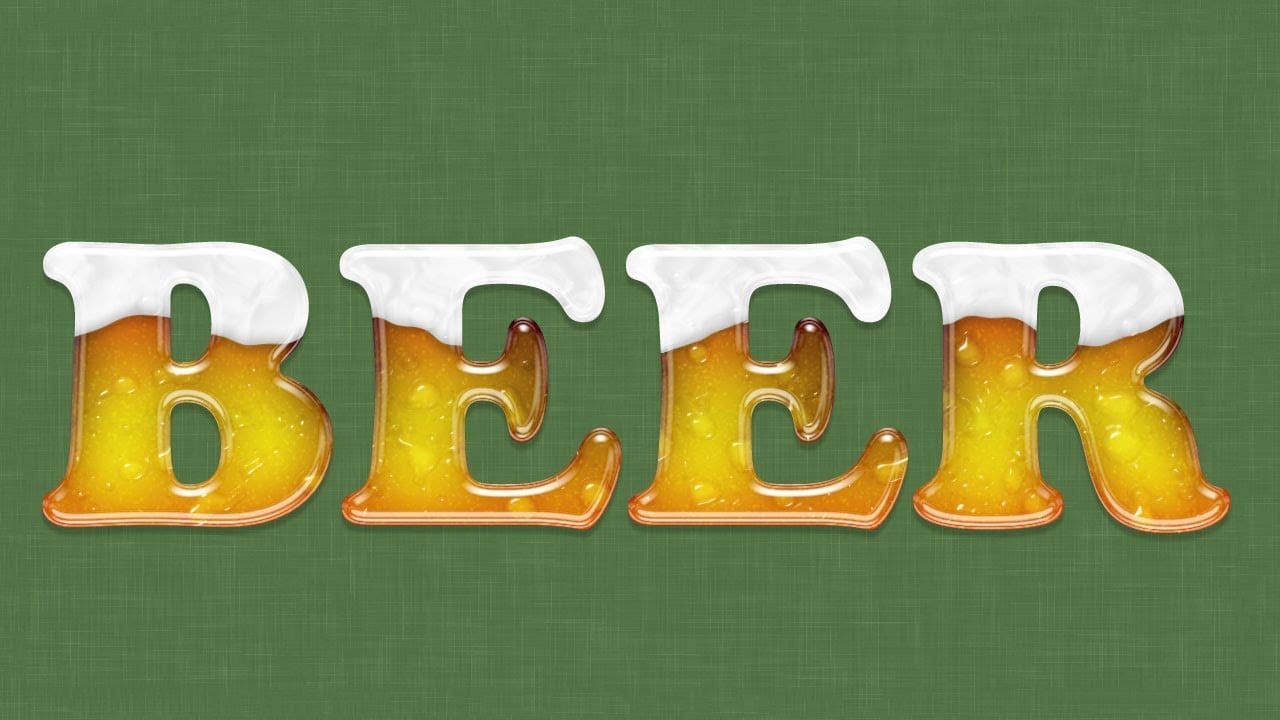
More Tutorials about Liquid Text Effects

Discover additional techniques for creating flowing, organic typography effects.

How to Create a Liquid Acid Melting Effect in Photoshop
The liquid acid effect transforms ordinary portraits into surreal, otherworldly visuals that seem to melt and flow across the canvas. This distinctive distortion technique creates an organic, fluid appearance that suggests corrosive forces reshaping reality itself. This tutorial demonstrates how to achieve this striking visual using Photoshop's smudge tool combined with strategic color grading and noise textures to enhance the melting illusion. Watch the Video Tutorial The Psychology of Dis
Create Liquid Gradient Text Effect in Photoshop
Liquid text effects transform ordinary typography into flowing, organic shapes that seem to move across the page. This dynamic style captures the fluid properties of water, paint, or molten materials, creating text that appears to drip, flow, or splash. The technique combines shape manipulation with blur effects and gradient mapping to achieve a smooth, liquid appearance that works particularly well for creative projects, digital art, and modern branding applications. Watch the Video Unders
Create a Spinning Melting Fire Text Effect in Photoshop
Fire effects transform ordinary text into dynamic visual statements that command attention. The melting, flowing appearance mimics liquid fire or molten metal, creating depth and movement that static text simply cannot achieve. This technique combines warping, gradient mapping, and strategic blurring to build layers of flowing color. The smudge tool becomes your primary instrument for sculpting those signature dripping effects that make text appear to melt before your eyes. Watch the Tutorial
Create a Beer Glass Text Effect in Photoshop
In this tutorial from Ice Flow Studios, you will learn how to create an impressive beer text effect with a glassy, frothy look. Howard Pinsky guides you through the steps to make each letter resemble a condensation-covered glass of beer topped with foam. This creative and fun design is perfect for various projects, and the tutorial encourages experimentation with Layer Styles to achieve the exact result you desire. Whether you are designing for a festive event or simply want to add a unique to

Get tutorials & freebies delivered to you.

Subscribe to the Photoshop Roadmap newsletter, a weekly roundup of new tutorials, insights and quality downloads, trusted by 6500+ readers.

You might also like

Complete Photoshop Editing Workflow: 5 Steps from Raw to Polished

Photoshop offers endless possibilities for photo enhancement, but many photographers never move beyond basic adjustments because the software feels overwhelming. This comprehensive workflow breaks down photo editing into five manageable stages that work consistently across different photography styles. The systematic approach covers everything from initial raw processing to advanced lighting...

Photoshop Workspace Basics: Navigation, Zooming, and Essential Interface Elements

Photoshop's interface can feel overwhelming when you first open the program. Dozens of panels, tools, and menus compete for attention, making simple tasks feel complicated. This tutorial breaks down the essential workspace elements and teaches fundamental navigation skills that form the foundation of efficient Photoshop work. Watch the...

How to Restore Old Damaged Photos Using Nano Banana in Photoshop

Old family photos with scratches, tears, and missing sections can seem beyond repair. Google's Nano Banana AI model, now integrated into Photoshop, makes full restoration possible in minutes rather than hours. This powerful tool excels at maintaining facial characteristics while automatically filling in damaged areas and adding realistic...

How to Get Higher Quality Results from Photoshop's Generative Fill Tool

Photoshop's Generative Fill creates impressive AI extensions, but the results often look blurry and pixelated when viewed at full size. This quality limitation makes many AI-generated areas unusable for printing or large displays. This technique shows how to work around the 1024x1024 pixel quality limit to create much...

How to Use Photoshop's Liquify Tool for Non-Destructive Portrait Retouching

Clothing wrinkles, hair that lacks volume, and awkward fabric bunching can distract from an otherwise great portrait. Photoshop's Liquify tool offers a powerful solution for smoothing out these issues while preserving the natural look of your subject. This tutorial demonstrates how to use the Liquify tool non-destructively with...

You’ve successfully subscribed to Photoshop Roadmap
Welcome back! You’ve successfully signed in.
Great! You’ve successfully signed up.
Success! Your email is updated.
Your link has expired
Success! Check your email for magic link to sign-in.