Create Liquid Gradient Text Effect in Photoshop

Create Liquid Gradient Text Effect in Photoshop

Liquid text effects transform ordinary typography into flowing, organic shapes that seem to move across the page. This dynamic style captures the fluid properties of water, paint, or molten materials, creating text that appears to drip, flow, or splash.

The technique combines shape manipulation with blur effects and gradient mapping to achieve a smooth, liquid appearance that works particularly well for creative projects, digital art, and modern branding applications.

Watch the Video

Video by P A N T E R. Any links or downloads mentioned by the creator are available only on YouTube

Understanding Liquid Text Design

Liquid text effects rely on the visual principles of fluidity and organic motion. The key lies in breaking away from rigid typography constraints and allowing letterforms to flow naturally into one another. This approach mimics how liquids behave in the physical world, where surface tension and gravity create smooth, curved transitions.

The visual impact comes from combining several technical elements: path manipulation to create flowing shapes, strategic blurring to soften harsh edges, and gradient mapping to add depth and color variation. The smudge tool plays a crucial role in creating those characteristic liquid drips and flowing connections between letters.

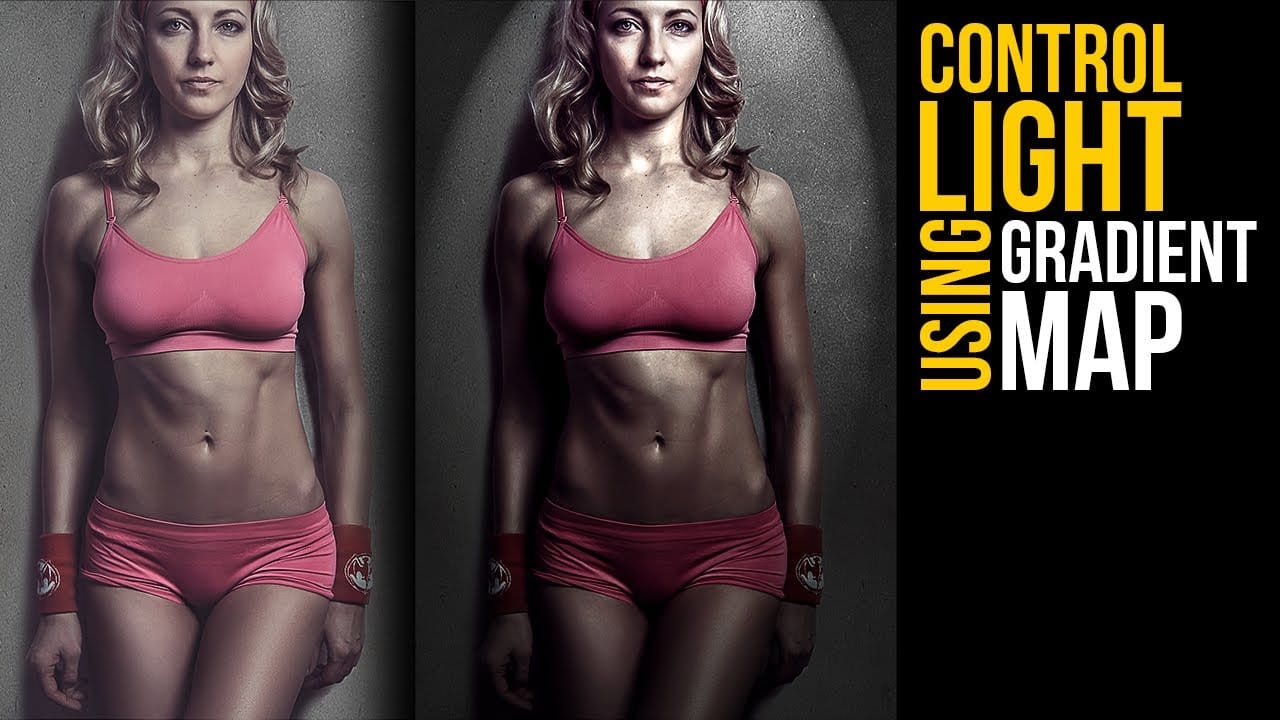
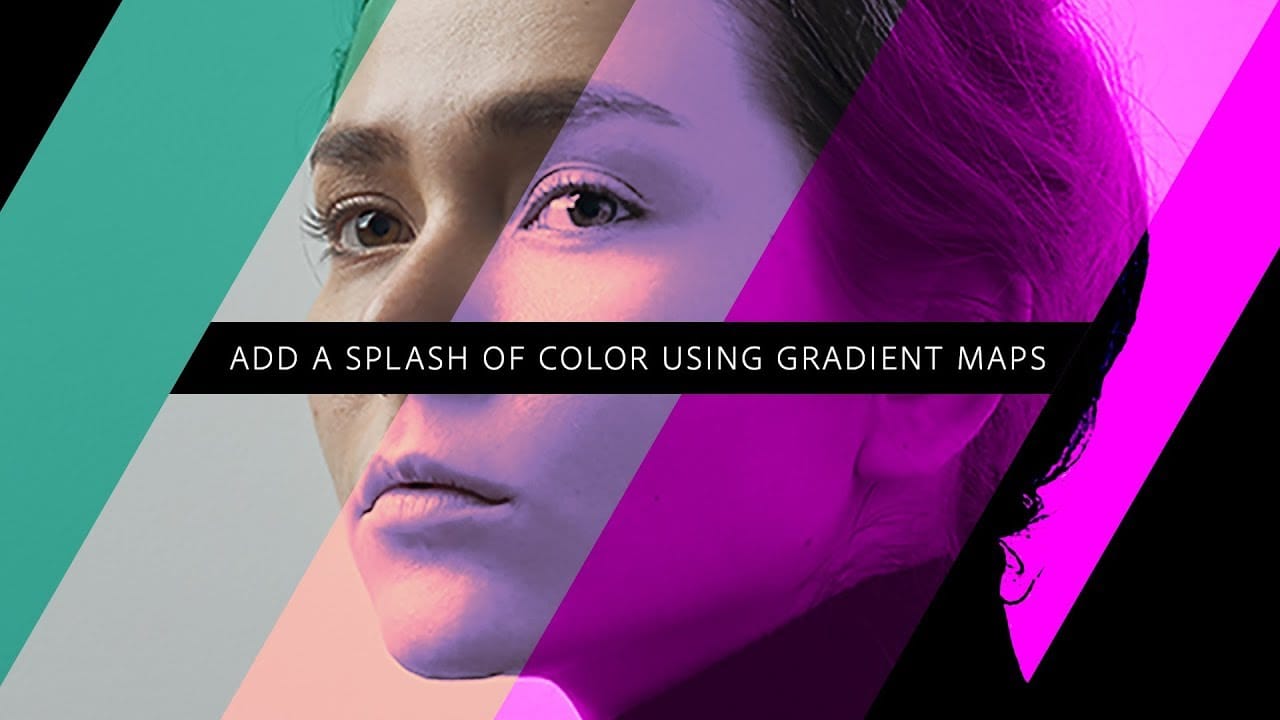
Modern liquid text designs often incorporate vibrant gradient schemes that suggest movement and energy. Colors flow seamlessly from one hue to another, reinforcing the fluid aesthetic and creating visual interest that draws the viewer's attention to the message.

Practical Tips for Liquid Text Effects

  • Convert text to shapes early in the process to enable path manipulation with the direct selection tool
  • Use moderate smudge tool strength (around 40%) to maintain control while creating fluid connections
  • Apply field blur with multiple focal points to create depth and enhance the liquid appearance
  • Add subtle noise before applying gradient maps to create texture that mimics real liquid surfaces
  • Build gradient maps with multiple color stops, progressing from dark to light tones for realistic depth

Explore more creative applications of gradient effects and text styling techniques.

Create lighting effects using Gradient Maps in Photoshop
In this Photoshop tutorial by Unmesh Dinda from Piximperfect you will learn an interesting technique to completely mold and control light in Photoshop using Gradient Maps along with amazing light effects to add drama, depth, and dimension. In this video, learn how to manipulate multiple levels of light. Whether you want to remove shiny flash hotspots or add more shine, make harsh light soft or soft light harsh, with Gradient Maps, you can control almost everything. Gradient Map allows you to co
Add a splash of color using gradient maps in Photoshop
In this engaging tutorial, Adobe Evangelist Paul Trani reveals the power of Gradient Maps in Photoshop to introduce stunning colors to your designs. Gradient Maps are a versatile tool that applies color gradients to your images, enabling you to create striking visual effects with ease. Paul walks you through the process of applying and adjusting Gradient Maps, demonstrating how this technique can significantly enhance the depth and vibrancy of your designs. The tutorial covers essential tips an
Create Metal Gradients in Photoshop
Nathaniel Dodson, a renowned expert from TutVid, shares a Photoshop tutorial that explores the art of creating metal gradients. The tutorial offers a nostalgic journey into the realm of skeuomorphic design, guiding the user through the process of crafting a captivating metal gradient. The author delves into the intricacies of color selection, providing valuable insights on the hues that work best for this particular design approach. By following the step-by-step instructions, the user can effor
Epic gradient trick for beautiful light rays in Photoshop
In this tutorial, Jesus Ramirez teaches you how to create stunning light rays in Photoshop using an ingenious gradient trick. By utilizing a Gradient Fill layer in an unconventional way, you can achieve a mesmerizing light ray effect that adds a dramatic touch to your photos. This method is straightforward and effective, making it accessible even for beginners. Part of the Photoshop in-app tutorials, this guide allows you to open the tutorial image directly from Photoshop and follow along with

Get tutorials & freebies delivered to you.

Subscribe to the Photoshop Roadmap newsletter, a weekly roundup of new tutorials, insights and quality downloads, trusted by 6500+ readers.

You might also like

Complete Photoshop Editing Workflow: 5 Steps from Raw to Polished

Photoshop offers endless possibilities for photo enhancement, but many photographers never move beyond basic adjustments because the software feels overwhelming. This comprehensive workflow breaks down photo editing into five manageable stages that work consistently across different photography styles. The systematic approach covers everything from initial raw processing to advanced lighting...

Photoshop Workspace Basics: Navigation, Zooming, and Essential Interface Elements

Photoshop's interface can feel overwhelming when you first open the program. Dozens of panels, tools, and menus compete for attention, making simple tasks feel complicated. This tutorial breaks down the essential workspace elements and teaches fundamental navigation skills that form the foundation of efficient Photoshop work. Watch the...

How to Restore Old Damaged Photos Using Nano Banana in Photoshop

Old family photos with scratches, tears, and missing sections can seem beyond repair. Google's Nano Banana AI model, now integrated into Photoshop, makes full restoration possible in minutes rather than hours. This powerful tool excels at maintaining facial characteristics while automatically filling in damaged areas and adding realistic...

How to Get Higher Quality Results from Photoshop's Generative Fill Tool

Photoshop's Generative Fill creates impressive AI extensions, but the results often look blurry and pixelated when viewed at full size. This quality limitation makes many AI-generated areas unusable for printing or large displays. This technique shows how to work around the 1024x1024 pixel quality limit to create much...

How to Use Photoshop's Liquify Tool for Non-Destructive Portrait Retouching

Clothing wrinkles, hair that lacks volume, and awkward fabric bunching can distract from an otherwise great portrait. Photoshop's Liquify tool offers a powerful solution for smoothing out these issues while preserving the natural look of your subject. This tutorial demonstrates how to use the Liquify tool non-destructively with...

You’ve successfully subscribed to Photoshop Roadmap
Welcome back! You’ve successfully signed in.
Great! You’ve successfully signed up.
Success! Your email is updated.
Your link has expired
Success! Check your email for magic link to sign-in.