Create Fire Text with Motion Blur and Gradients in Photoshop

Create Fire Text with Motion Blur and Gradients in Photoshop

Fire text effects bring raw energy and dynamic movement to any design project. The combination of motion blur and colorful gradients creates the illusion of blazing flames trailing behind text, perfect for logos, posters, and dramatic typography.

This technique transforms static lettering into something that appears to be racing across the screen, leaving a fiery wake behind it.

Watch the Tutorial

Video by P A N T E R. Any links or downloads mentioned by the creator are available only on YouTube

The Science Behind Motion Blur Effects

Motion blur occurs naturally when objects move faster than a camera can capture them in a single frame. In digital design, this effect creates the impression of speed and energy. Tilt-shift blur becomes particularly useful for text effects because it allows selective focus areas while blurring others.

The key lies in combining multiple blur techniques. Gaussian blur softens edges uniformly, while median filters reduce noise and create smoother transitions. Tilt-shift adds directional blur that mimics the natural physics of motion.

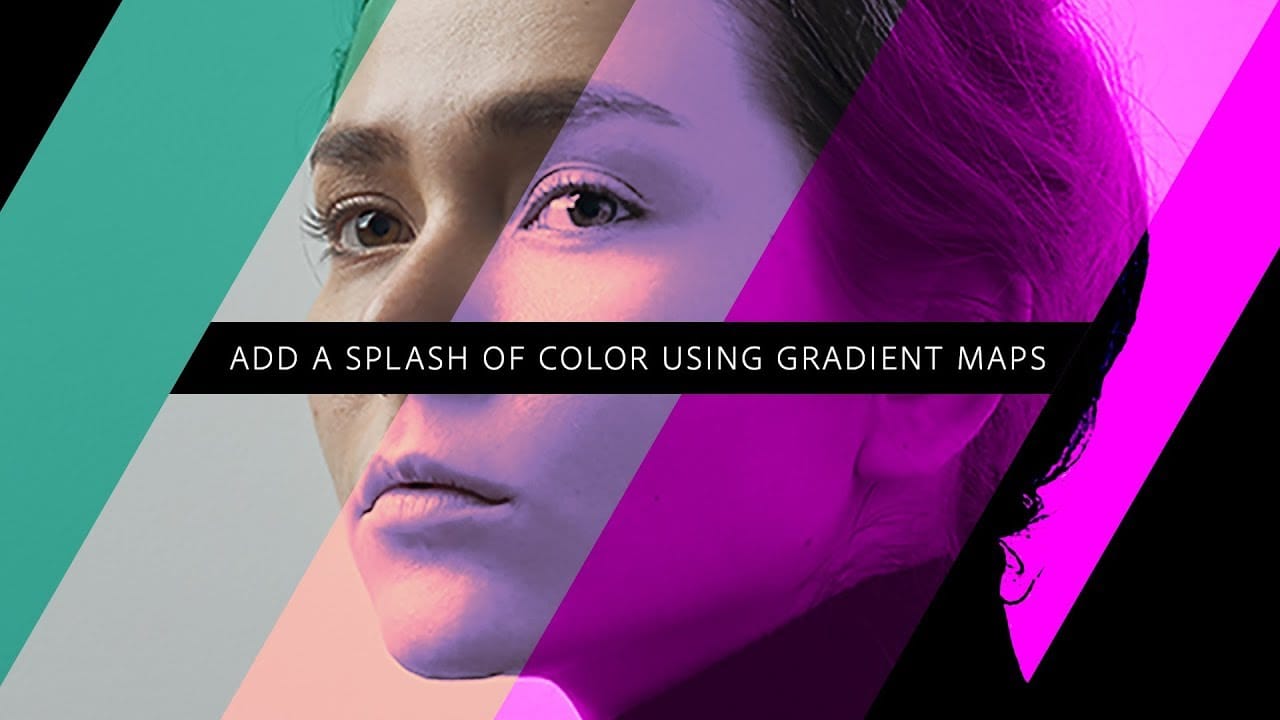
Gradient maps then transform these blur patterns into convincing flame colors. The technique maps brightness values to specific colors, with darker areas becoming deep blues and cyans while brighter regions turn into yellows, oranges, and reds — exactly how real fire behaves.

Practical Tips for Motion Blur Text

  • Choose bold, expanded fonts that provide enough surface area for the blur effects to work effectively
  • Convert text to smart objects before applying filters to maintain editability throughout the process
  • Use Shift+click with the brush tool to create perfectly straight lines when masking unwanted blur artifacts
  • Stretch blur effects beyond the original text boundaries to create realistic motion trails that extend naturally
  • Build gradient maps with colors that transition from cool to warm, mimicking how fire appears in real photography

Explore more techniques for creating dynamic visual effects in Photoshop.

Cerate Stunning Gradient Effects in Photoshop
In this Photoshop tutorial, Trish from Quistt Photoshop demonstrates how to create stunning colorful gradients. This technique is perfect for enhancing lettering designs and art posters. Follow along to learn how to apply vibrant gradients that will make your designs pop. Trish walks you through the process of using gradient tools and adjustment layers to craft beautiful, seamless transitions of color. You'll discover how to use gradients to add depth and dimension to your designs, making them
Beautiful Photo Blur Effect in Photoshop
Applying a beautiful blur effect to your photos in Photoshop has never been easier. Jessica Kobeissi's tutorial guides you through the process, showing you how to achieve a stunning, professional-looking result. With just a few simple steps, you can transform your images and add a touch of elegance. The blur effect creates a soft, dreamy look that draws the viewer's attention to the focal point of your photograph. Whether you're looking to enhance a portrait or add a creative flair to a landsca
Automatically blur backgrounds in Photoshop
Aaron Nace dives into Photoshop's new Depth Blur Neural Filter, a tool designed to simplify the process of blurring backgrounds and simulating a shallow depth of field. This tutorial covers how to use this feature to quickly achieve a soft, out-of-focus background with minimal effort. Aaron provides a step-by-step guide on applying the Depth Blur Neural Filter, highlighting its ease of use and efficiency. He also examines the tool's performance, discussing its strengths and any potential limita
Add a splash of color using gradient maps in Photoshop
In this engaging tutorial, Adobe Evangelist Paul Trani reveals the power of Gradient Maps in Photoshop to introduce stunning colors to your designs. Gradient Maps are a versatile tool that applies color gradients to your images, enabling you to create striking visual effects with ease. Paul walks you through the process of applying and adjusting Gradient Maps, demonstrating how this technique can significantly enhance the depth and vibrancy of your designs. The tutorial covers essential tips an

Get tutorials & freebies delivered to you.

Subscribe to the Photoshop Roadmap newsletter, a weekly roundup of new tutorials, insights and quality downloads, trusted by 6500+ readers.

You might also like

Complete Photoshop Editing Workflow: 5 Steps from Raw to Polished

Photoshop offers endless possibilities for photo enhancement, but many photographers never move beyond basic adjustments because the software feels overwhelming. This comprehensive workflow breaks down photo editing into five manageable stages that work consistently across different photography styles. The systematic approach covers everything from initial raw processing to advanced lighting...

Photoshop Workspace Basics: Navigation, Zooming, and Essential Interface Elements

Photoshop's interface can feel overwhelming when you first open the program. Dozens of panels, tools, and menus compete for attention, making simple tasks feel complicated. This tutorial breaks down the essential workspace elements and teaches fundamental navigation skills that form the foundation of efficient Photoshop work. Watch the...

How to Restore Old Damaged Photos Using Nano Banana in Photoshop

Old family photos with scratches, tears, and missing sections can seem beyond repair. Google's Nano Banana AI model, now integrated into Photoshop, makes full restoration possible in minutes rather than hours. This powerful tool excels at maintaining facial characteristics while automatically filling in damaged areas and adding realistic...

How to Get Higher Quality Results from Photoshop's Generative Fill Tool

Photoshop's Generative Fill creates impressive AI extensions, but the results often look blurry and pixelated when viewed at full size. This quality limitation makes many AI-generated areas unusable for printing or large displays. This technique shows how to work around the 1024x1024 pixel quality limit to create much...

How to Use Photoshop's Liquify Tool for Non-Destructive Portrait Retouching

Clothing wrinkles, hair that lacks volume, and awkward fabric bunching can distract from an otherwise great portrait. Photoshop's Liquify tool offers a powerful solution for smoothing out these issues while preserving the natural look of your subject. This tutorial demonstrates how to use the Liquify tool non-destructively with...

You’ve successfully subscribed to Photoshop Roadmap
Welcome back! You’ve successfully signed in.
Great! You’ve successfully signed up.
Success! Your email is updated.
Your link has expired
Success! Check your email for magic link to sign-in.