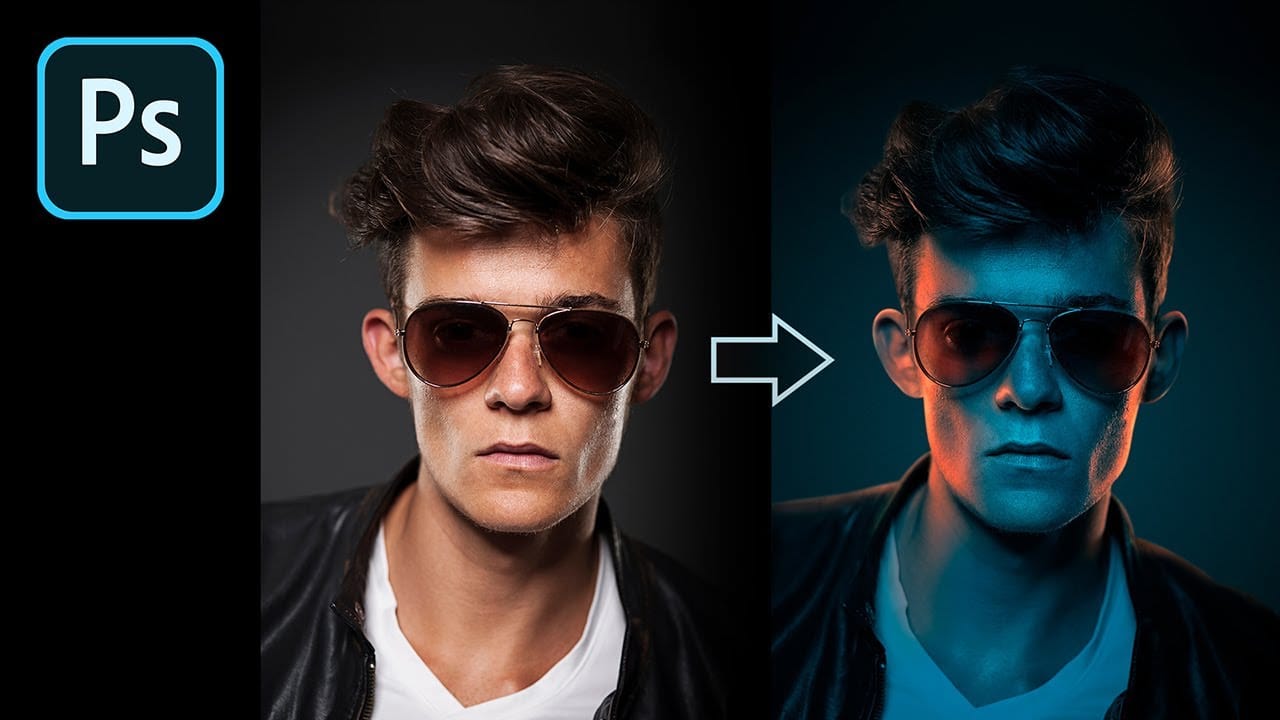
Adding artificial light to a portrait can dramatically transform its mood and visual impact, offering creative control far beyond what natural or studio lighting might initially provide. This technique allows artists to craft specific atmospheres, highlight key features, and introduce dynamic elements that enhance the subject's presence.
This tutorial explores a comprehensive method for creating realistic fake lights and, crucially, their corresponding shadows in Photoshop. You will learn how to build light streaks, define their flow, and integrate complex masking techniques to ensure the lighting appears natural and believable on your subject.
Watch the Video
The Interplay of Light and Shadow in Digital Art
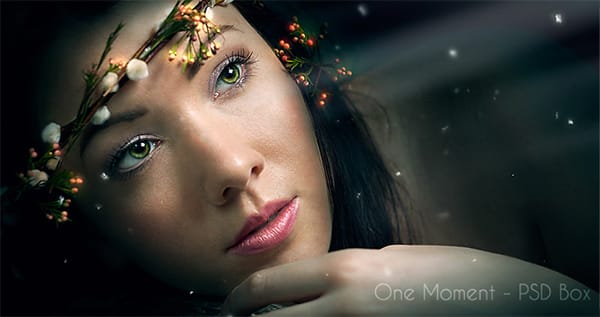
In digital image manipulation, the successful addition of artificial light hinges not just on the light itself, but equally on the accurate depiction of shadows. Light and shadow are inseparable; one defines the other, creating depth, form, and realism. Without convincing shadows, even the most brilliantly rendered light will appear flat and unconvincing, failing to integrate with the existing scene.
Achieving this realism involves understanding how light interacts with different surfaces and forms. For instance, light hitting skin often produces a subtle red or orange glow around the edges due to subsurface scattering, a detail crucial for believability. Similarly, the sharpness or softness of a shadow indicates the proximity of the object casting it and the nature of the light source—a concept vital for distinguishing between harsh, nearby shadows and softer, more distant ones.
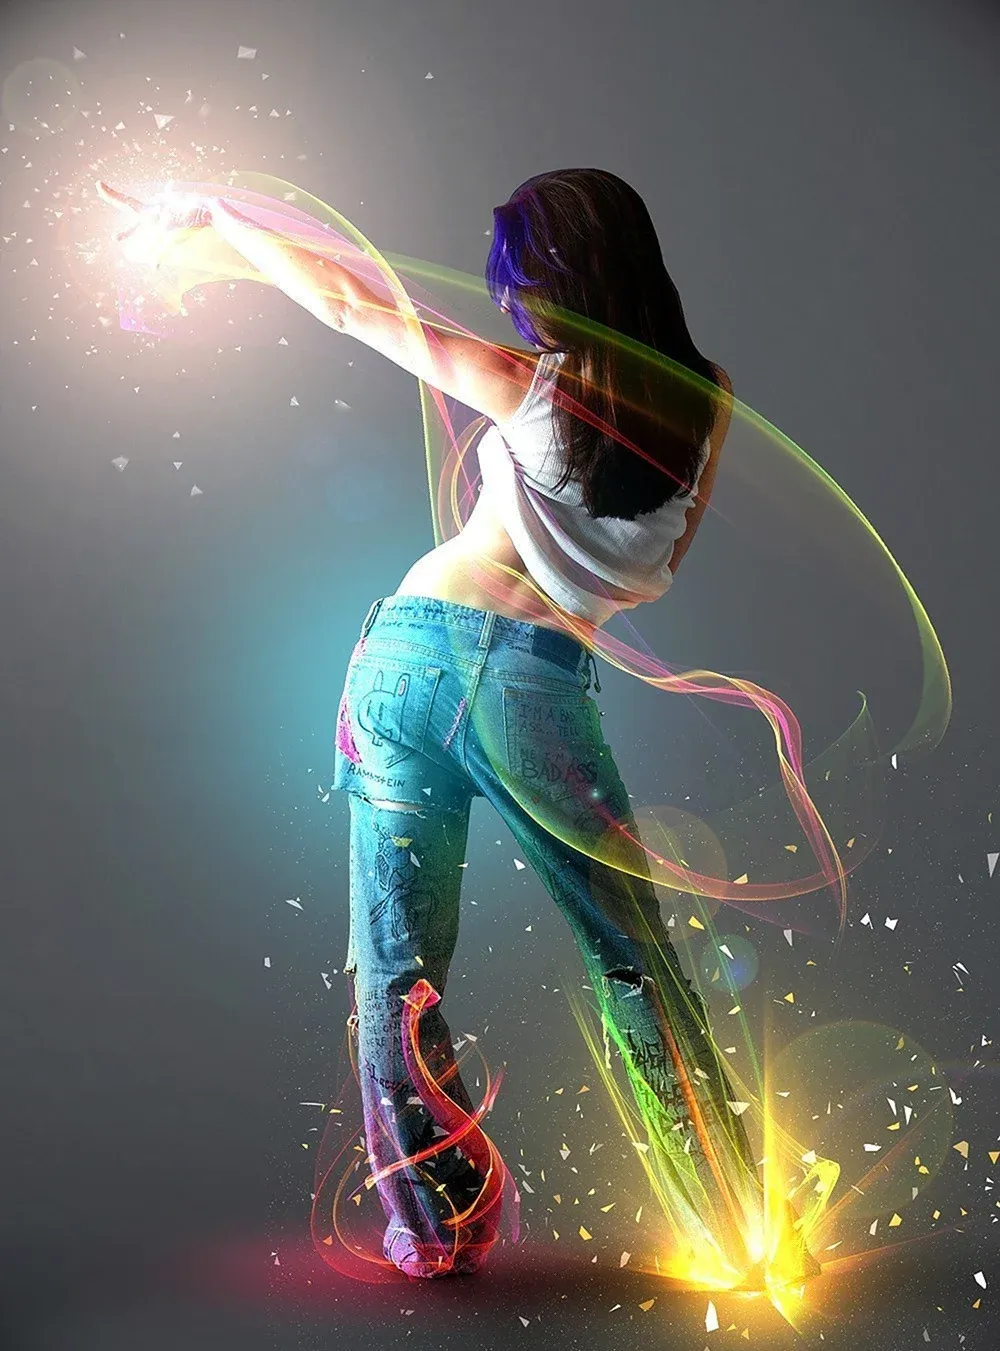
Mastering these nuances allows for the creation of dynamic lighting scenarios that enhance the narrative and aesthetic of an image, transforming a simple portrait into a compelling visual story.
Practical Tips for Faking Light in Photoshop
- Convert light streaks to Smart Objects to allow for non-destructive transformations and distortions.
- Utilize nested groups and masks to manage complex selections and maintain flexibility for future adjustments.
- Adjust feathering on masks to control shadow harshness; nearby shadows require less feathering, while light fall-off areas need more.
- Add a subtle red or orange solid color layer with an Overlay blend mode to simulate subsurface scattering on skin where light hits.
- Employ the Blend If feature to seamlessly integrate lighting effects by removing them from underlying dark or bright areas.
More Tutorials about Lighting Effects in Photoshop
Explore additional resources to further enhance your understanding and application of lighting effects in Photoshop.