Men's facial hair rarely grows evenly, leaving patchy spots that stand out in portraits. From sparse beard areas to missing mustache sections, these gaps can detract from an otherwise polished look.
This tutorial demonstrates how to create custom brushes that paint realistic facial hair, complete with natural color variation and highlights that match existing growth patterns.
Watch the Tutorial
Essential Tips for Creating Facial Hair
Master these key techniques to paint convincing facial hair that blends seamlessly with natural growth.
- Create your base hair on a white background — Paint a single hair strand with black paint at 80% brush hardness, then add a white rectangle behind it before defining the custom brush preset.
- Configure brush dynamics for natural variation — Enable Shape Dynamics with maximum Size Jitter, Angle Jitter, and Roundness Jitter to create hairs of different sizes and orientations.
- Set angle control to Direction — This makes hair follow your brush stroke direction, allowing you to paint downward for natural facial hair flow or sideways for mustache growth.
- Sample multiple hair colors from the original — Use the eyedropper to capture dark brown, black, and lighter tones from existing facial hair, then paint with each color on separate layers.
- Add highlights with white paint — Create a new layer above your hair and paint select strands with white at reduced opacity to simulate light catching individual hairs.
More Tutorials About Hair and Portrait Retouching
Explore additional techniques for working with hair and facial features in portrait photography.
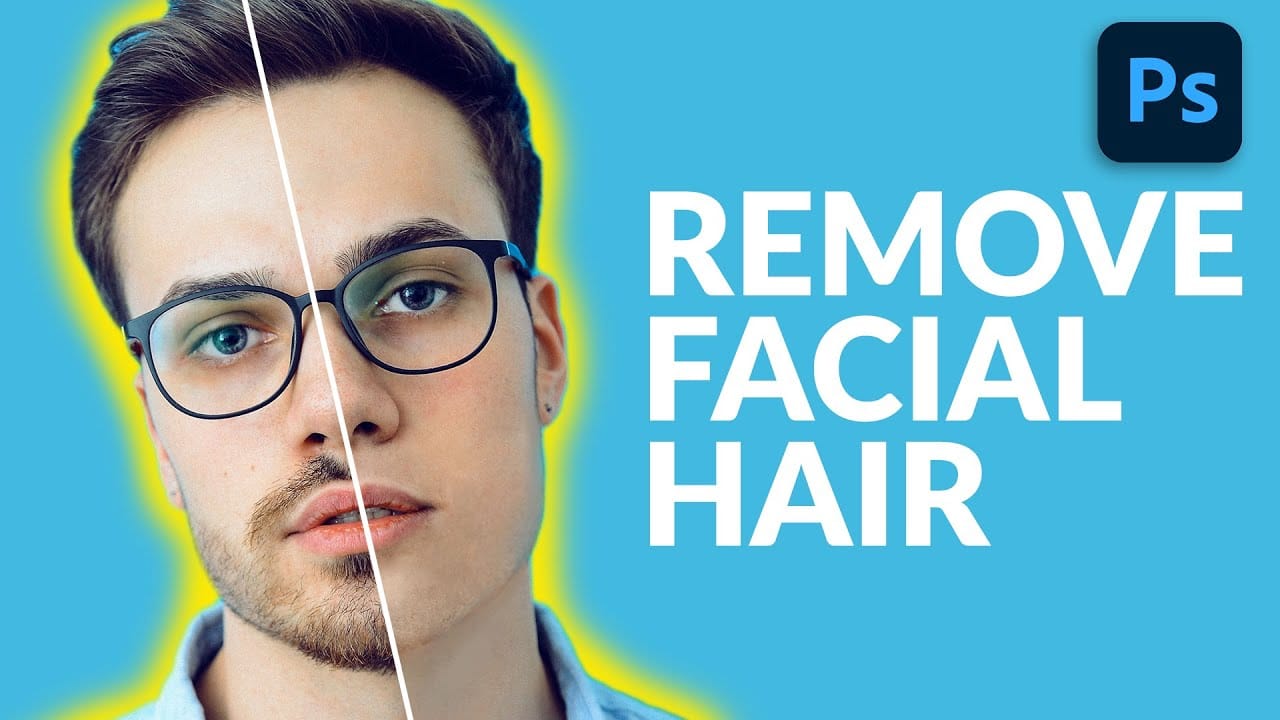
How to Remove Facial Hair in Photoshop
In today's tutorial, we will guide you through the process of effectively removing facial hair in Photoshop! Whether your subject has a prominent, full-on beard or merely a subtle 5 o'clock shadow, this lesson will equip you with the skills to paint away unwanted facial hair using the Brush Tool.
Additionally, you will learn how to recreate realistic skin texture by utilizing a second reference image, ensuring a natural look. We will also cover how to blend everything seamlessly together, emplo
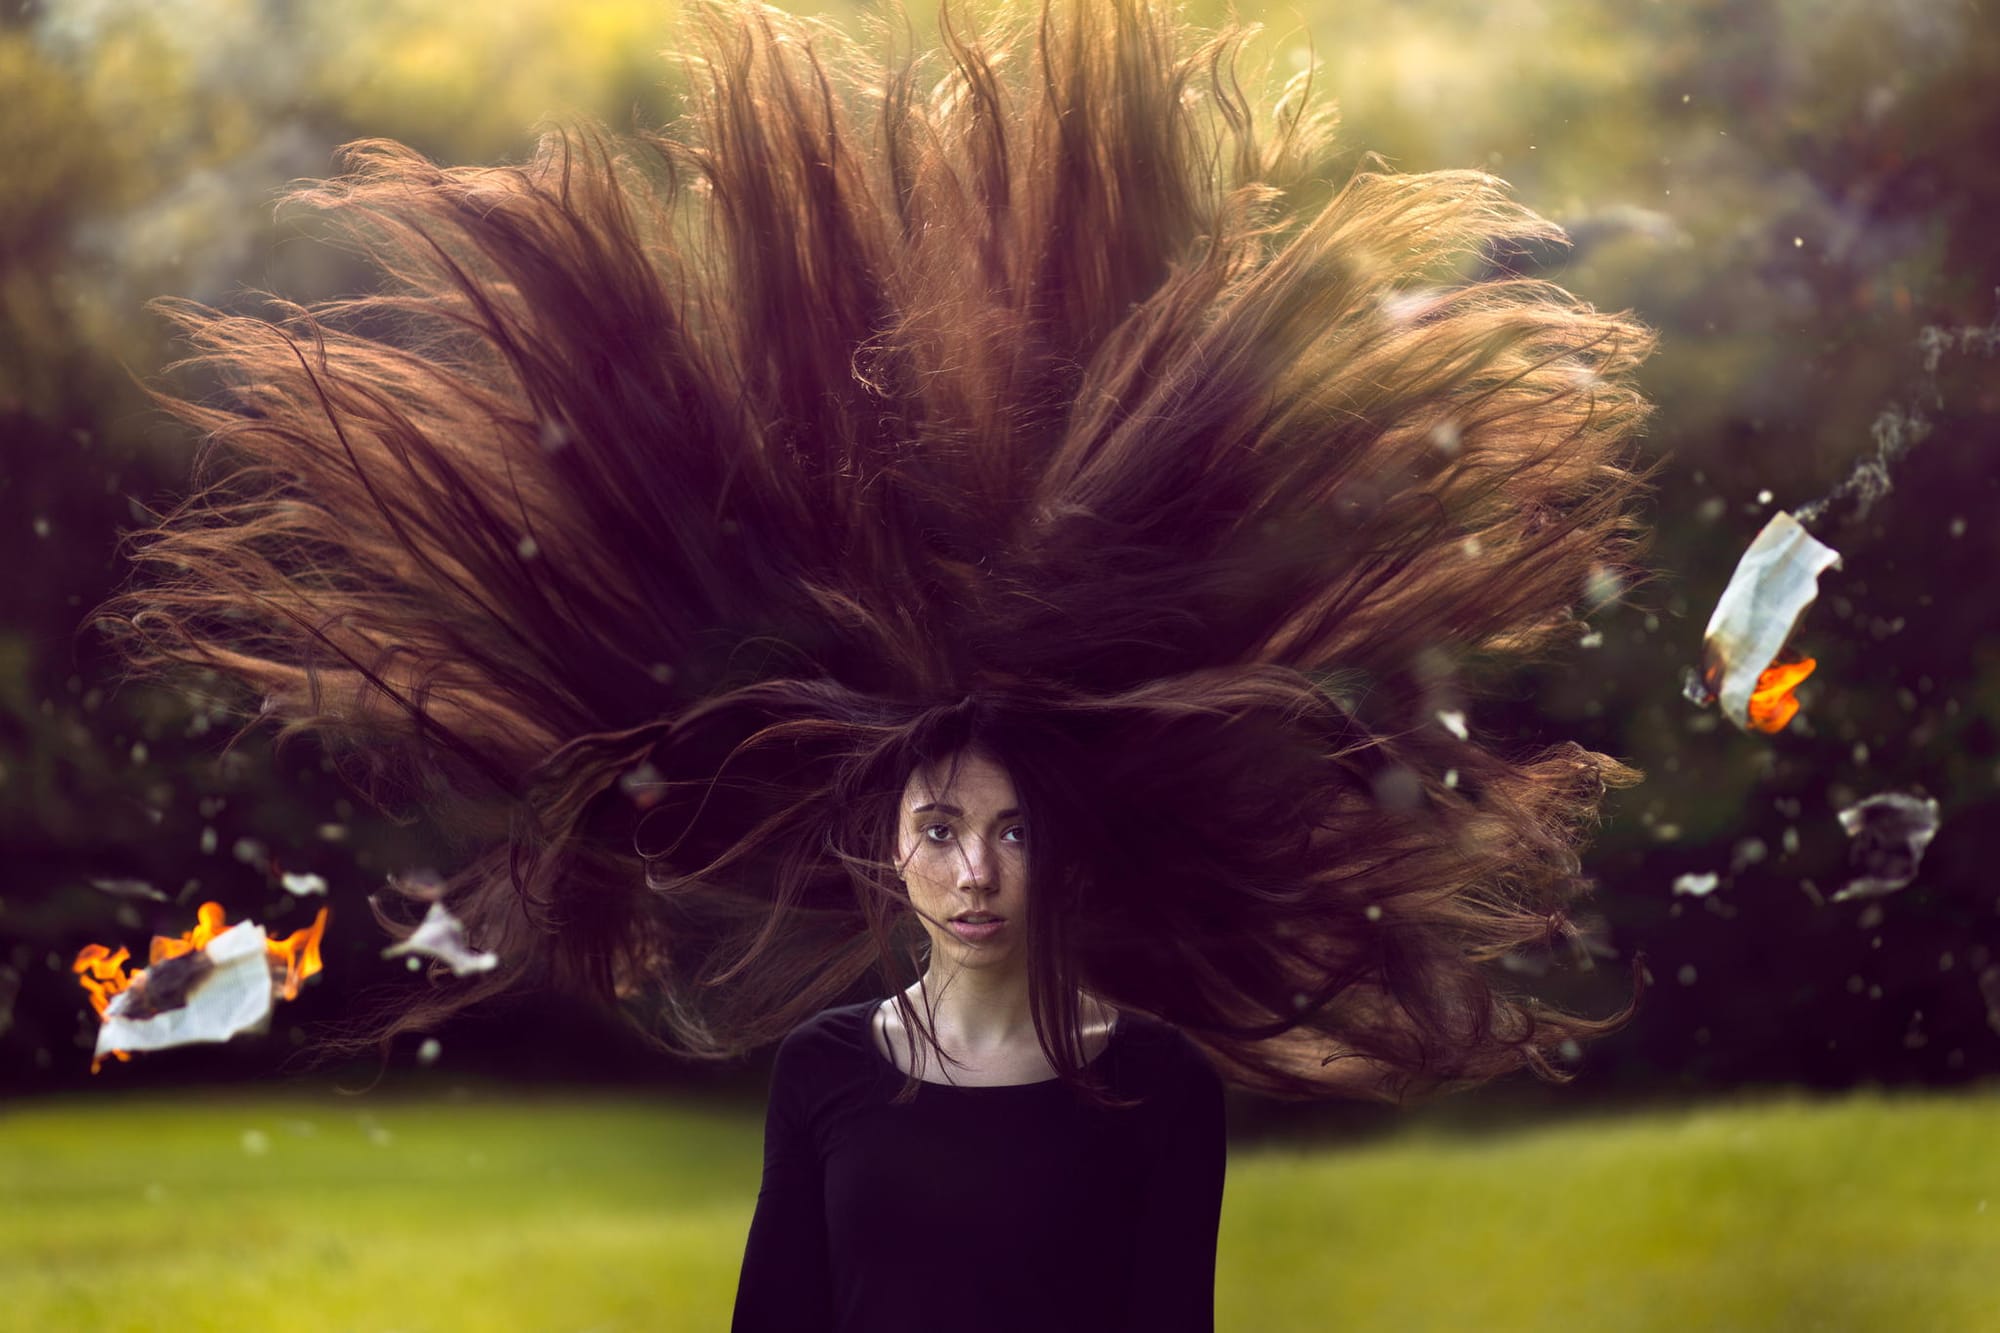
How to create a dramatic hair composition in Photoshop
This tutorial by Adrian Chudek on 500px ISO details how to create dramatic, long-haired portraits using Photoshop.
Start by choosing a suitable location and setting up your camera on a tripod. Direct the model to toss her hair while shooting multiple frames to capture hair from all angles. Photograph the model's face separately with controlled hair placement. Add an element like burning paper for dynamic effect, capturing various positions with consistent camera settings. In post-processing, me
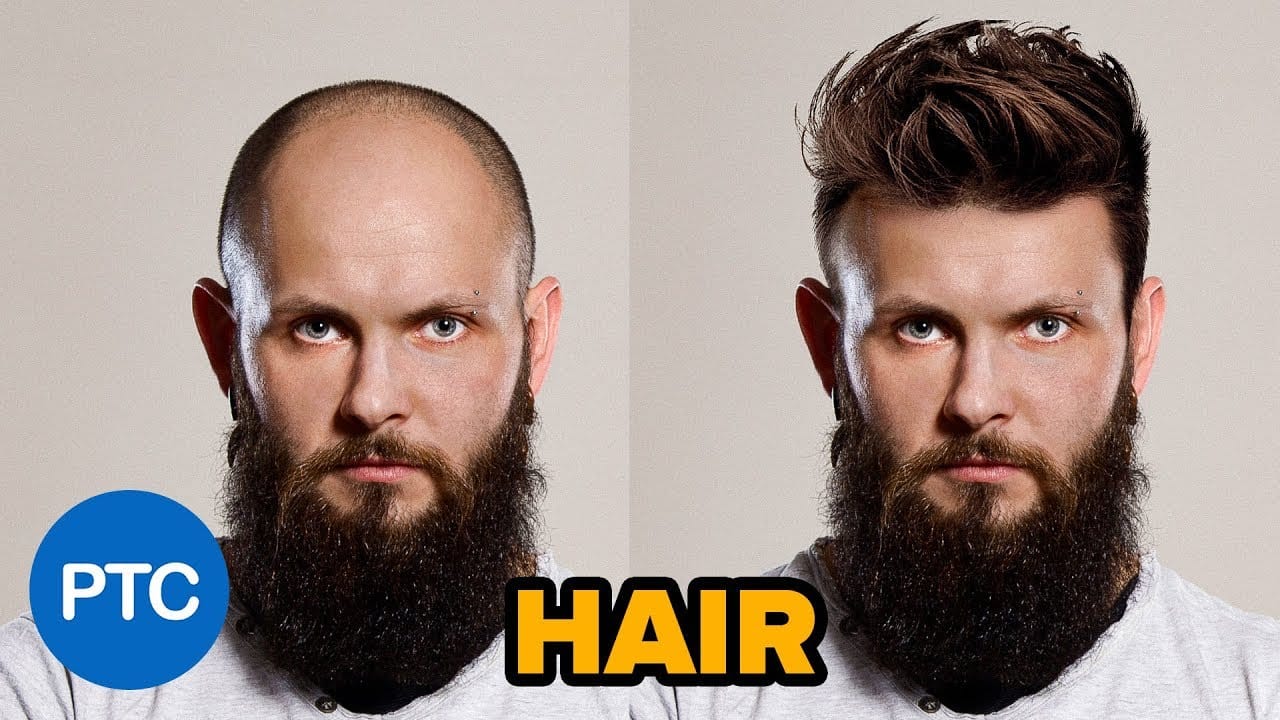
How to change hairstyles in Photoshop
In this Photoshop tutorial, Jesús Ramírez from the Photoshop Training Channel shows you how to composite hair into a photo to give a person a new hairstyle. This is not a tutorial about painting hair, as that would make it difficult to achieve realistic results.
Instead, the author takes the hair from another photo and adds it to the bald man's head using Photoshop's transform tools. This approach allows for a more natural-looking result than trying to paint the hair from scratch. By following
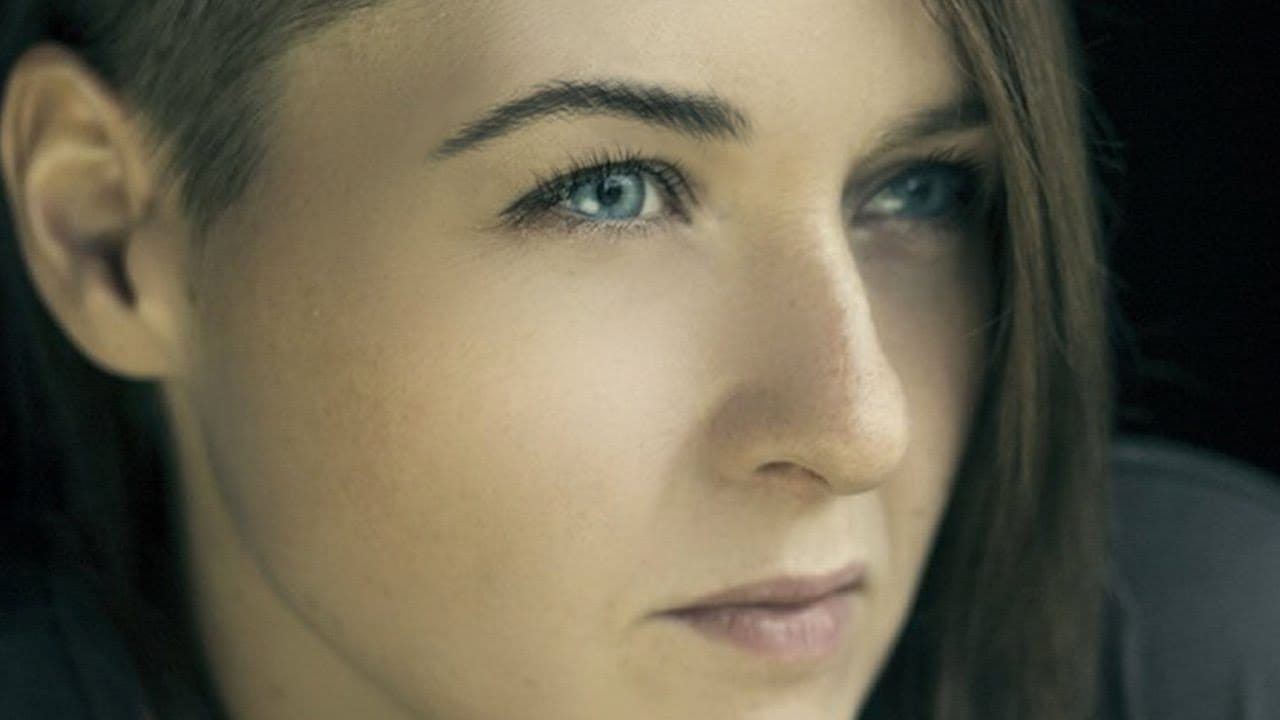
Create and Shape Eyebrows in Photoshop
In this tutorial by Aaron Nace from Phlearn, you'll learn how to create and shape eyebrows in Photoshop using custom brushes.
Emphasizing the transformative power of eyebrows in portraits, Aaron demonstrates how to use the Pen Tool to create a path resembling individual hairs. This path is then stroked with the Brush Tool to simulate natural hair texture, with settings adjusted to mimic varying pressure. Additionally, Aaron provides custom eyebrow brushes for download, simplifying the process f