Create Deep Blue Skies Using Photoshop's Selective Color Tool

Create Deep Blue Skies Using Photoshop's Selective Color Tool

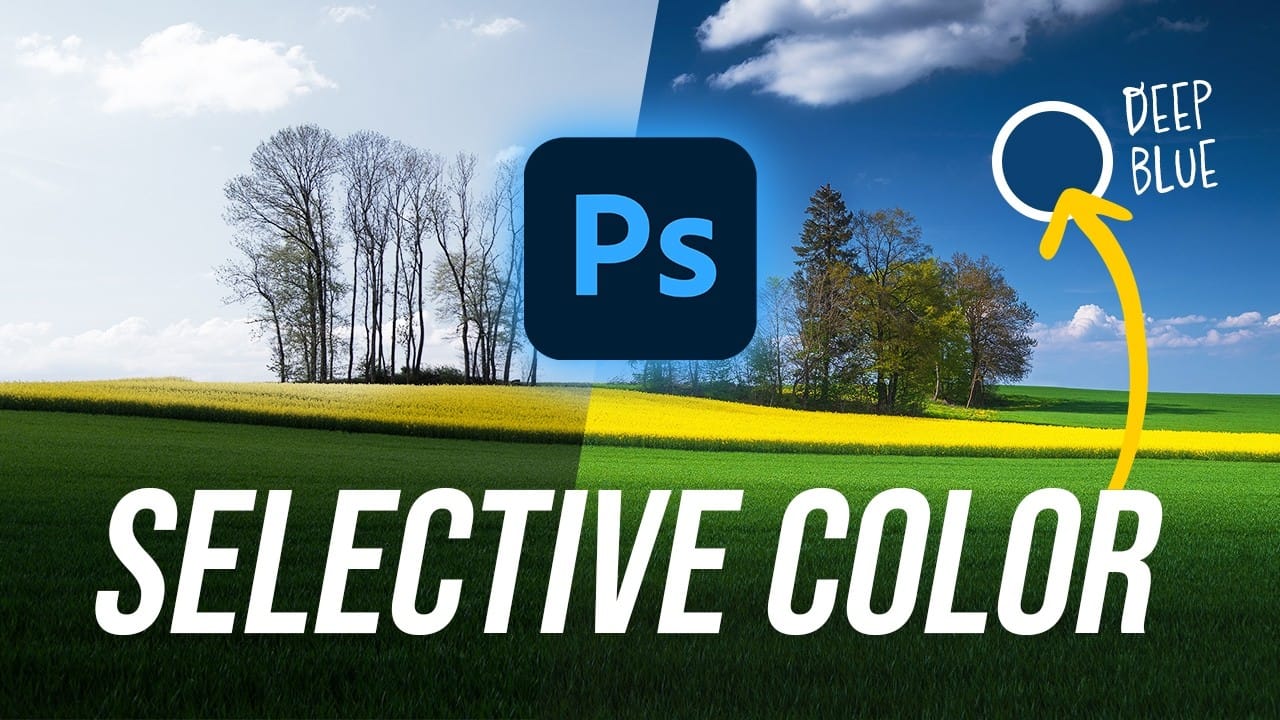
Blue skies can make or break a landscape photograph. When they appear too intense or cartoonish, they distract from the entire image. When they look flat and lifeless, the whole scene loses its impact.

This video demonstrates how to create rich, dramatic skies using Photoshop's selective color adjustment layer. The technique produces natural-looking results that enhance rather than overpower your landscape images.

Watch the Tutorial

Video by Christian Möhrle - The Phlog Photography. Any links or downloads mentioned by the creator are available only on YouTube

Practical Tips for Sky Color Adjustment

  • Start with the blue color channel in selective color, then fine-tune cyan tones for comprehensive coverage
  • Increase the yellow slider gradually to reduce overly intense blue tones without creating unnatural colors
  • Adjust the black slider upward to darken blue areas and create stronger contrast with white clouds
  • Save your selective color settings as a preset to maintain consistency across similar landscape images
  • Combine selective color with masking techniques to limit adjustments to sky areas only

More Tutorials about Sky Enhancement

Explore these additional resources for advanced sky editing techniques.

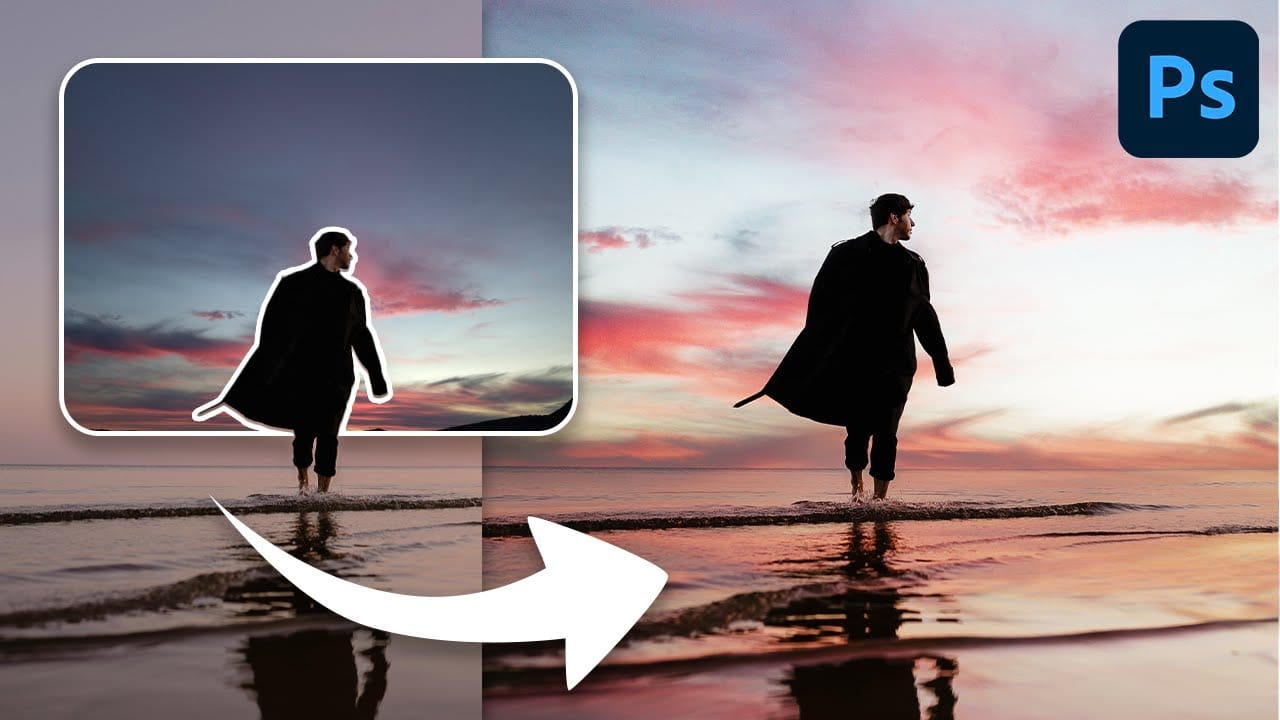
Create colorful dramatic skies with a simple blending trick in Photoshop
A photograph's impact often starts with its sky. A drab or overexposed backdrop can diminish an otherwise strong image, leaving it flat or uninspired. Elevate your photos by transforming ordinary skies into vibrant, dramatic elements that capture attention. This guide explores a powerful, yet simple Photoshop technique. It uses the Blend If feature to effortlessly integrate colorful new atmospheric elements. You can create stunning, colorful skies that truly enhance your imagery. Watch the Fu
Add clouds to a sky in Photoshop
Transforming a photo's atmosphere often starts with its sky. A dull, overexposed, or uninteresting sky can detract from an otherwise great image, leaving it feeling flat or uninspired. Enhancing or replacing the sky can dramatically improve the scene, introducing vibrant colors, dramatic clouds, or a serene backdrop. This tutorial provides a straightforward method for updating skies in Photoshop, allowing creators to effortlessly blend new atmospheric elements into their photos. It covers every
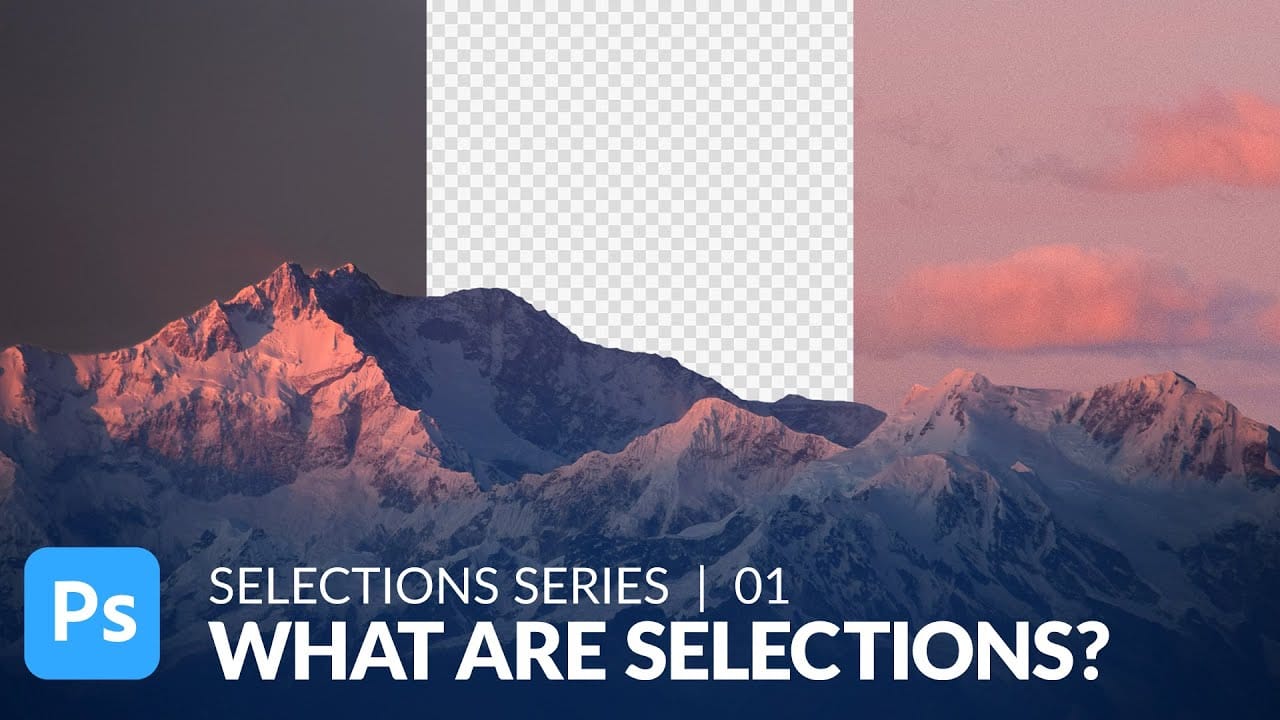
Use Simple Selection Tools to Replace a Sky in Photoshop
In this tutorial, Aaron Nace demonstrates how to effectively use basic selection tools in Photoshop to replace the sky in landscape photos. Selections are crucial for isolating specific areas in your image, and this tutorial breaks down their fundamental functions and applications. Aaron guides you through the process of making precise selections to isolate the sky from the rest of the image. He then shows you how to seamlessly replace it with a new sky, enhancing the overall mood and impact of
How To Easily Change The Sky In Photoshop
Transforming the mood and visual impact of a photograph often begins with its sky. A drab or overexposed sky can diminish the overall appeal of an otherwise great image, leaving it feeling flat or uninspired. Replacing the sky can dramatically enhance the scene, introducing vibrant colors, dramatic clouds, or a serene atmosphere. This tutorial provides a straightforward method for updating skies in Photoshop, allowing creators to effortlessly blend new atmospheric elements into their photos. It

Get tutorials & freebies delivered to you.

Subscribe to the Photoshop Roadmap newsletter, a weekly roundup of new tutorials, insights and quality downloads, trusted by 6500+ readers.

You might also like

Complete Photoshop Editing Workflow: 5 Steps from Raw to Polished

Photoshop offers endless possibilities for photo enhancement, but many photographers never move beyond basic adjustments because the software feels overwhelming. This comprehensive workflow breaks down photo editing into five manageable stages that work consistently across different photography styles. The systematic approach covers everything from initial raw processing to advanced lighting...

Photoshop Workspace Basics: Navigation, Zooming, and Essential Interface Elements

Photoshop's interface can feel overwhelming when you first open the program. Dozens of panels, tools, and menus compete for attention, making simple tasks feel complicated. This tutorial breaks down the essential workspace elements and teaches fundamental navigation skills that form the foundation of efficient Photoshop work. Watch the...

How to Restore Old Damaged Photos Using Nano Banana in Photoshop

Old family photos with scratches, tears, and missing sections can seem beyond repair. Google's Nano Banana AI model, now integrated into Photoshop, makes full restoration possible in minutes rather than hours. This powerful tool excels at maintaining facial characteristics while automatically filling in damaged areas and adding realistic...

How to Get Higher Quality Results from Photoshop's Generative Fill Tool

Photoshop's Generative Fill creates impressive AI extensions, but the results often look blurry and pixelated when viewed at full size. This quality limitation makes many AI-generated areas unusable for printing or large displays. This technique shows how to work around the 1024x1024 pixel quality limit to create much...

How to Use Photoshop's Liquify Tool for Non-Destructive Portrait Retouching

Clothing wrinkles, hair that lacks volume, and awkward fabric bunching can distract from an otherwise great portrait. Photoshop's Liquify tool offers a powerful solution for smoothing out these issues while preserving the natural look of your subject. This tutorial demonstrates how to use the Liquify tool non-destructively with...

You’ve successfully subscribed to Photoshop Roadmap
Welcome back! You’ve successfully signed in.
Great! You’ve successfully signed up.
Success! Your email is updated.
Your link has expired
Success! Check your email for magic link to sign-in.