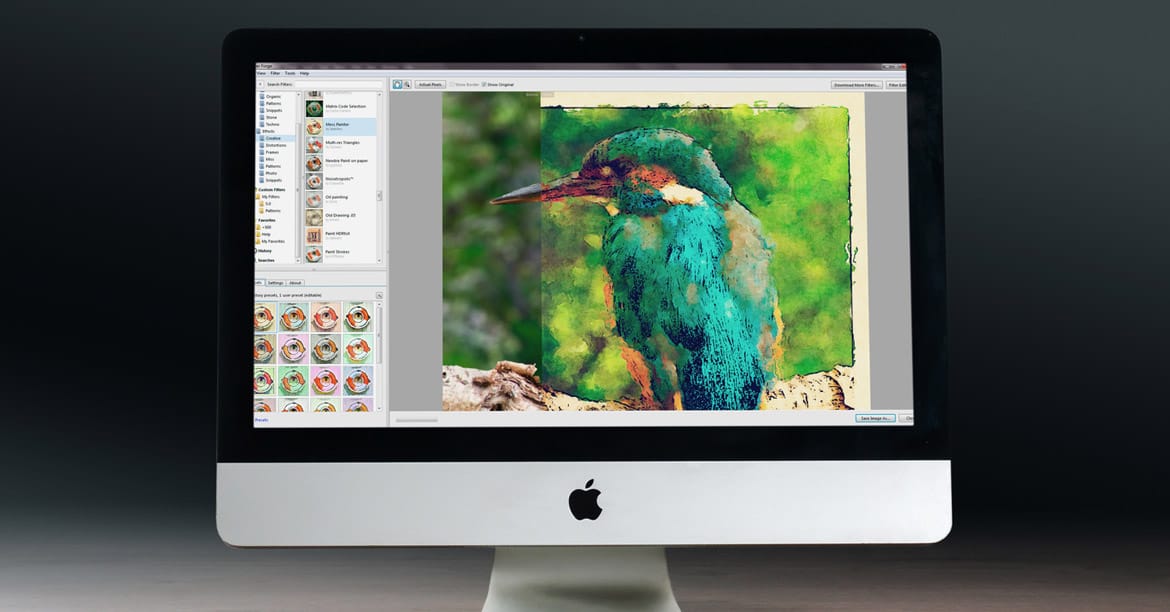
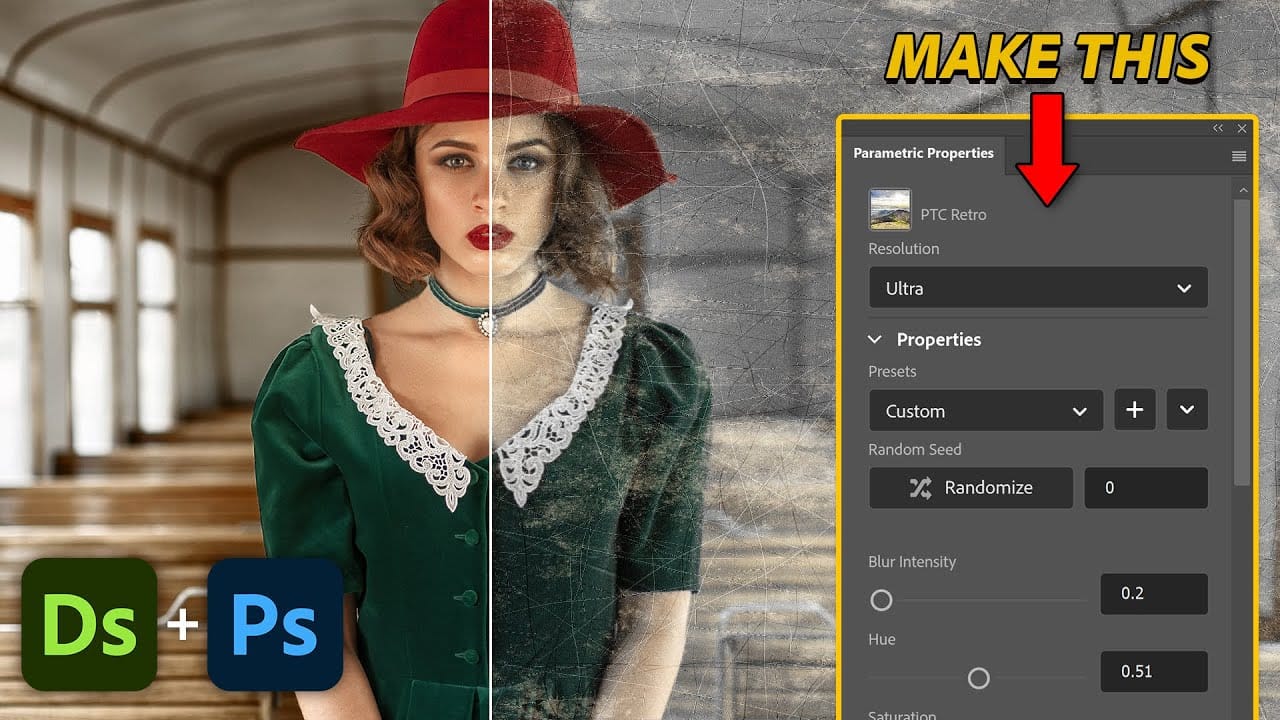
Photoshop's Parametric Filters unlock a new dimension of creative control, offering fully customizable and interactive effects that can be applied to any layer. Unlike traditional static filters, parametric filters are dynamic, allowing for real-time adjustments and a non-destructive workflow.
This tutorial delves into the process of crafting these advanced filters using Adobe Substance Designer, guiding you through the essential components and techniques needed to build sophisticated, user-controlled effects for your Photoshop projects.
Watch the Video
Understanding Parametric Materials and Node-Based Design
Adobe Substance Designer is a powerful application primarily used for creating dynamic, adjustable textures, structures, and materials, particularly for 3D models. Its core strength lies in its node-based editing system, where each node represents a specific effect or adjustment. By intuitively connecting these nodes, artists and designers can construct complex materials and visual effects.
What sets Substance Designer apart is its ability to create parametric materials. This means that instead of just saving the final image, the application saves the entire process used to generate that image. This non-destructive workflow offers immense flexibility, enabling infinite variations and adjustments without redoing work from scratch. Crucially, this same parametric technology can be harnessed to develop custom filters for direct use within Photoshop.
The concept of a node-based system provides a modular approach to design. Individual operations, like blurring, color adjustment, or noise generation, are encapsulated within distinct nodes. These nodes have inputs and outputs, allowing for a visual flow of information and effects. This visual programming paradigm makes it easier to understand, debug, and modify complex filter chains, extending its utility beyond traditional static image creation.
Practical Tips for Creating Parametric Filters
- Use
Expose as New Graph Inputfrom a node's Flyout menu to create adjustable sliders and controls directly in Photoshop. - Ensure node compatibility by paying attention to color (orange) versus grayscale (gray) outputs and inputs, utilizing nodes like
RGBA mergeorGradient Mapfor necessary conversions. - Optimize your graph layout by organizing nodes logically; use the
Fkey to frame everything on screen, and the mouse wheel for efficient zooming and panning. - Leverage the 2D view to monitor real-time changes as you adjust node properties, providing instant visual feedback on your filter's effect.
- Save your finished filter as an
.spsarfile using the 'Publish SPSAR' option from the package's export icon, making it ready for import into Photoshop's Parametric Filters panel.
More Tutorials about Photoshop Filters
Explore additional resources to enhance your understanding and capabilities with Photoshop filters.


