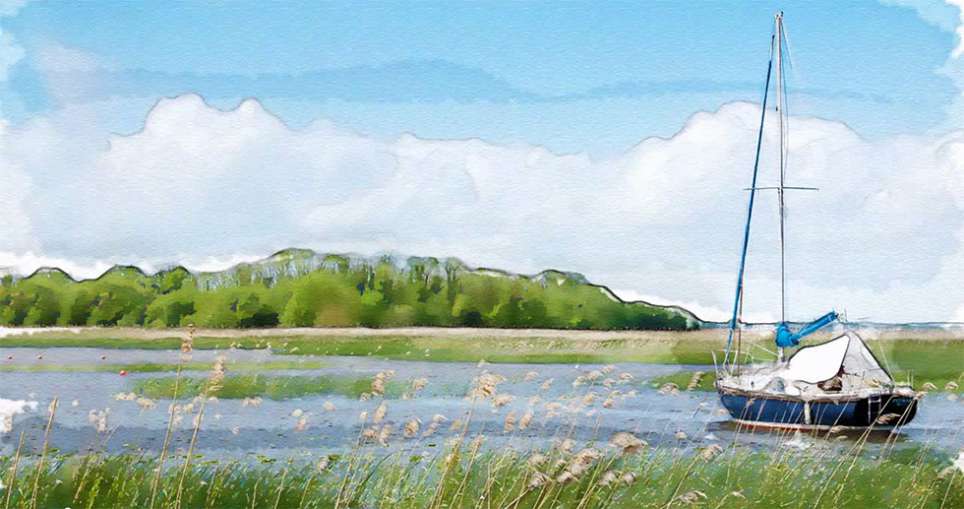
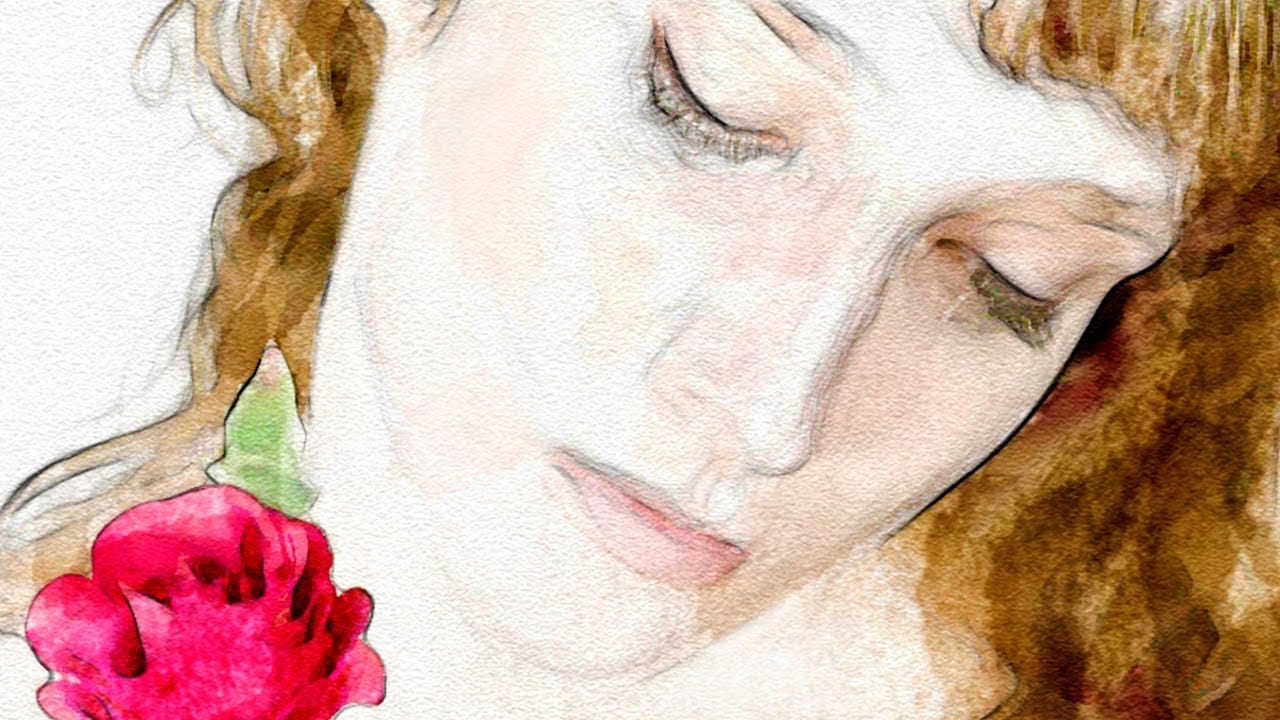
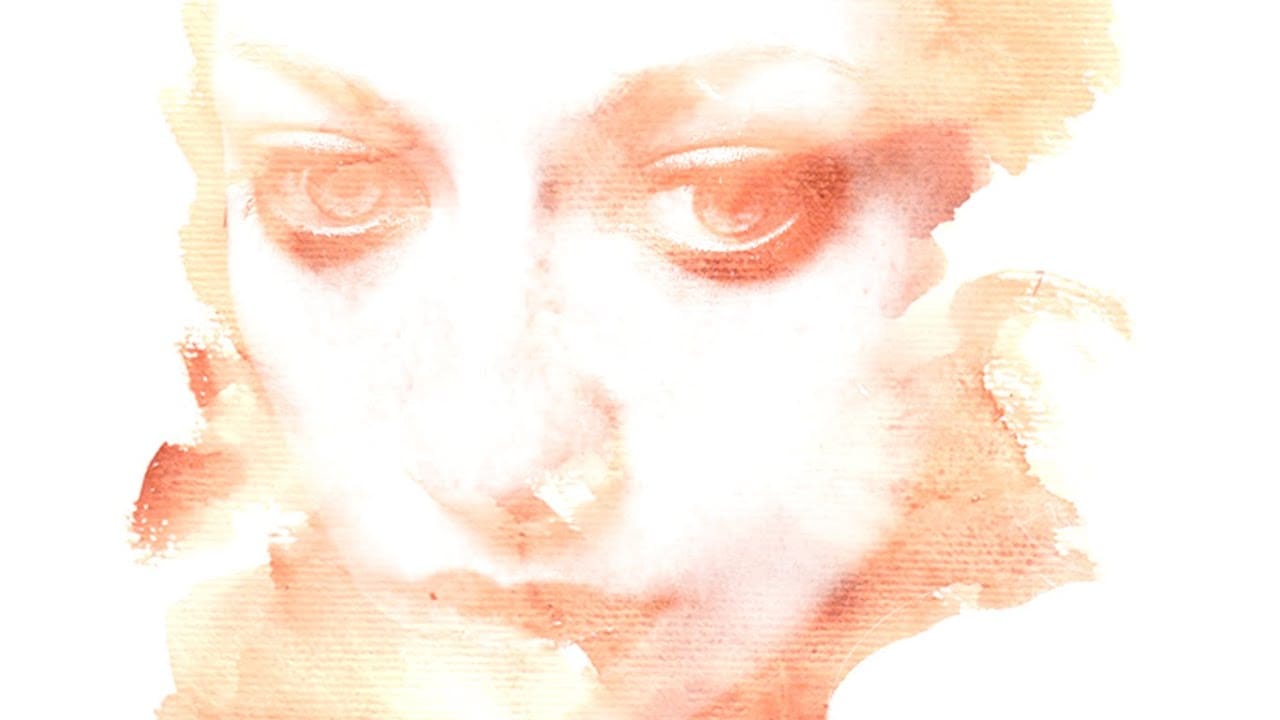
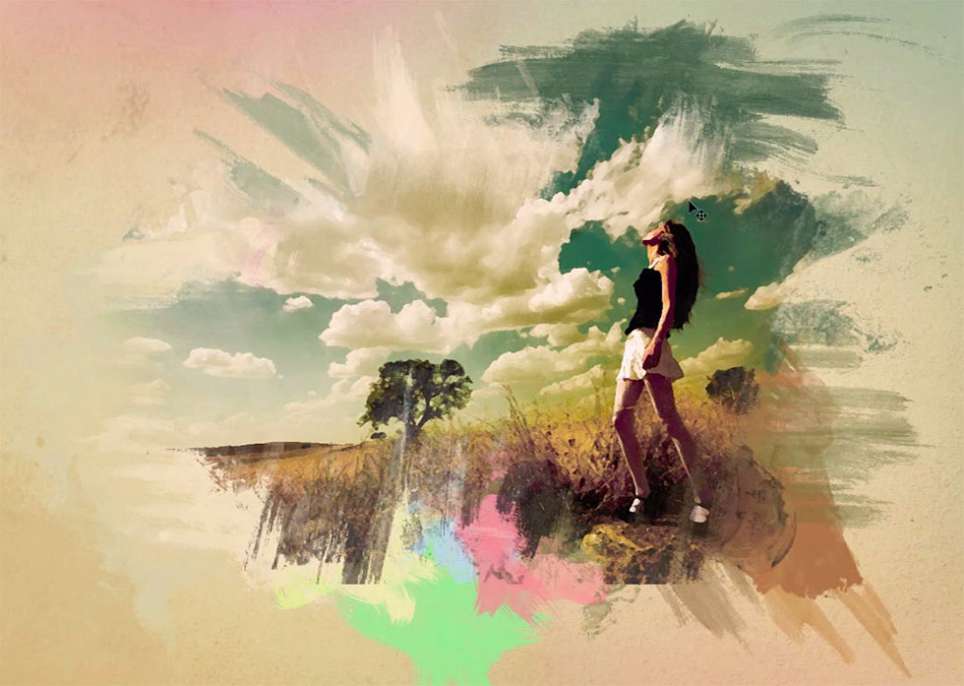
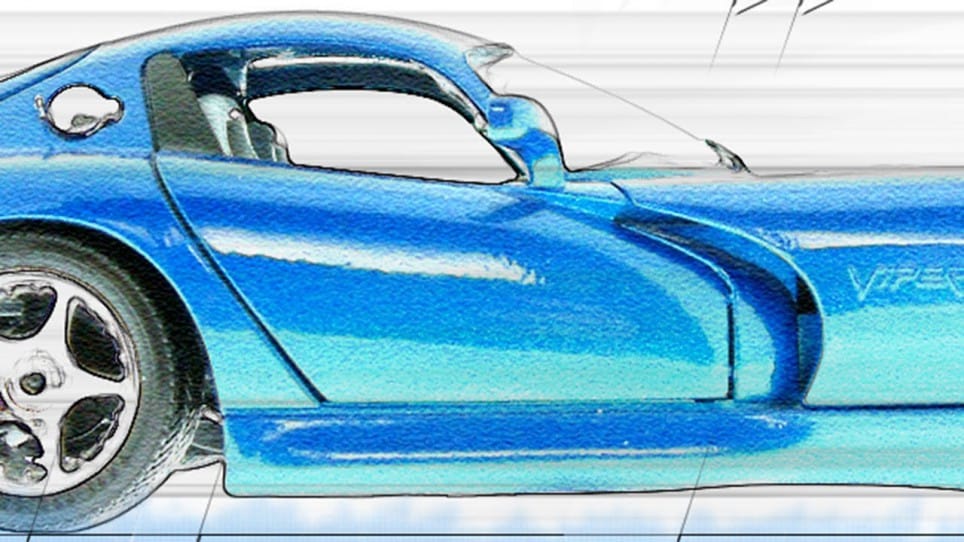
The Glowing Edges filter transforms car photography into line art with surprising precision. Marty from Blue Lightning TV demonstrates how this often-overlooked Photoshop filter creates clean pencil-like outlines when combined with specific edge width and smoothness settings. Instead of relying on complex selection methods or manual tracing, the technique leverages filter combinations and strategic layer blending to achieve professional illustration results.
This approach combines traditional automotive poster aesthetics with modern digital watercolor effects. The tutorial covers everything from initial photo preparation through final watercolor brush application, showing how motion blur creates dynamic speed lines and how custom typography complements the overall design. The method works particularly well for side-view car photography, offering a complete workflow for automotive illustration projects.
Watch the Tutorial
Understanding Filter-Based Illustration Techniques
Traditional automotive illustration requires extensive drawing skills and significant time investment. Digital filter techniques democratize this process by automating the most challenging aspects: edge detection and line creation. The Glowing Edges filter analyzes contrast boundaries within images, extracting clean line work that mimics hand-drawn illustrations.
The key lies in understanding how different filters interact with photographic content. Texturizer filters add surface quality that accepts watercolor effects naturally, while Motion Blur creates directional energy that suggests movement and speed. These filters work best when applied in sequence, with each layer serving a specific visual purpose in the final composition.
Modern automotive poster design often combines precise technical illustration with expressive artistic elements. This hybrid approach allows designers to maintain photographic accuracy while adding creative flair through typography, color schemes, and textural effects that capture the emotional appeal of automotive subjects.
Practical Tips for Car Photo Illustrations
- Set document resolution to 150 pixels per inch for optimal filter performance and print quality
- Use
Thresholdadjustments around 215 to maintain recognizable car details while simplifying line work - Apply Motion Blur between 900-950 pixels at 0 degrees angle for effective speed line effects
- Experiment with Glowing Edges settings (Edge Width: 1, Brightness: 6, Smoothness: 7) based on your source photo contrast
- Choose watercolor brushes from the Wet Media Brushes set at 300+ pixels for authentic paint texture
Related Articles and Tutorials about Watercolor Effects
Explore more comprehensive watercolor techniques and photo manipulation methods.
