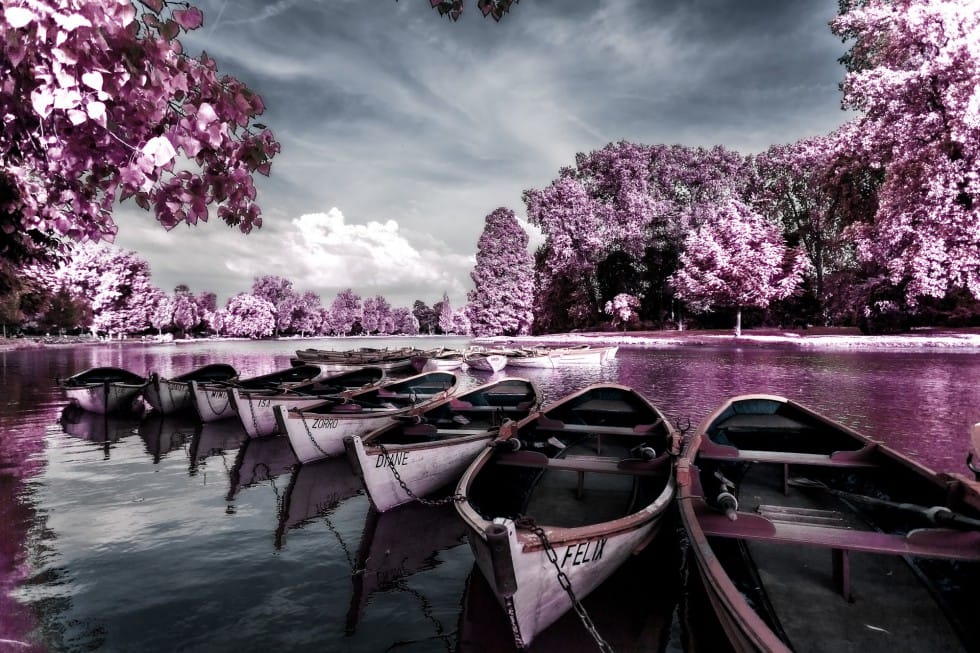
In this tutorial Serge Ramelli explains how to achieve an infrared look for your photos using Photoshop. Serge explains the distinctive characteristics of infrared photography before detailing the steps to replicate this effect.
Initially, you adjust the photo's exposure in Lightroom to create a washed-out look, then open it in Photoshop. There, you duplicate the layer, change the blending mode to overlay, add a channel mixer adjustment layer, and adjust the red channel. Further adjustments include modifying the yellow color using hue/saturation and fine-tuning the image with a levels adjustment layer.


