Create an Epic Knight vs Dragon Scene in Photoshop

Create an Epic Knight vs Dragon Scene in Photoshop

Epic fantasy scenes capture the imagination through dramatic confrontations between legendary figures. This tutorial transforms simple photographs into a cinematic knight versus dragon battle scene.

You'll learn professional photo manipulation techniques including subject extraction, lighting adjustments, atmospheric effects, and color grading to create compelling fantasy artwork.

Watch the Video

Video by Nemanja Sekulic. Any links or downloads mentioned by the creator are available only on YouTube

Essential Tips for Fantasy Photo Manipulation

  • Convert layers to smart objects before resizing to preserve image quality when scaling up or down multiple times
  • Use Quick Mask mode (press Q) with a brush to refine automatic selections, especially for complex edges like hair or armor details
  • Create separate layers for highlights and shadows, using Screen and Multiply blend modes to adjust lighting direction
  • Apply Gaussian blur to background elements at different amounts to establish proper depth of field
  • Add atmospheric elements like smoke or mist using custom brushes to enhance the epic scale and mood

Explore more creative photo manipulation techniques and artistic effects.

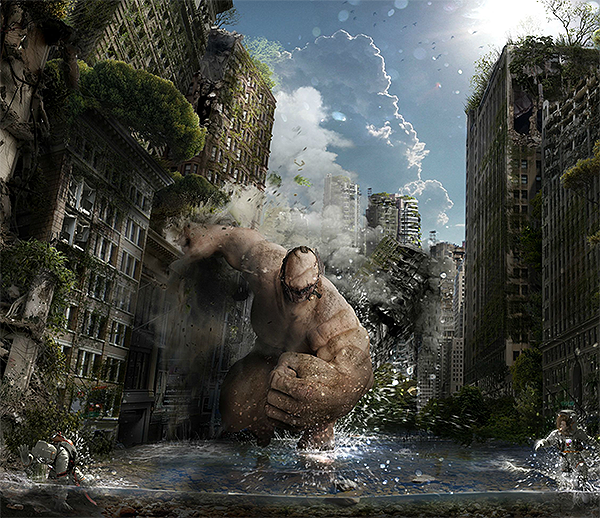
Apocalyptic Wallpaper Speed Art of a Destructive Monster in Photoshop
Watch how Immortal photo manipulation was created. This Wallpaper was made in Adobe Photoshop CC. Total time: Over 18 Hours. Total layers: 420+. Tablet: Wacom Intuos 5. 3D modeling by Alex Antonov Video tutorial More
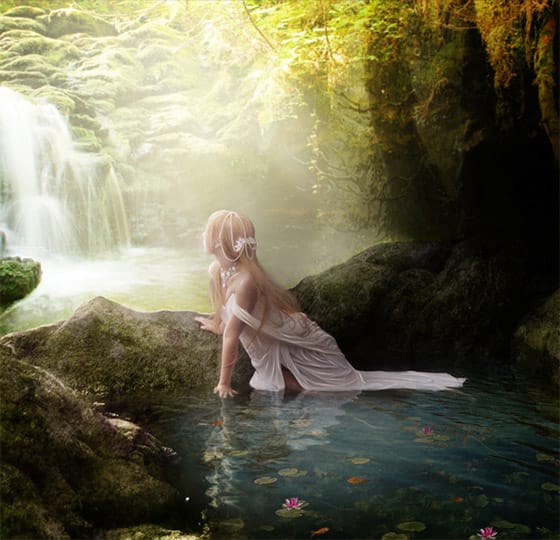
Create a Fantasy Photo Manipulation in Photoshop
Learn how to create a fantasy photo manipulation using a combo of different stock photos and artworks.
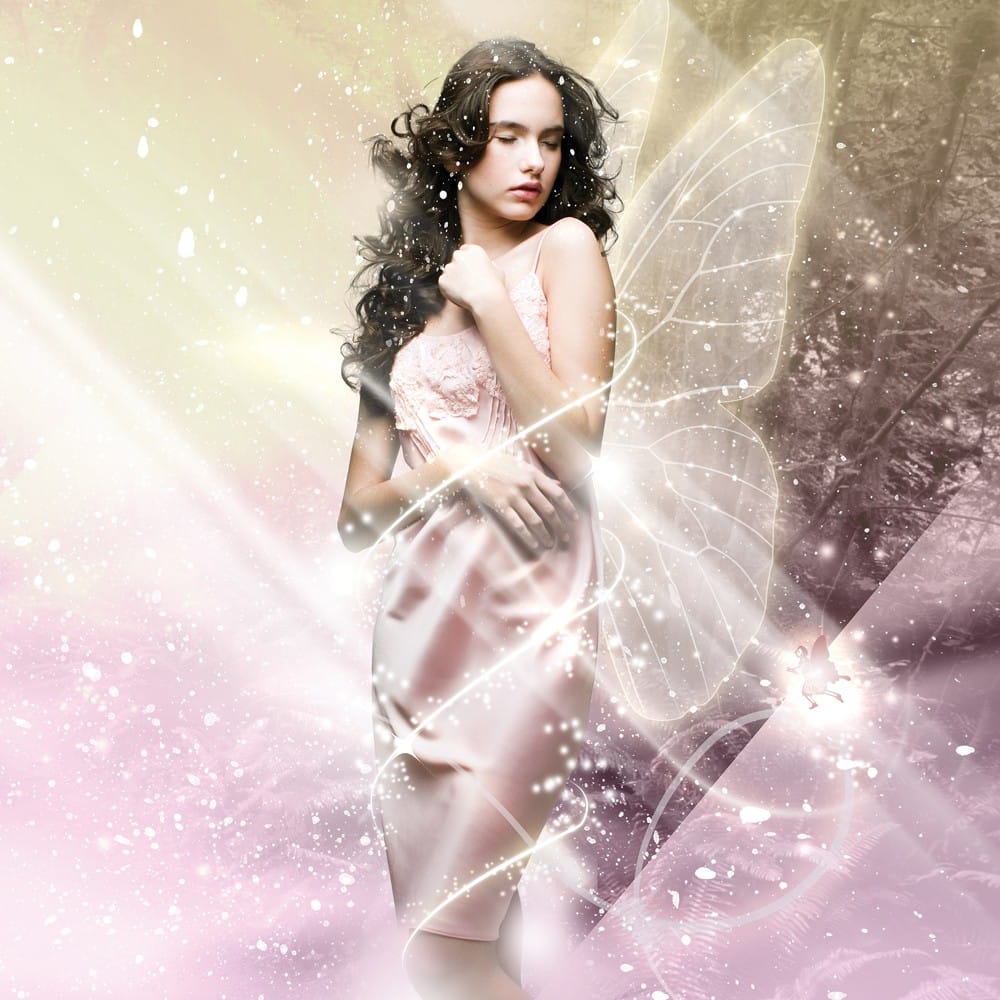
Fantasy Lighting Effects in Photoshop
In this tutorial, Murilo Maciel will show youhow to use a standard stock model, and apply layers of light and, brushes and vector shapes to generate a beautiful fantasy image. Process Preview Read this tutorial at Digital Arts Online More
Create a fantasy matte painting in Photoshop
In this tutorial from PSDTuts, you are going to use Photoshop”s photo manipulation tools to create a scenic matte painting that was based on a sketch. Read more at PSDTuts… More
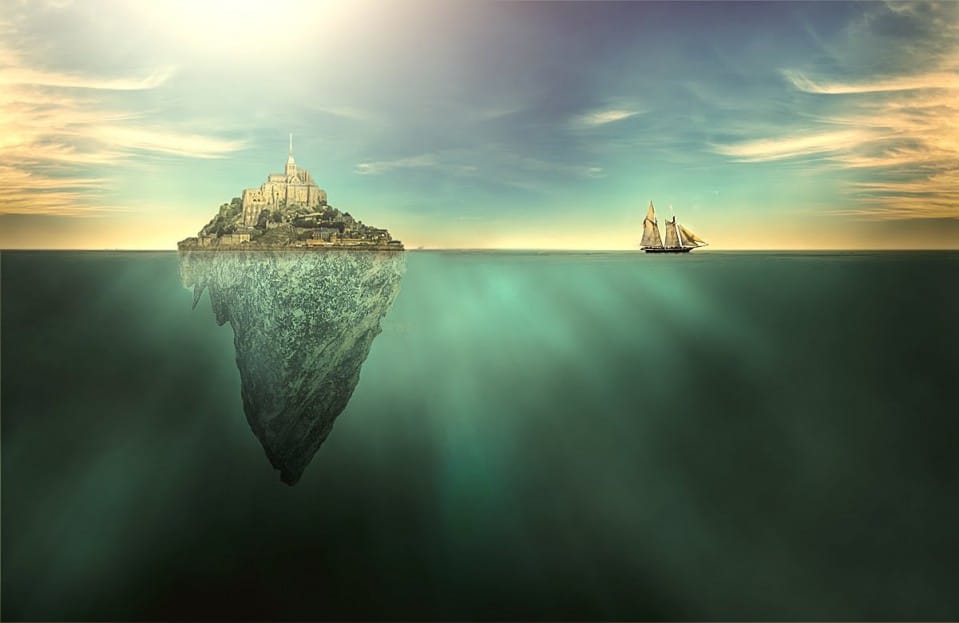
Create a surreal artwork of a city on an island in Photoshop
Learn how to create a surreal conceptual art of a city on an island in the middle of the ocean. Watch Video Tutorial Here… More

Get tutorials & freebies delivered to you.

Subscribe to the Photoshop Roadmap newsletter, a weekly roundup of new tutorials, insights and quality downloads, trusted by 6500+ readers.

You might also like

Complete Photoshop Editing Workflow: 5 Steps from Raw to Polished

Photoshop offers endless possibilities for photo enhancement, but many photographers never move beyond basic adjustments because the software feels overwhelming. This comprehensive workflow breaks down photo editing into five manageable stages that work consistently across different photography styles. The systematic approach covers everything from initial raw processing to advanced lighting...

Photoshop Workspace Basics: Navigation, Zooming, and Essential Interface Elements

Photoshop's interface can feel overwhelming when you first open the program. Dozens of panels, tools, and menus compete for attention, making simple tasks feel complicated. This tutorial breaks down the essential workspace elements and teaches fundamental navigation skills that form the foundation of efficient Photoshop work. Watch the...

How to Restore Old Damaged Photos Using Nano Banana in Photoshop

Old family photos with scratches, tears, and missing sections can seem beyond repair. Google's Nano Banana AI model, now integrated into Photoshop, makes full restoration possible in minutes rather than hours. This powerful tool excels at maintaining facial characteristics while automatically filling in damaged areas and adding realistic...

How to Get Higher Quality Results from Photoshop's Generative Fill Tool

Photoshop's Generative Fill creates impressive AI extensions, but the results often look blurry and pixelated when viewed at full size. This quality limitation makes many AI-generated areas unusable for printing or large displays. This technique shows how to work around the 1024x1024 pixel quality limit to create much...

How to Use Photoshop's Liquify Tool for Non-Destructive Portrait Retouching

Clothing wrinkles, hair that lacks volume, and awkward fabric bunching can distract from an otherwise great portrait. Photoshop's Liquify tool offers a powerful solution for smoothing out these issues while preserving the natural look of your subject. This tutorial demonstrates how to use the Liquify tool non-destructively with...

You’ve successfully subscribed to Photoshop Roadmap
Welcome back! You’ve successfully signed in.
Great! You’ve successfully signed up.
Success! Your email is updated.
Your link has expired
Success! Check your email for magic link to sign-in.