Create a Vintage CRT Text Effect in Photoshop

Create a Vintage CRT Text Effect in Photoshop

The distinctive visual qualities of vintage CRT monitors—with their characteristic color separation, scanlines, and analog blur—have become a powerful design element in modern digital art. These old television and computer displays created a unique aesthetic through their phosphor-based technology and analog signal processing.

This technique recreates that nostalgic CRT look by building custom RGB color channels and applying specific blur effects to simulate the analog nature of cathode ray tube displays.

Watch the Tutorial

Video by P A N T E R. Any links or downloads mentioned by the creator are available only on YouTube

Understanding CRT Display Technology

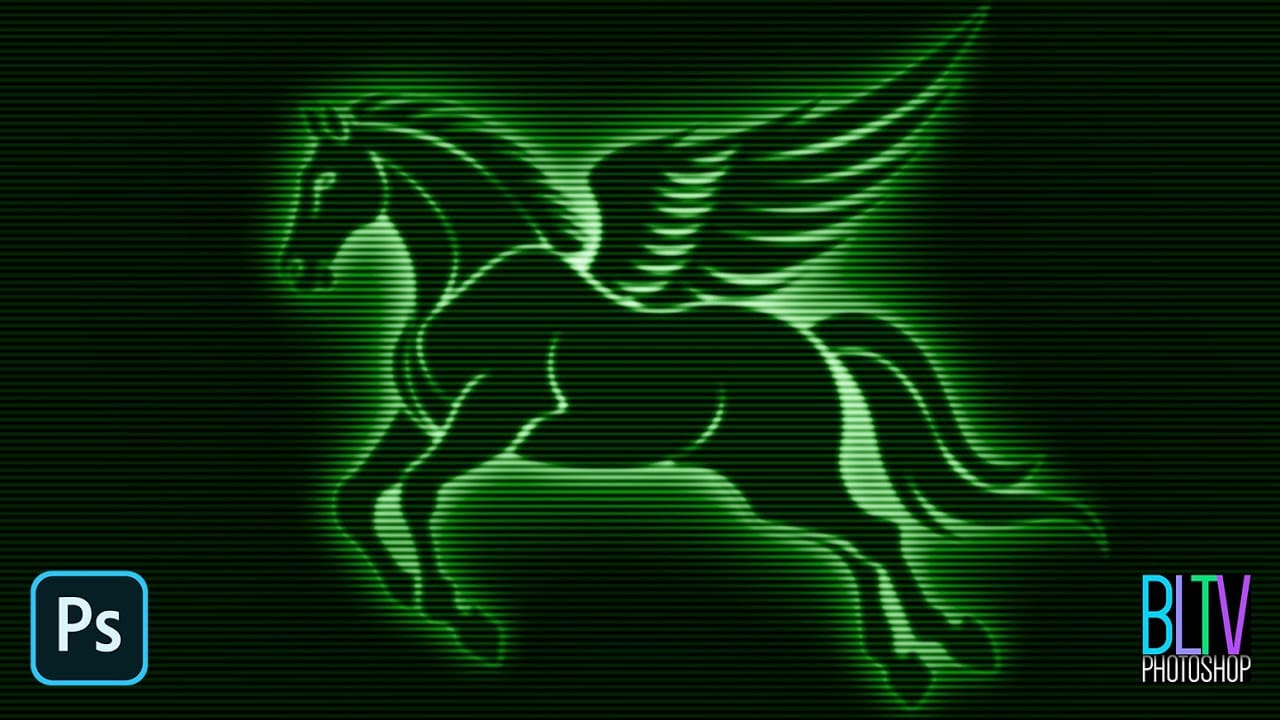
CRT monitors created images by firing electron beams at phosphor-coated screens, which produced light in red, green, and blue colors. This process created natural color separation and a characteristic softness that digital displays struggle to replicate. The analog nature of the signal meant that colors would often bleed slightly into adjacent areas, creating the distinctive "glow" effect associated with vintage electronics.

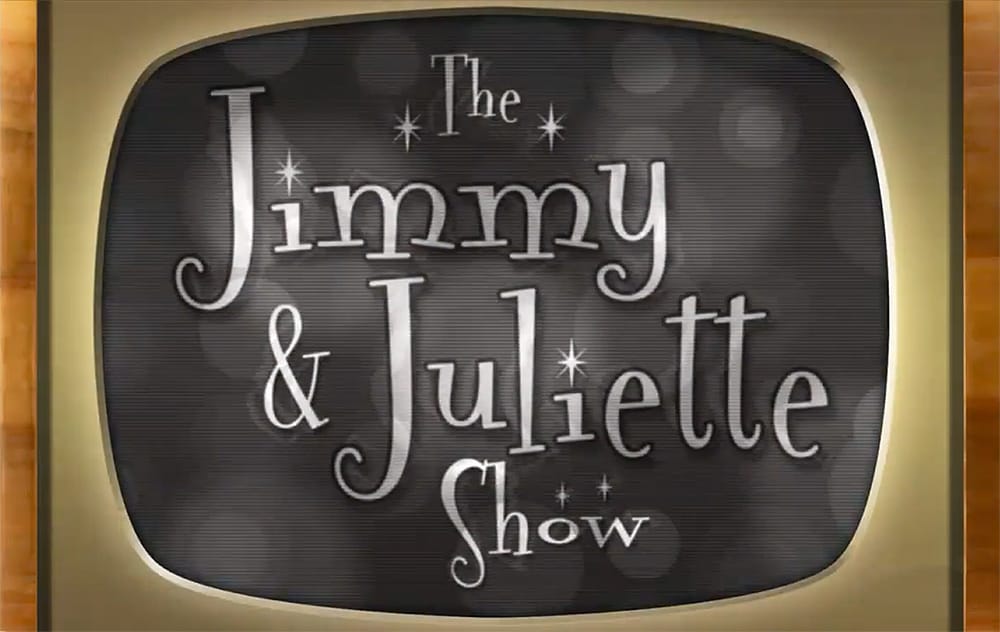
The scanlines visible on CRT displays were an artifact of the way these monitors drew images line by line across the screen. These horizontal lines became part of the aesthetic appeal, giving text and graphics a distinctive texture that designers now recreate deliberately. Modern CRT effects simulate this by layering color channels with slight offsets and applying specific blur patterns.

Creating convincing CRT effects requires understanding how these displays handled color information differently than modern screens. The phosphor coating would glow and fade gradually, creating temporal effects that added to the overall visual character.

Practical Tips for CRT Text Effects

  • Create separate red, green, and blue elliptical shapes to build your scanline pattern, then save it as a custom pattern for consistent application across projects.
  • Use Gaussian blur on your text layer before applying other effects to simulate the analog softness of CRT displays.
  • Apply drop shadows with blue and yellow colors at different angles (180° and 0°) to recreate the color separation effect of vintage monitors.
  • Set your scanline pattern to Overlay blend mode and scale it appropriately—around 350% works well for most text sizes.
  • Convert your final effect to a smart object and apply additional blur for authentic analog signal degradation.

More Tutorials about Vintage Effects

Explore additional techniques for creating retro and vintage visual effects in Photoshop.

Create a Classic Retro CRT Monitor Effect in Photoshop
In an age dominated by high-definition displays and vibrant color palettes, the distinctive aesthetic of vintage CRT monitors continues to hold a unique appeal. Their characteristic glow, scanlines, and limited color range evoke a sense of nostalgia, making them a popular choice for artists and designers aiming to infuse their work with a retro or futuristic vibe. This tutorial will guide you through the process of recreating the iconic look of graphics displayed on a classic green phosphor mon
Create a 50s Retro TV Show Text Effect in Photoshop
In this Photoshop tutorial by Marty Geller from Blue Lightning TV, you will learn how to create a striking black and white 50s retro TV show text effect. This guide is designed for users at any skill level, making it accessible and easy to follow. You'll start by adding vintage-style text, setting the stage for a nostalgic look. The tutorial walks you through incorporating scan lines and signal interference, elements that will enhance the retro feel. Each step is demonstrated clearly, ensuring
Create a realistic old vintage photo effect in Photoshop
Photographs are timeless. In fact, it's often our old, weathered and faded photographs that we treasure the most. Snapshots from a bygone era fill our hearts with nostalgia and romantic notions of how much simpler life must have been. While today's digital cameras continue to amaze us with their technology, there's still something magical and irreplaceable about old, vintage photographs. And not only do we love to look at them, but we also love to recreate the look of them in programs like Phot
How to Create a 3D Retro Text Effect in Adobe Photoshop
In this Adobe Photoshop tutorial by Spoon Graphics, you'll learn how to create a great-looking retro text effect. Using a mix of layer styles and clever Photoshop techniques, this tutorial guides you through the process step-by-step. The best part is that it utilizes Smart Objects, allowing you to non-destructively create the effect, meaning the original type element can still be updated to change the wording. This approach ensures flexibility and ease of editing while achieving a stylish retr

Get tutorials & freebies delivered to you.

Subscribe to the Photoshop Roadmap newsletter, a weekly roundup of new tutorials, insights and quality downloads, trusted by 6500+ readers.

You might also like

Complete Photoshop Editing Workflow: 5 Steps from Raw to Polished

Photoshop offers endless possibilities for photo enhancement, but many photographers never move beyond basic adjustments because the software feels overwhelming. This comprehensive workflow breaks down photo editing into five manageable stages that work consistently across different photography styles. The systematic approach covers everything from initial raw processing to advanced lighting...

Photoshop Workspace Basics: Navigation, Zooming, and Essential Interface Elements

Photoshop's interface can feel overwhelming when you first open the program. Dozens of panels, tools, and menus compete for attention, making simple tasks feel complicated. This tutorial breaks down the essential workspace elements and teaches fundamental navigation skills that form the foundation of efficient Photoshop work. Watch the...

How to Restore Old Damaged Photos Using Nano Banana in Photoshop

Old family photos with scratches, tears, and missing sections can seem beyond repair. Google's Nano Banana AI model, now integrated into Photoshop, makes full restoration possible in minutes rather than hours. This powerful tool excels at maintaining facial characteristics while automatically filling in damaged areas and adding realistic...

How to Get Higher Quality Results from Photoshop's Generative Fill Tool

Photoshop's Generative Fill creates impressive AI extensions, but the results often look blurry and pixelated when viewed at full size. This quality limitation makes many AI-generated areas unusable for printing or large displays. This technique shows how to work around the 1024x1024 pixel quality limit to create much...

How to Use Photoshop's Liquify Tool for Non-Destructive Portrait Retouching

Clothing wrinkles, hair that lacks volume, and awkward fabric bunching can distract from an otherwise great portrait. Photoshop's Liquify tool offers a powerful solution for smoothing out these issues while preserving the natural look of your subject. This tutorial demonstrates how to use the Liquify tool non-destructively with...

You’ve successfully subscribed to Photoshop Roadmap
Welcome back! You’ve successfully signed in.
Great! You’ve successfully signed up.
Success! Your email is updated.
Your link has expired
Success! Check your email for magic link to sign-in.