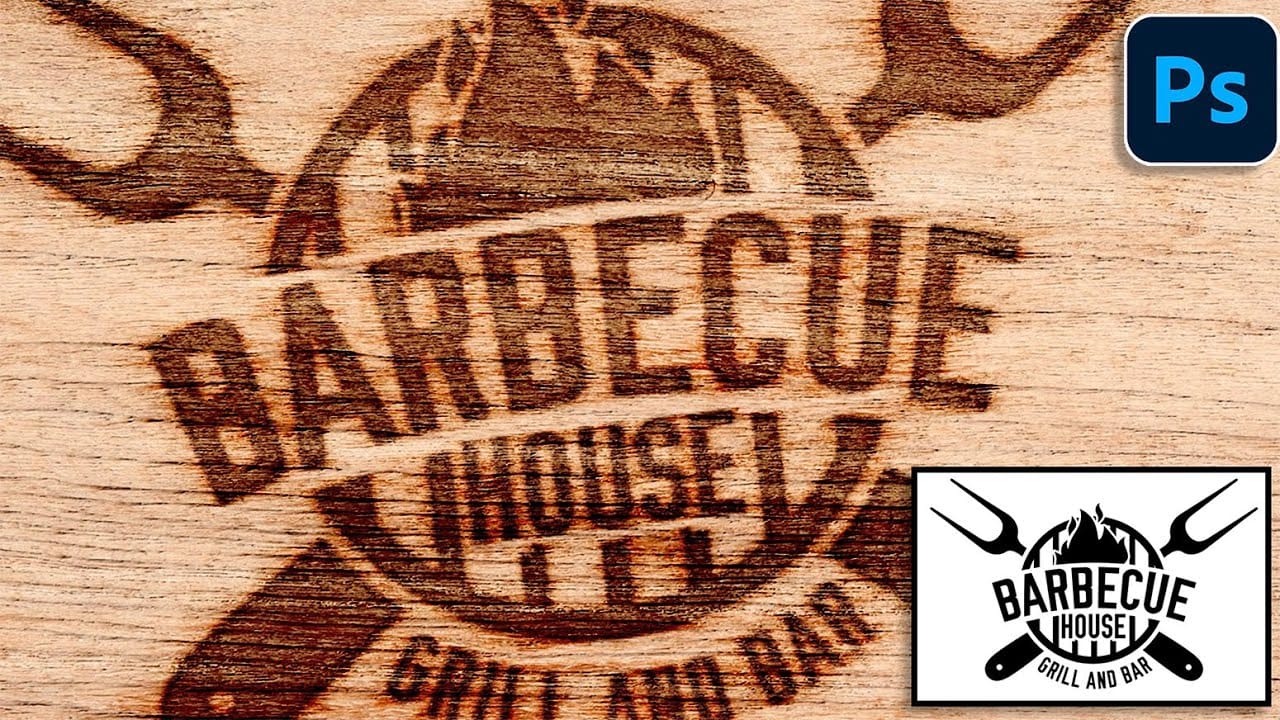
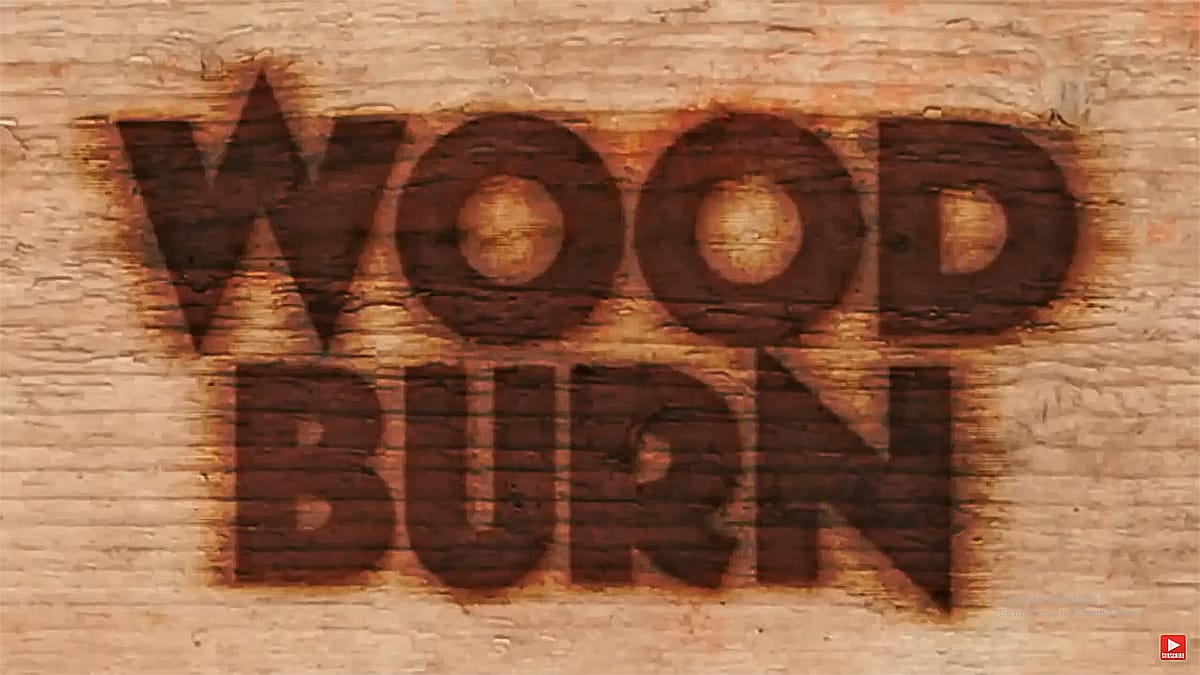
Wood-burned designs evoke a rustic charm and handcrafted authenticity, transforming ordinary text or graphics into something uniquely compelling. This classic aesthetic brings a sense of tradition and warmth to any visual project, making it ideal for everything from logos to decorative art.
This video tutorial demonstrates how to achieve a realistic wood burn effect in Photoshop. It guides you through the process of applying charring, texture, and depth to your digital creations, allowing you to infuse your designs with this distinctive, time-honored look.
Watch the Video
Unlocking the Craft of Digital Pyrography
Digital pyrography, or the art of simulating wood burning, offers a powerful way to infuse your designs with a tactile, handcrafted feel without needing physical tools. This technique bridges the gap between digital precision and the rustic warmth of traditional craftsmanship, making it perfect for custom logos, unique branding, or decorative text.
By carefully manipulating layers and applying specific Photoshop filters, artists can recreate the distinct charring and depth that characterize real wood branding. The versatility of this method allows for creative application on various wood textures, ensuring a convincing and authentic result. Understanding the interplay of filters and layer styles is key to mastering this distinct visual effect.
- Precise text selection and expansion for defined edges.
- Application of Gaussian Blur and Wind filters for a charred, textured look.
- Strategic use of the Color Burn blend mode to deepen the effect.
- Refinement of the burn's appearance with Bevel & Emboss layer styles.
Practical Tips for Creating a Wood Burn Effect
- Adjust the Expand pixel amount (e.g., 15 pixels) to suit your text's size and resolution, ensuring a clear outline.
- Invert the image (Ctrl/Command + I) before and after applying the Wind filter to achieve a consistent burn direction.
- Refine the burn's intensity by adjusting the Output Black level in the Levels window (Ctrl/Command + L), such as setting it to 72.
- Customize Bevel & Emboss settings, including depth (e.g., 50%), size (e.g., 20 pixels), and angle, based on your text's characteristics.
- Experiment with Color Burn blend mode opacity (e.g., 60%) and Fill reduction (e.g., 40%) to control the overall intensity and depth of the burn.
More Tutorials about Wood Burning and Fire Effects
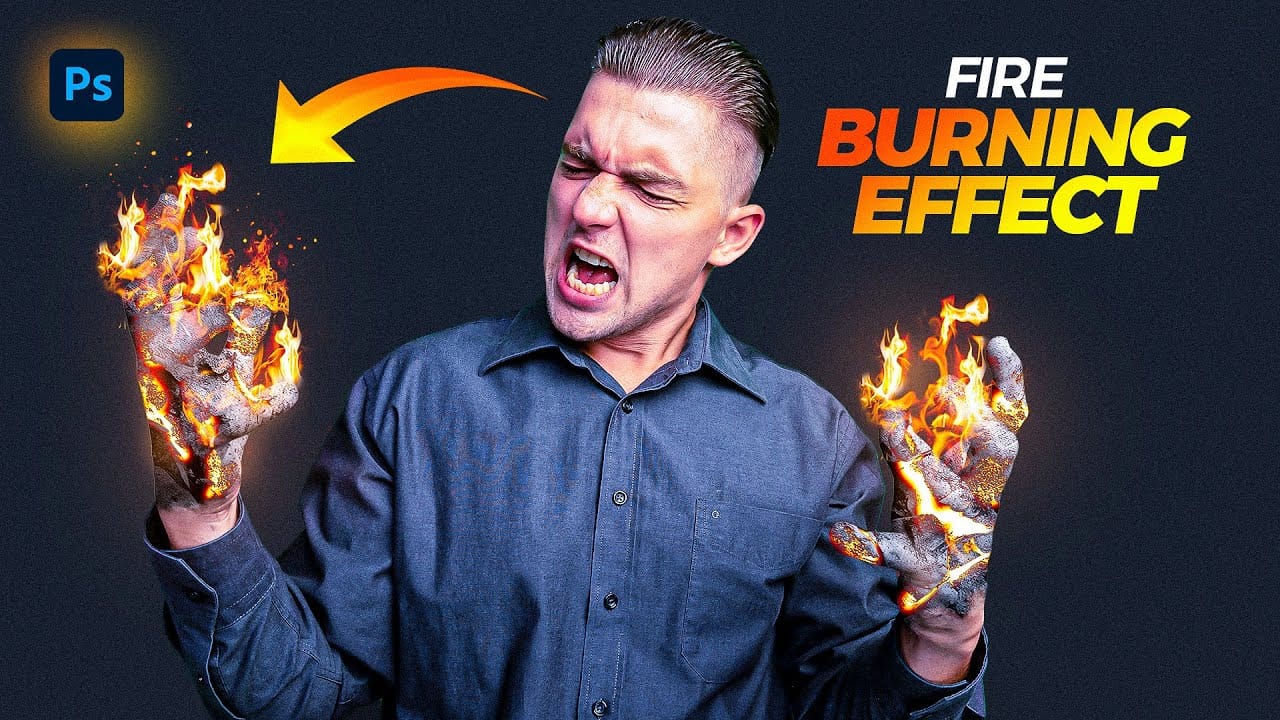
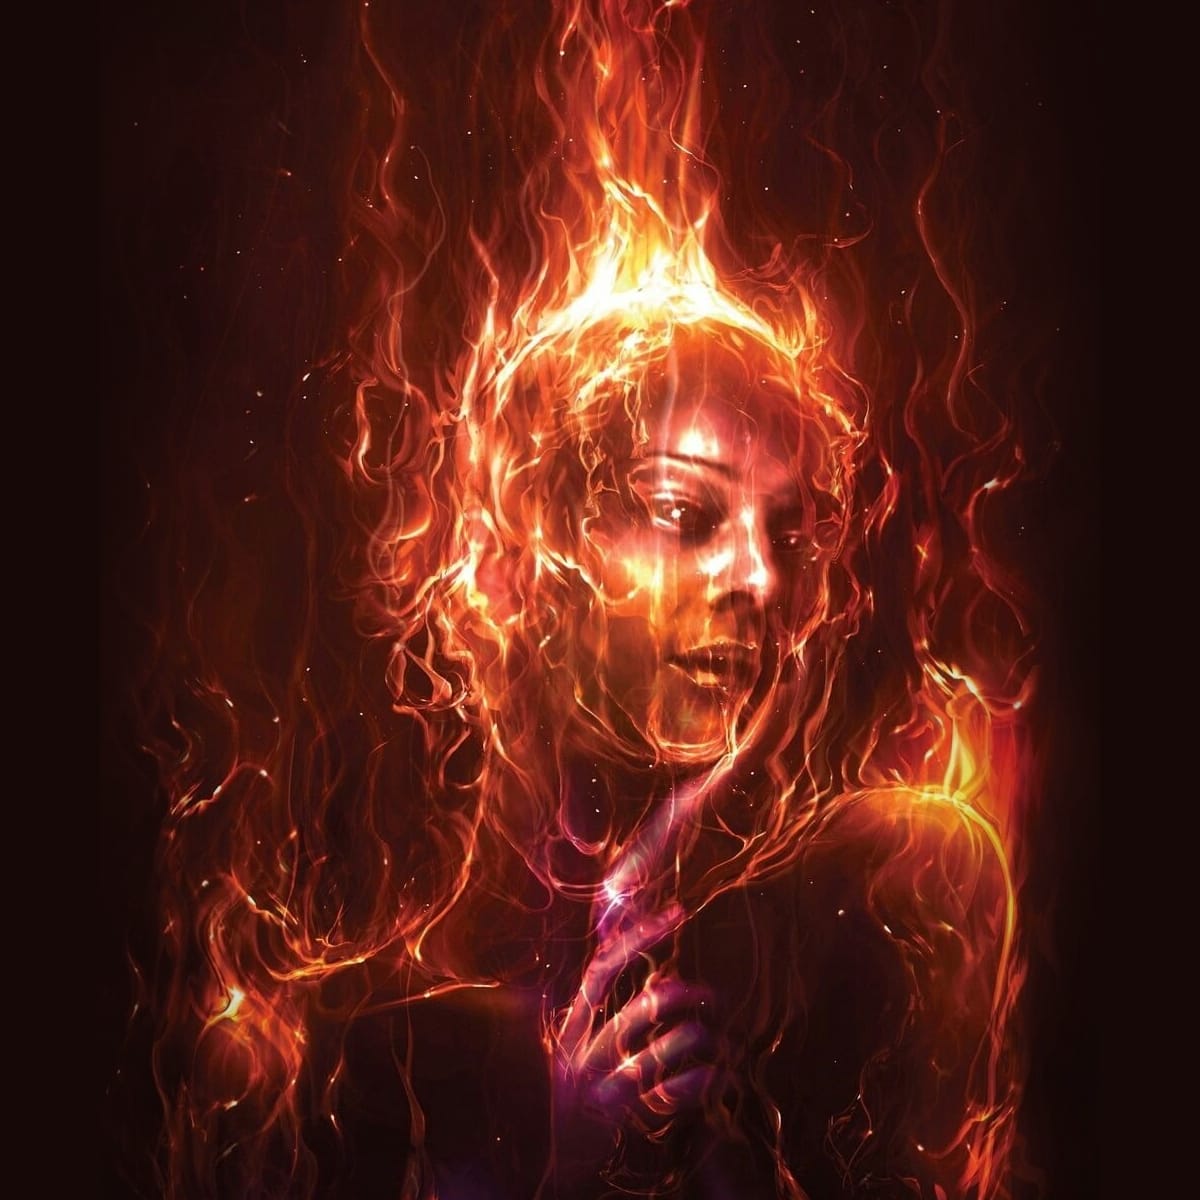
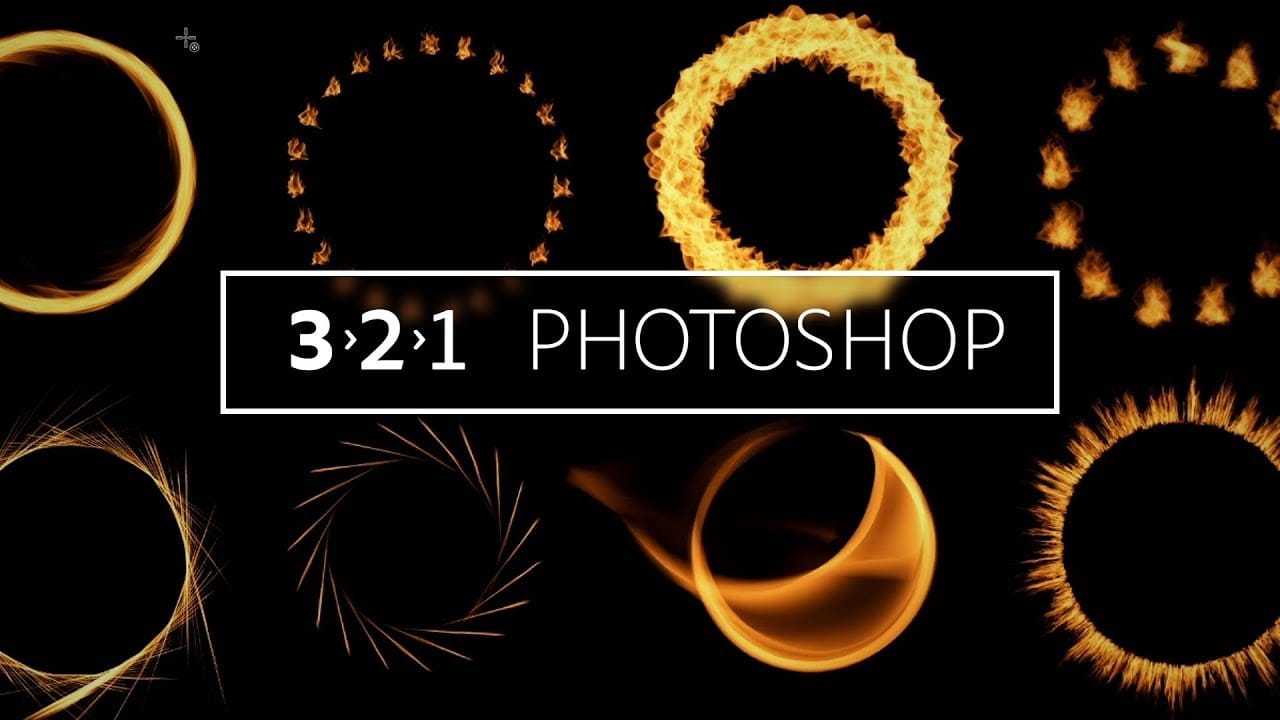
Explore additional resources to deepen your understanding of creating realistic fire and burning effects, enhancing your digital artistry with dynamic visual elements.
