Create a Retro Vaporwave Poster in Photoshop

Create a Retro Vaporwave Poster in Photoshop

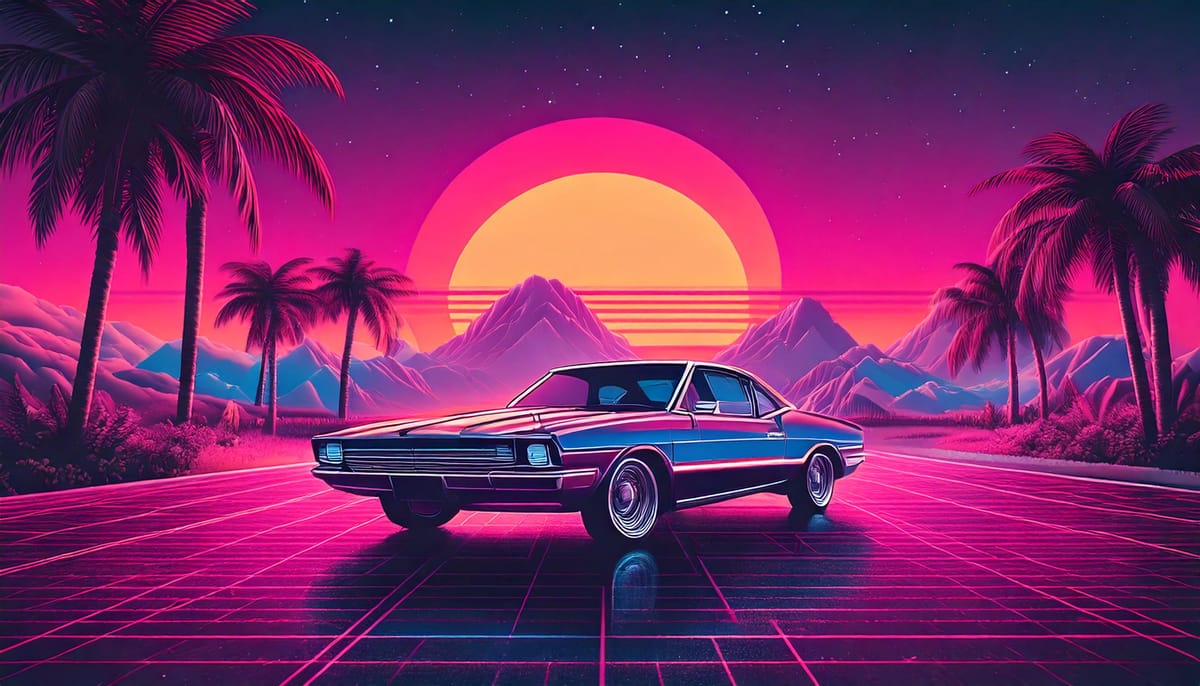
Vaporwave design captures the nostalgic essence of 80s and 90s consumer culture through its distinctive blend of neon gradients, classical sculptures, and retro-futuristic elements. This aesthetic movement combines lo-fi visual qualities with iconic imagery like Greek statues, palm trees, and cyberpunk color schemes to create instantly recognizable poster designs.

This comprehensive tutorial demonstrates how to build a classic vaporwave poster from scratch using fundamental Photoshop techniques including gradient creation, perspective grid construction, and chromatic aberration effects.

Watch the Tutorial

Video by Photoshop Arthouse. Any links or downloads mentioned by the creator are available only on YouTube

Understanding Vaporwave Visual Language

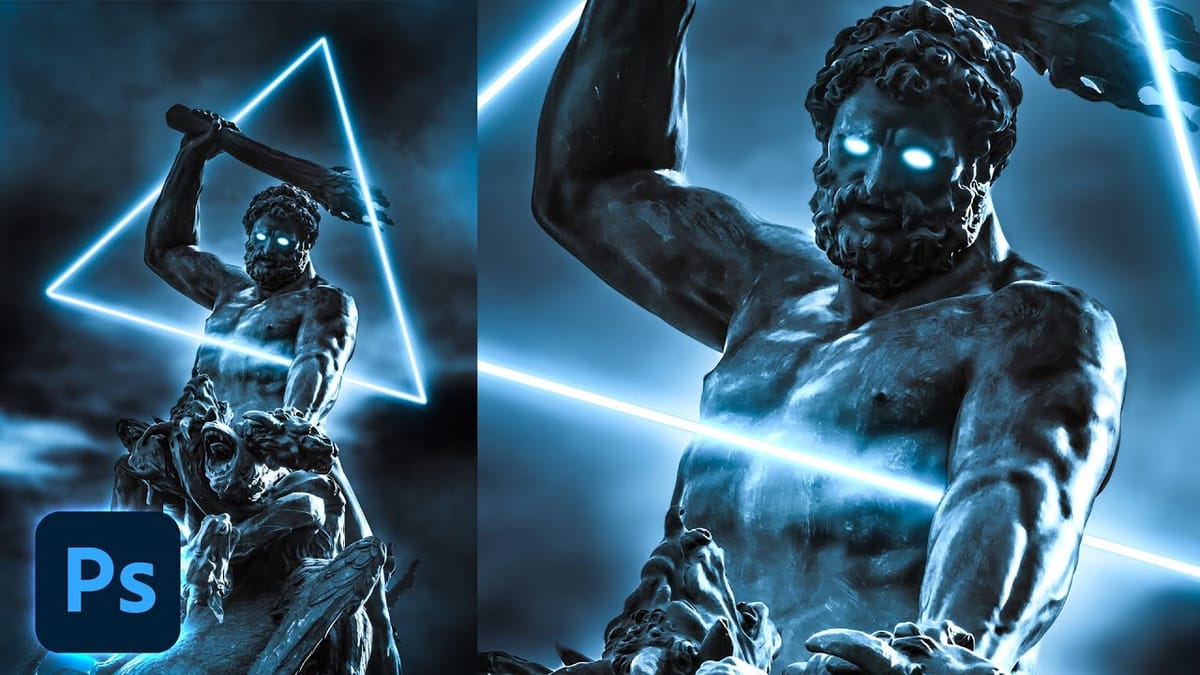
Vaporwave emerged in the early 2010s as both a music genre and visual aesthetic that romanticizes obsolete technology and consumer culture. The style draws heavily from Japanese pop culture, Greco-Roman imagery, and corporate design from the 1980s and 1990s. Classical sculptures, particularly Michelangelo's David, became iconic symbols within this movement, representing the collision between ancient art and digital manipulation.

The color palette typically features magenta and cyan gradients reminiscent of early computer graphics and VHS aesthetics. Perspective grids, chrome text effects, and palm trees create a synthetic paradise that feels both futuristic and nostalgic. These elements work together to evoke a sense of digital melancholia and retrofuturistic optimism.

The chromatic aberration effect, originally a lens defect, became a signature technique in vaporwave design. This RGB channel separation mimics the visual distortion of old analog media, adding authenticity to the deliberately artificial aesthetic.

Essential Vaporwave Design Techniques

  • Create magenta-to-black gradients using hexadecimal color FC00F for authentic 80s computer graphics appearance
  • Build perspective grids using 30 columns and 20 rows in Photoshop's guide system, then transform with Ctrl+Alt+Shift corner dragging
  • Apply chromatic aberration by duplicating statue layers three times and unchecking different RGB channels in Layer Style blending options
  • Convert palm trees to high-contrast silhouettes using Threshold adjustment around 50 pixels for clean geometric shapes
  • Use Screen blend mode for grid overlays and Color Dodge for outer glow effects to achieve that characteristic neon luminosity

More Tutorials about Vaporwave Retrofuturistic Design

Explore additional vintage poster techniques and classic design aesthetics.

Vaporwave Neon Effect Photoshop Tutorial
The combination of classic Renaissance sculptures with the vibrant neon colors of the Vaporwave aesthetic creates an intriguing mix of styles that captivates the eye. This unique blend has gained popularity in the world of abstract art, showcasing how contrasting elements can work together harmoniously. In this tutorial, readers will
Lost in the Digital Haze: The Surreal Vaporwave Style in Adobe Firefly
Vaporwave, a captivating aesthetic that emerged from the digital art movement, offers a unique lens through which we can reinterpret our visual narratives. In Adobe Firefly, this built-in style transforms images into dreamlike compositions that blend nostalgia with an alluring surrealism. The essence of Vaporwave lies in its ability to
Create a Retro Cyberpunk Photo Effect in Photoshop
The cyberpunk aesthetic, characterized by its neon-drenched, dystopian urban landscapes, has a distinct visual appeal that continues to capt captivate audiences. This unique style blends high-tech elements with a gritty, low-life atmosphere, often conveyed through specific color palettes and lighting. This tutorial offers a quick and effective method for transforming
Create a Trendy Cyberpunk Effect in Photoshop
Article republished with permission of PSD STACK. PSD Stack is a blog dedicated to Photoshop that provides high-quality tutorials, presets and actions to all level of Photoshop users Learn how to create a trendy cyberpunk effect in Photoshop. You’ll learn how to add neon color vibes to your images by adding hot pink and bright […] More

Get tutorials & freebies delivered to you.

Subscribe to the Photoshop Roadmap newsletter, a weekly roundup of new tutorials, insights and quality downloads, trusted by 6500+ readers.

You might also like

Complete Photoshop Editing Workflow: 5 Steps from Raw to Polished

Photoshop offers endless possibilities for photo enhancement, but many photographers never move beyond basic adjustments because the software feels overwhelming. This comprehensive workflow breaks down photo editing into five manageable stages that work consistently across different photography styles. The systematic approach covers everything from initial raw processing to advanced lighting...

Photoshop Workspace Basics: Navigation, Zooming, and Essential Interface Elements

Photoshop's interface can feel overwhelming when you first open the program. Dozens of panels, tools, and menus compete for attention, making simple tasks feel complicated. This tutorial breaks down the essential workspace elements and teaches fundamental navigation skills that form the foundation of efficient Photoshop work. Watch the...

How to Restore Old Damaged Photos Using Nano Banana in Photoshop

Old family photos with scratches, tears, and missing sections can seem beyond repair. Google's Nano Banana AI model, now integrated into Photoshop, makes full restoration possible in minutes rather than hours. This powerful tool excels at maintaining facial characteristics while automatically filling in damaged areas and adding realistic...

How to Get Higher Quality Results from Photoshop's Generative Fill Tool

Photoshop's Generative Fill creates impressive AI extensions, but the results often look blurry and pixelated when viewed at full size. This quality limitation makes many AI-generated areas unusable for printing or large displays. This technique shows how to work around the 1024x1024 pixel quality limit to create much...

How to Use Photoshop's Liquify Tool for Non-Destructive Portrait Retouching

Clothing wrinkles, hair that lacks volume, and awkward fabric bunching can distract from an otherwise great portrait. Photoshop's Liquify tool offers a powerful solution for smoothing out these issues while preserving the natural look of your subject. This tutorial demonstrates how to use the Liquify tool non-destructively with...

You’ve successfully subscribed to Photoshop Roadmap
Welcome back! You’ve successfully signed in.
Great! You’ve successfully signed up.
Success! Your email is updated.
Your link has expired
Success! Check your email for magic link to sign-in.