

Achieve a realistic weathered 3D wood text effect in Photoshop. This tutorial reveals easy techniques for natural rough edges, extruded sides with realistic cast shadows, and a cohesive final composite, bypassing Photoshop’s 3D workspace entirely.
Watch the Tutorial
Practical Tips for a 3D Wood Text Effect
Implement these effective strategies to create compelling wood text effects in your projects.
- Rasterize your type layer before applying filters or masks to manipulate its shape, allowing for effects like roughened edges.
- Create the extruded 3D look by duplicating the text layer, placing the copy underneath, and then slightly scaling it down to suggest depth.
- Use a Levels adjustment layer with an inverted and transformed mask to generate realistic self-cast shadows on the extruded sides, enhancing depth.
- Add a Hue/Saturation adjustment layer, set to colorize, to tint the extruded edges, giving the impression of subtly different colored light.
- Apply the Camera Raw filter as a final touch to the entire image, introducing elements like grain, sharpness, and overall tonal adjustments for a cohesive photographic look.
More Tutorials about Text Effects
Explore additional tutorials to enhance your skills in creating various text effects for your design projects.
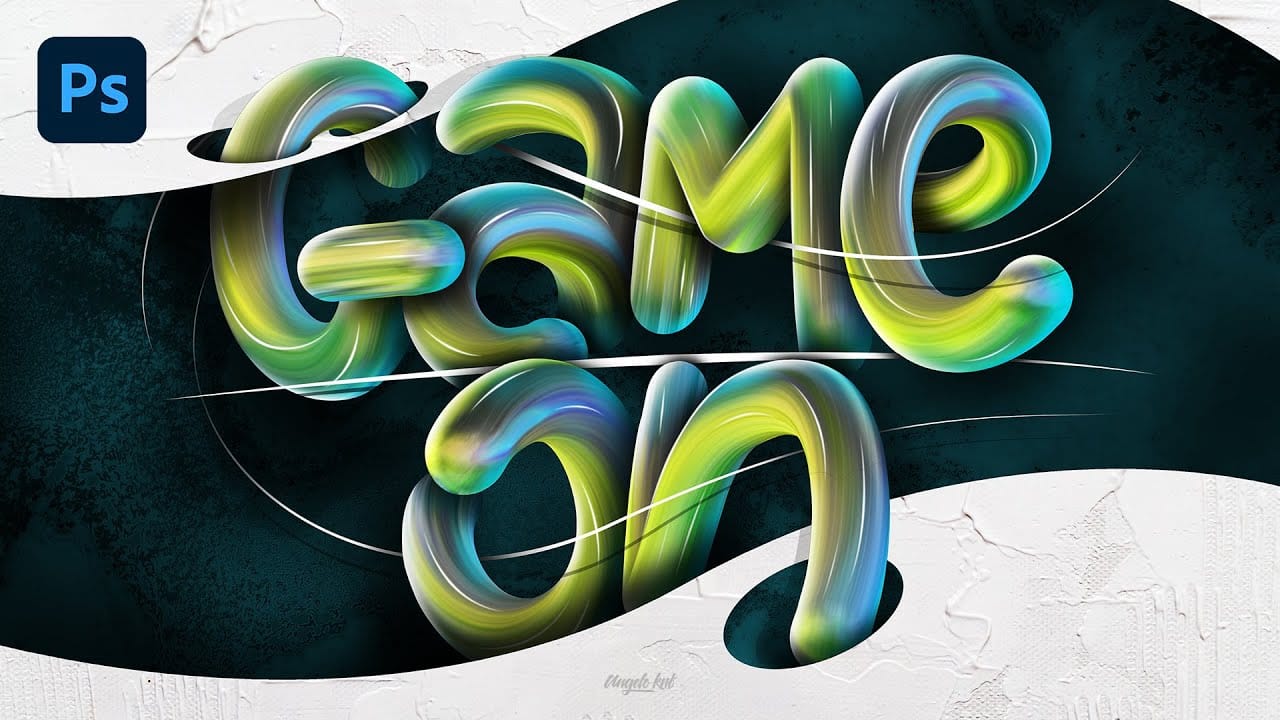
Colorful Painted 3D Text Effect Tutorial in Photoshop
In this tutorial by Angelo Konofaos, you'll explore how to create a 3D-style text effect in Photoshop, alongside techniques like adding shadows, highlights, shines, and colors.
Utilizing a variety of Photoshop tools such as the Mixer Brush, Pen Tool, clipping masks, and adjustment layers, the tutorial demonstrates the process of refining text to achieve a polished and dimensional look.
For optimal results, Konofaos recommends using a pen tablet like the Wacom Intuos to enhance precision and fl
Western Style Old Wood Text Effect In Photoshop
In this tutorial, James Reid from Candyskull Tuts will show you how to create a grungy Western text effect in Photoshop, inspired by the Coen brothers' film "True Grit".
Using a combination of Western-style fonts, grunge frame textures, and wood textures, viewers will learn how to layer and blend these elements to achieve an authentic, old-school Western look. Reeds provides detailed instructions and tips, making it easy to follow along and replicate the vintage typography effect.
This tutoria

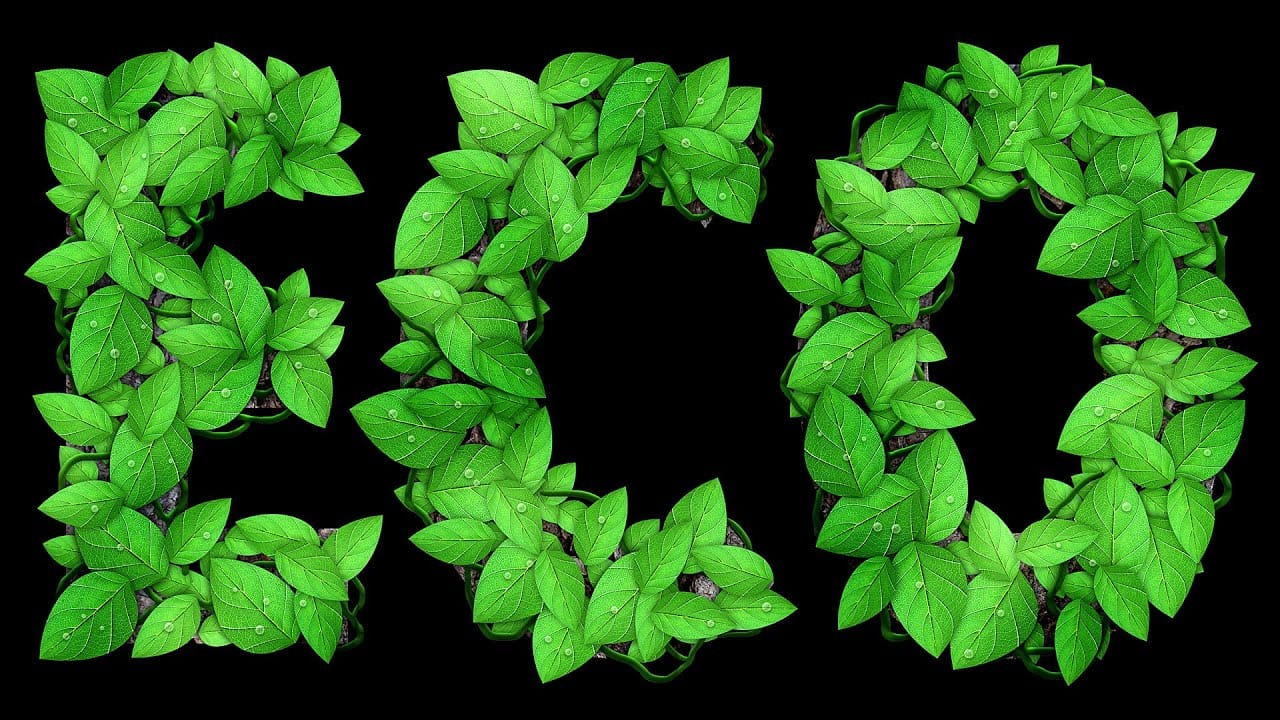
Leafy Text Effect Photoshop Tutorial
In this tutorial by Spoon Graphics, you'll learn how to create a text covered with leaves in Adobe Photoshop.
The tutorial guides you through the process of designing text made up of tiny leaves, vines, and water droplets. While the tools and techniques used are straightforward, the tutorial emphasizes the importance of patience in achieving a complex and detailed final result.
The outcome is a stunning and intricate piece of eco-themed artwork that showcases the beauty of nature.
Watch tutor
Create a Text Burnt on Wood in Photoshop
Today, Marty Geller from Blue Lightning TV will show us how to create a text effect that looks burnt onto a wood background, similar to a branding, using Photoshop.
This tutorial is extremely detailed, loaded with useful techniques, and very easy to follow. Marty guides you through the steps to achieve a realistic burnt wood effect, perfect for adding a rustic and vintage touch to your designs. Whether you're working on a logo, poster, or any other creative project, this tutorial will provide y


