Elevate your typography with a realistic paper cutout effect. This Photoshop tutorial provides a step-by-step guide to adding depth and dimension to your custom lettering designs.
Learn how to craft intricate shadows and highlights, transforming flat text into a stunning, layered paper artwork.
Watch the Video
Practical Tips for Paper Cutout Effects
Master the subtle nuances of light and shadow to achieve a convincing paper cutout look in Photoshop.
- Create a new Photoshop document at 3000x3000 pixels with an RGB color mode for optimal digital use.
- Apply a subtle paper pattern overlay to your background with `Linear Burn` at 30% opacity, complemented by a `Gradient Overlay` set to Overlay at 25% opacity and a 65° angle.
- Start the cutout illusion on your lettering layer using `Bevel and Emboss` (Inner Bevel, Size 250px, Soften 16px, Angle -145°) and `Inner Shadow` (Normal, White, 20% opacity, Distance 1px, Size 1px, 5% Noise).
- Generate light reflections by duplicating the lettering layer, setting its `Fill` to 0%, and applying `Outer Bevel` (Size 50px, Soften 16px, Angle 55°, Altitude 0°, Overlay, 45% opacity) for realistic edge highlights.
- Add depth shadows by duplicating layers, applying `Outer Bevel` (Outer Bevel, Size 38px, Angle -145°, Multiply, Black, 25% opacity), and using `Gaussian Blur` with progressively increasing radii for diffused, realistic internal shadows.
Related Articles and Tutorials about Paper Effects
Explore more creative techniques to apply paper-inspired designs and effects in Photoshop.
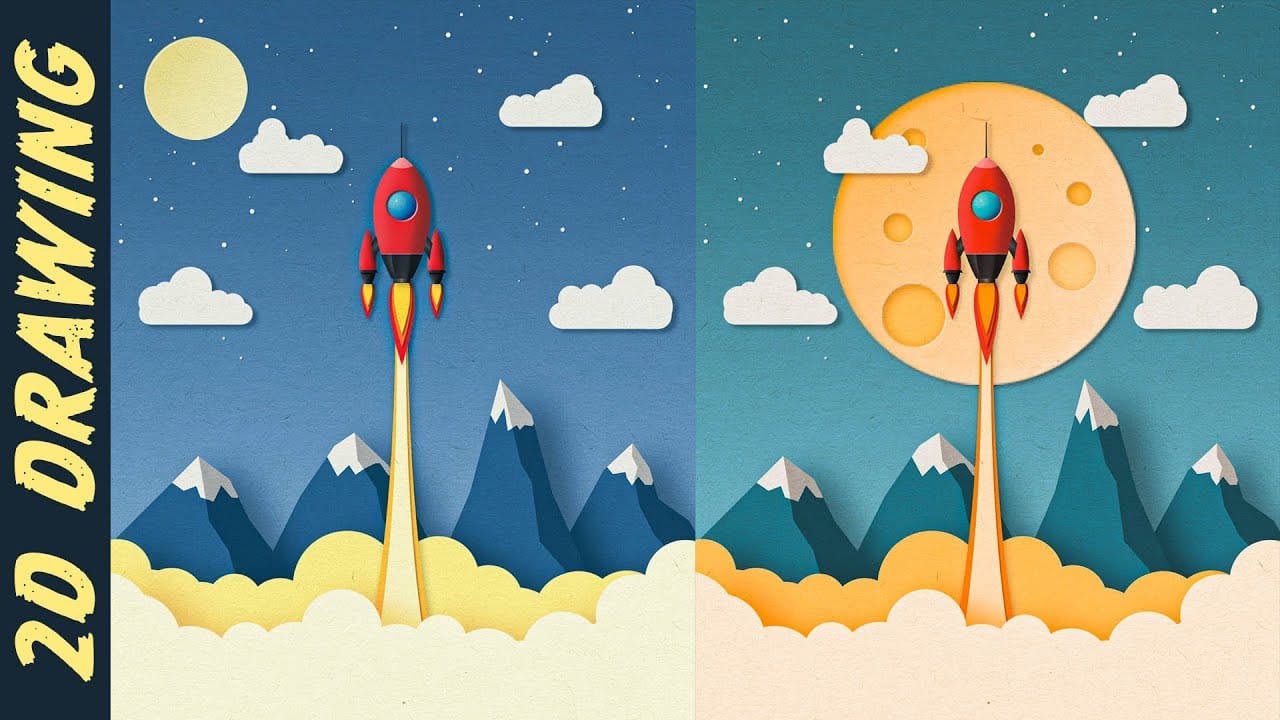
Create a Paper Cut Out Illustration Effect in Photoshop
In this engaging tutorial, Nemanja Sekulic guides you through the process of creating striking paper cut-out illustrations from scratch in Photoshop. The video demonstrates a straightforward approach to achieving this effect, starting with basic techniques and building up to a detailed and dynamic result.
Nemanja breaks down the process into easy-to-follow steps, covering everything from initial setup to final adjustments. You'll learn how to manipulate layers, use clipping masks, and apply tex
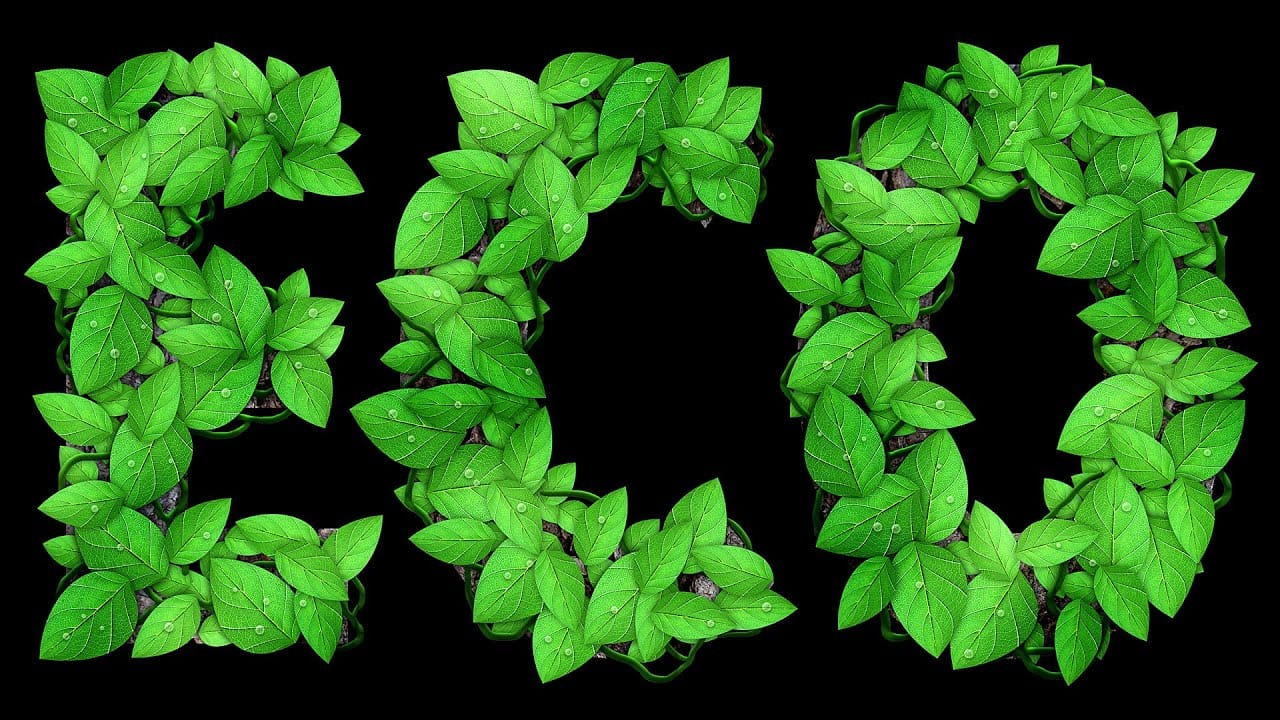
Leafy Text Effect Photoshop Tutorial
In this tutorial by Spoon Graphics, you'll learn how to create a text covered with leaves in Adobe Photoshop.
The tutorial guides you through the process of designing text made up of tiny leaves, vines, and water droplets. While the tools and techniques used are straightforward, the tutorial emphasizes the importance of patience in achieving a complex and detailed final result.
The outcome is a stunning and intricate piece of eco-themed artwork that showcases the beauty of nature.
Watch tutor
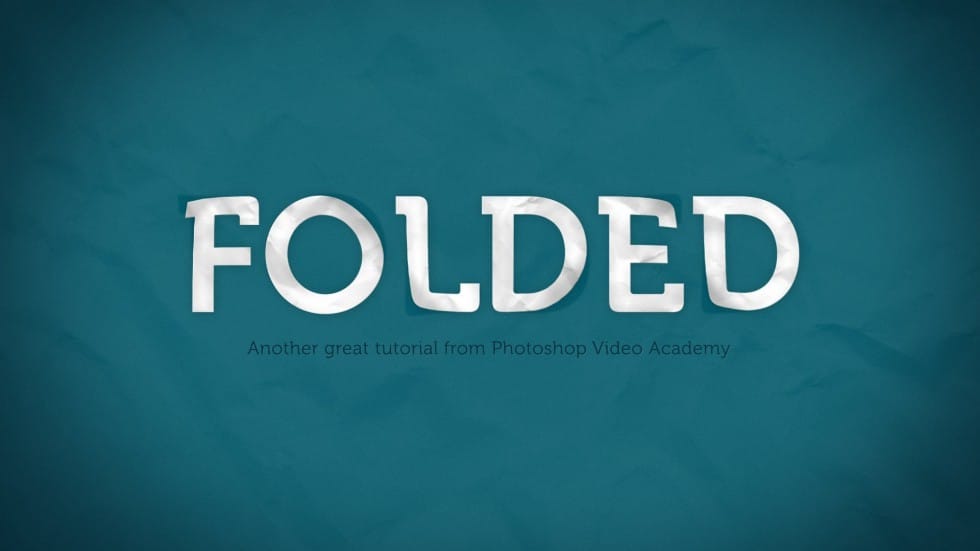
How to Create a Folded Paper Text Effect in Photoshop
In this tutorial by New Layer, you'll learn how to create a folded paper text effect in Photoshop, where the letters look like they're peeling up from the page.
The tutorial provides detailed, step-by-step instructions to guide you through the entire process, ensuring you can achieve a realistic and engaging effect. This technique adds a unique sense of depth and dimension to your text designs, making them stand out as if they were physically lifting off the page.
Perfect for adding a creative
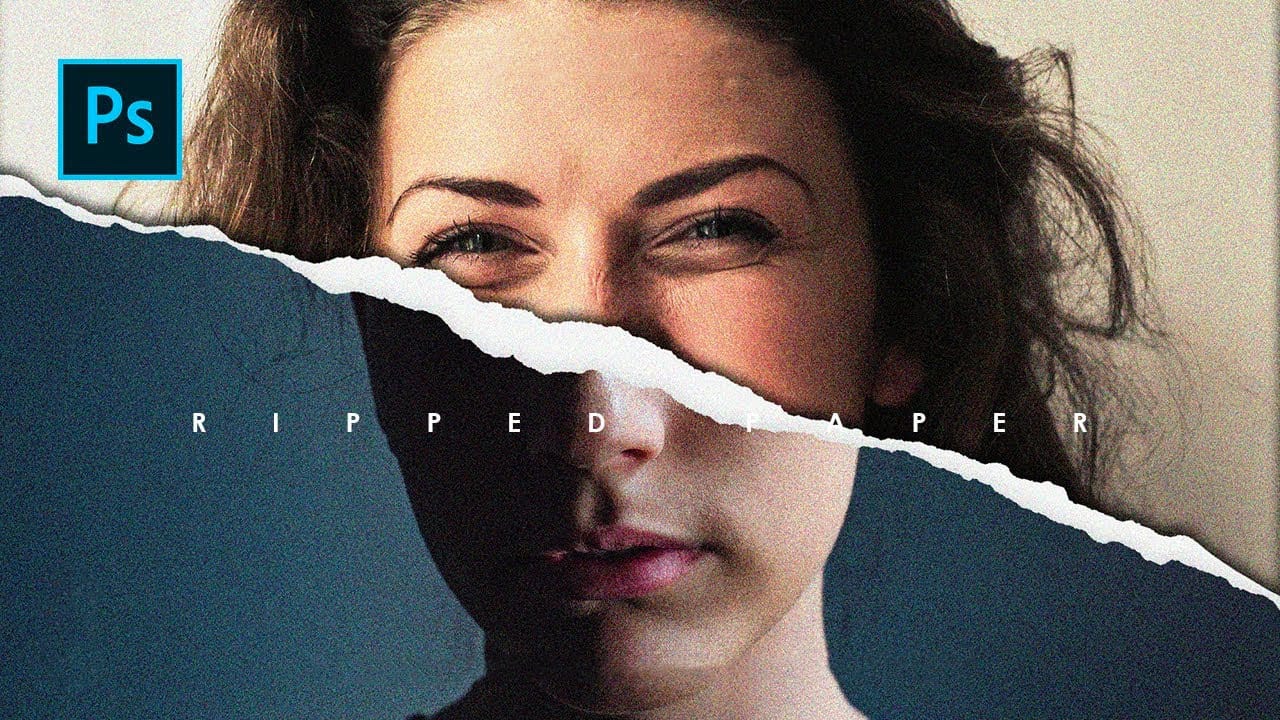
Create ripped paper portrait effect in Photoshop
This video will show you how to create a captivating ripped paper photo manipulation effect. Learn how to create a realistic tear that reveals a hidden image beneath, effectively layering two portraits into one unique composition.
The video will guide you through using layer masks and selection tools to achieve a seamless tear effect, while also exploring techniques for adding texture and depth to the "paper" for a believable final outcome.
Watch tutorial