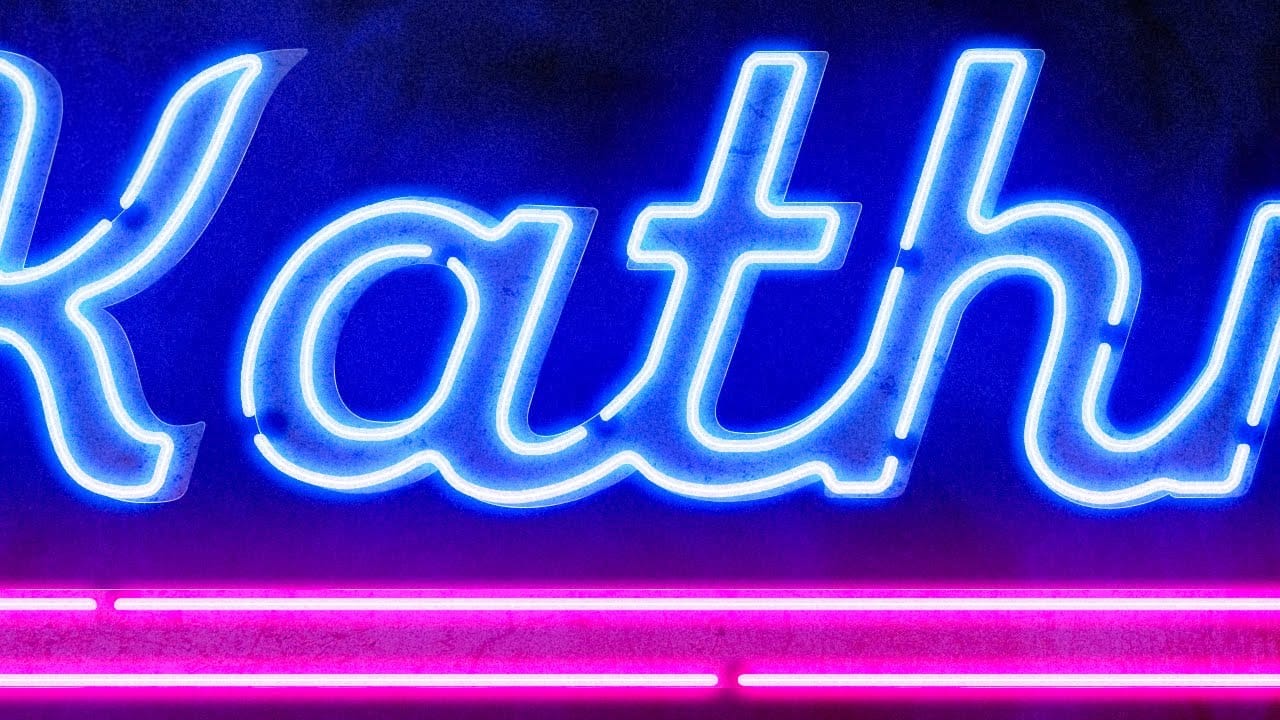
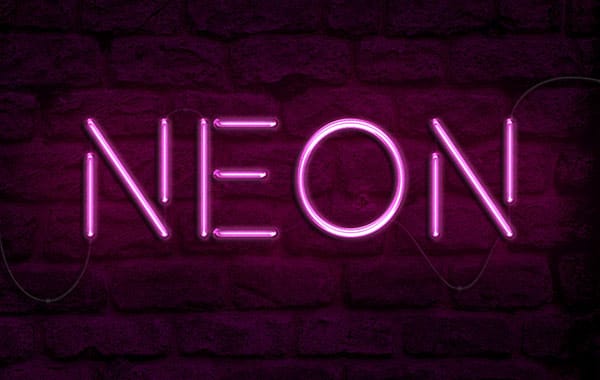
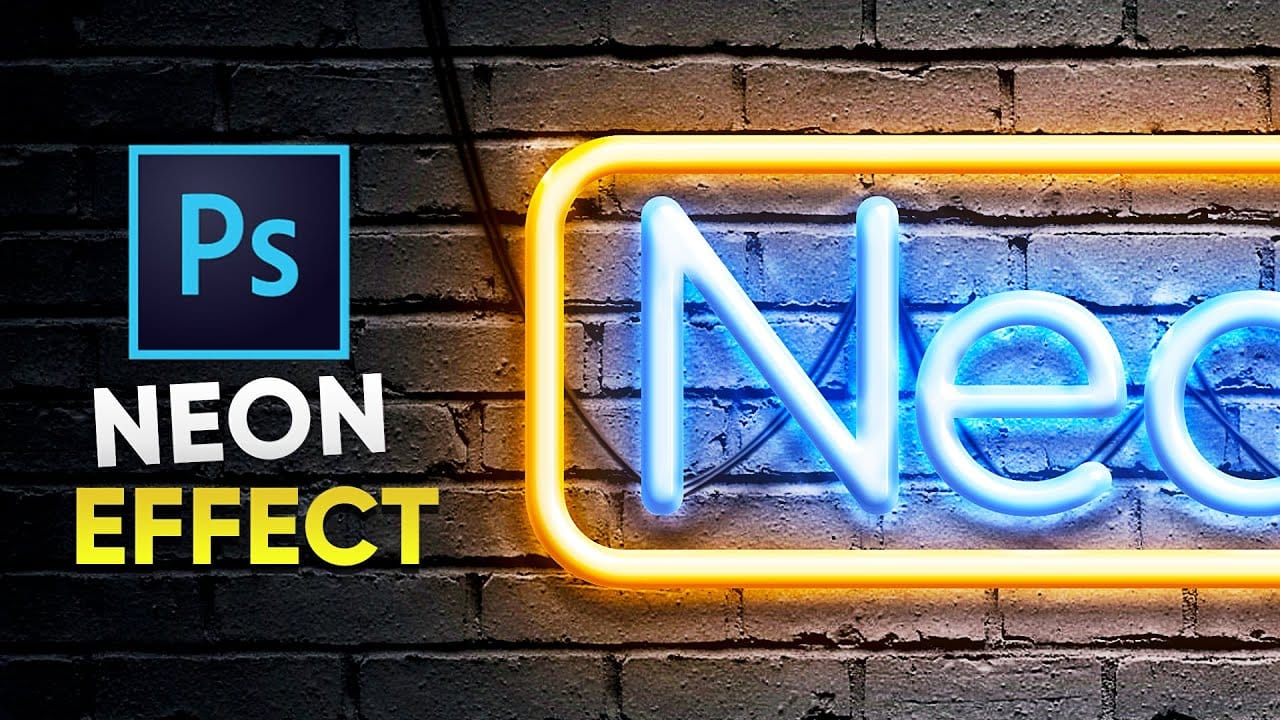
Captivate your audience with luminous designs. Learn to transform flat shapes and text into a realistic 3D neon effect in Photoshop. This tutorial shows you how to achieve stunning, editable results with ease.
Watch the Tutorial
Practical Tips for Creating Neon Effects
Achieving a realistic neon effect involves layering various styles and adjustments.
- Begin by duplicating your Main layer nine times, renaming them Base 1-3, Glass 1-3, and Light 1-3. Group these layers under a "Neon" folder for organization.
- Apply specific layer styles to each Base and Glass layer, such as Inner Shadow (white, 50% opacity) and Drop Shadow (black, 45% opacity). Set the Fill value to 0% in Blending Options to reveal only the layer styles.
- Build the glow effect by duplicating the Main layer five times and grouping them as "Glow". Apply a Gaussian Blur filter with varying radii (e.g., 20, 120, 300, 450 pixels), different Blend Modes (Color, Screen, Lighten, Divide, Vivid Light), and adjust Opacity to create a vibrant halo.
- Refine the overall appearance with adjustment layers, including Levels (20 and 235), Brightness/Contrast (100 brightness, 60 contrast), and Vibrance (+15 vibrance, +35 saturation). Group these as "Adjustments".
- Utilize the initial "Main" layer as a Smart Object. All linked layers will update automatically when you modify content within this Smart Object, enabling quick, single-click design changes for text and shapes.
Related Articles and Tutorials about Neon Effects
Explore additional resources to deepen your understanding of creating diverse neon styles in Photoshop.
