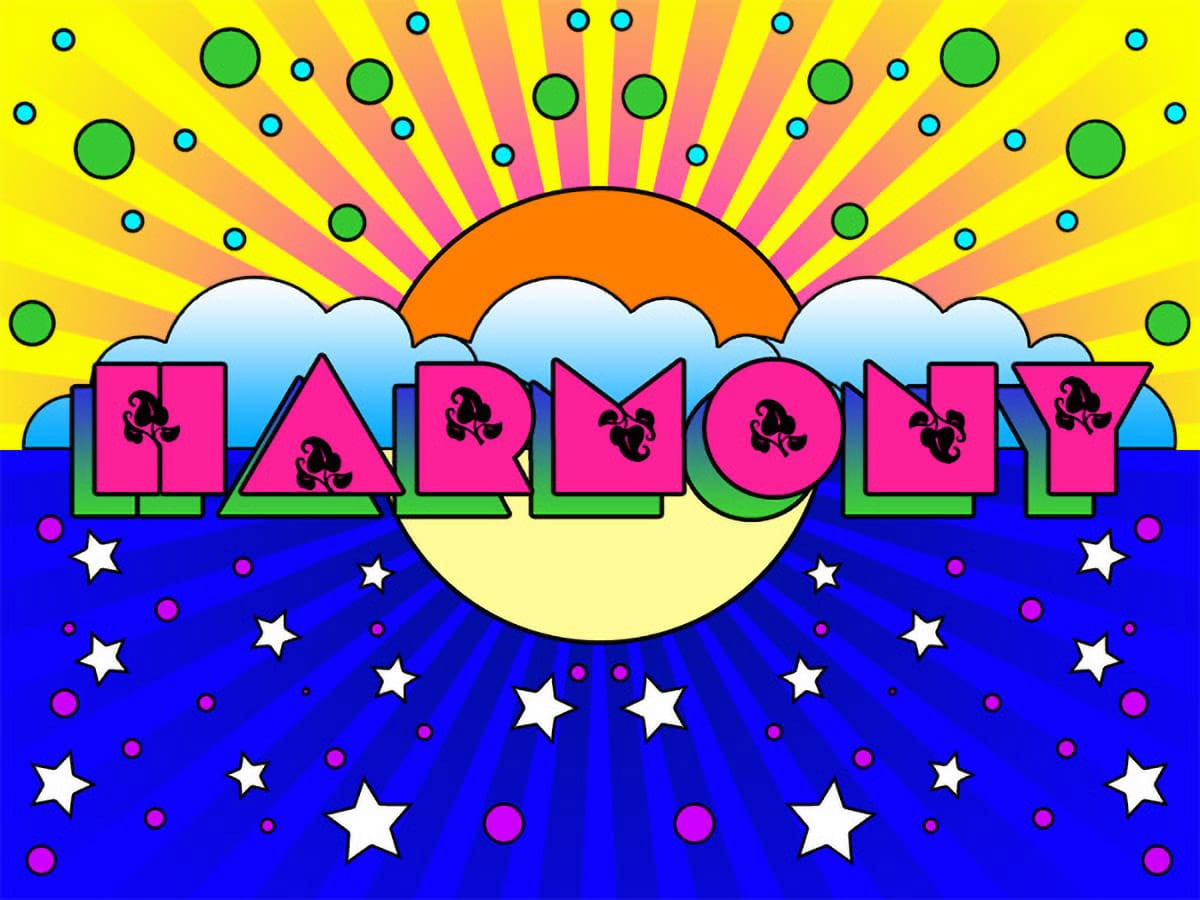
From Cosmic Pop art in the 60’s to neo Expressionism today, the colorful artworks of Peter Max have become an important part of the popular American culture. This tutorial is inspired in his works from the late 60’s, know as the Cosmic style that made him famous worldwide.
This is a quite long tutorial, and for the sake of simplicity I will avoid explaining the basic use of tools and commands. This tutorial assumes you have a basic to intermediate general knowledge of Photoshop.

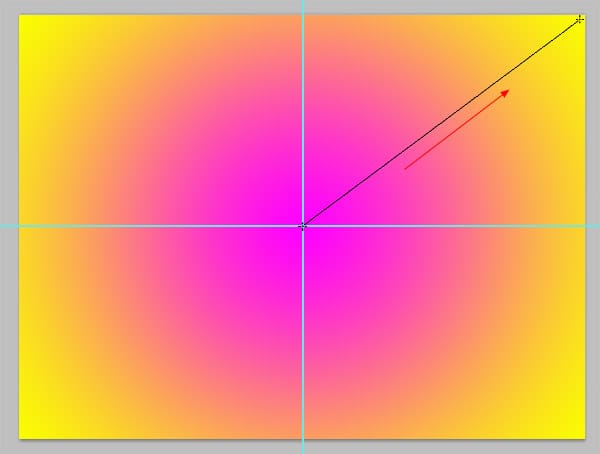
Create a new work area of 800 x 600 pixels. Place an horizontal and a vertical guide to mark the center of the image and create a radial gradient from color #FF00FF to color #FAFD00.
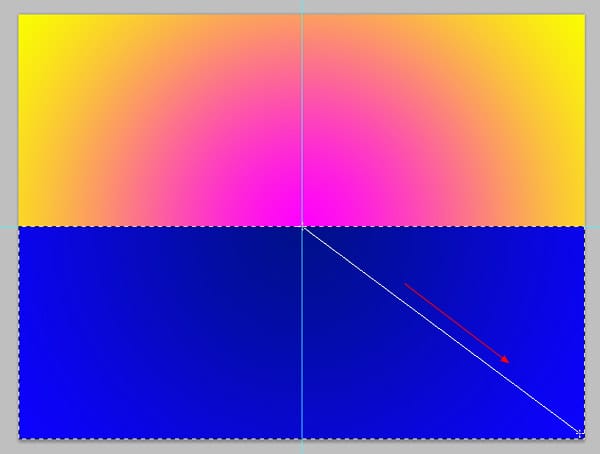
Select the lower half of the image with the Rectangular Marquee tool and create another radial gradient from color: #00108A to color #0C02FD.
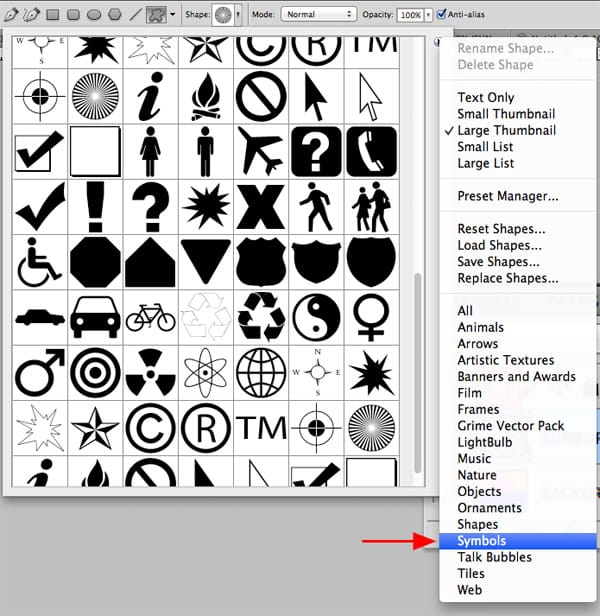
Create a new layer and set the Foreground Color to black. Grab the Custom Shape tool and select the sunburst shape from the custom shapes menu. Check all the options you need for this step:
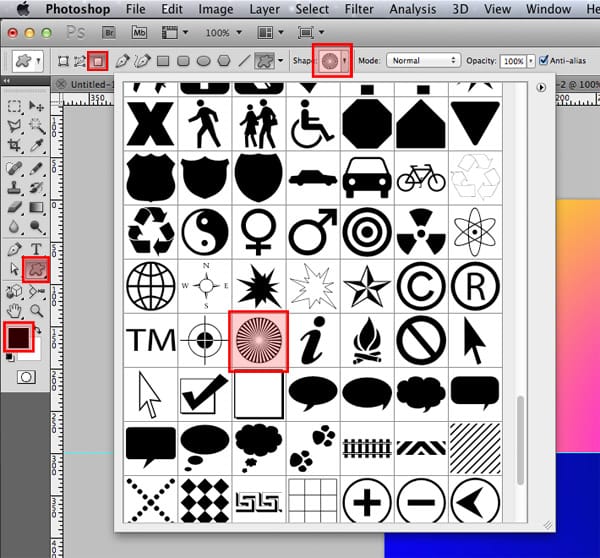
If you don’t see the sunburst shape, then you will have to load it. Click on the small arrow located at the top right and load the Symbols shapes. A window will popup asking you what to do with the shapes. Just choose Append and the shapes will be added to your current list of shapes:
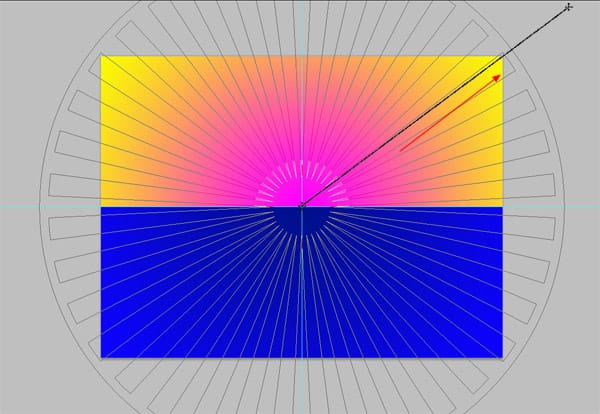
Now let’s draw the sunburst. This particular shape has a circular border that we don’t want to use, so we will have to draw it larger than the work area starting from the center of the image.
First click on the exact center of the image, and ONLY THEN press ALT/OPTION + SHIFT. This key combination will let you draw from the center (ALT/OPTION key) and in a proportional way (SHIFT key). Then move the cursor to the top right until you see that the surrounding circle is outside the image.
If you press the ALT/OPTION keys before clicking, the cursor will change to the eyedropper tool. So it is mandatory that you click first and then press ALT/OPTION + SHIFT. Check below:
Now you should have a big black starburst on your image.
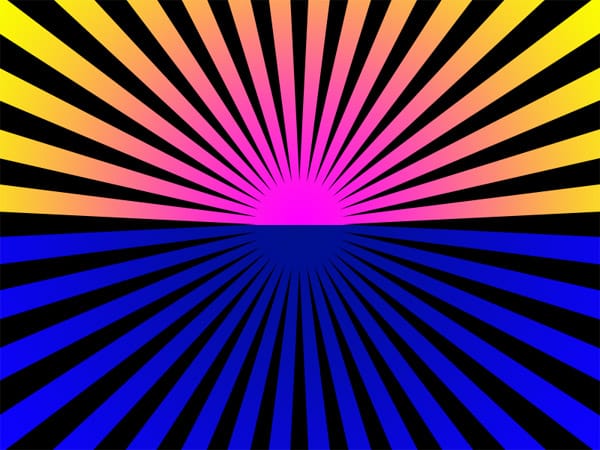
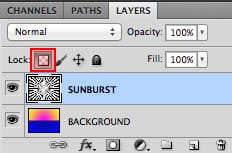
Now it’s time to paint the sunlight and moonlight rays. Select the Sunburst layer and click on the Lock transparent pixels icon.
Now grab the Rectangular Marquee tool and select the upper half of the image.
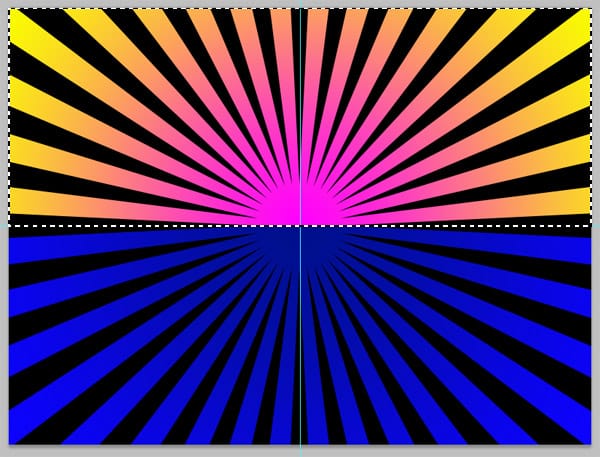
Set the Foreground color to #FAFD00 and fill the shape pressing ALT/OPTION + DELETE keys. You can alternatively use the EDIT > FILL… command.
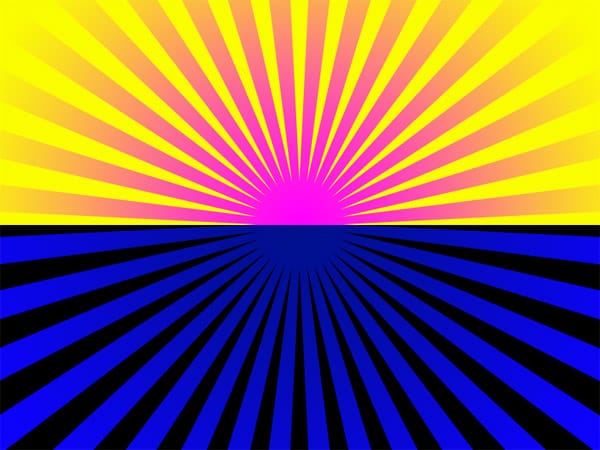
Now select the lower half of the image.
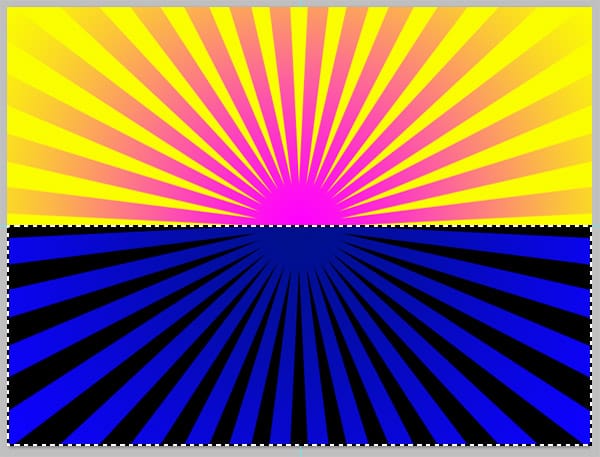
And fill it with color #0C02FD
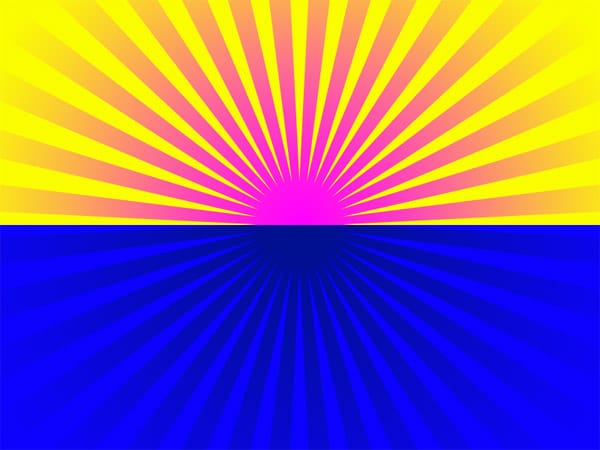
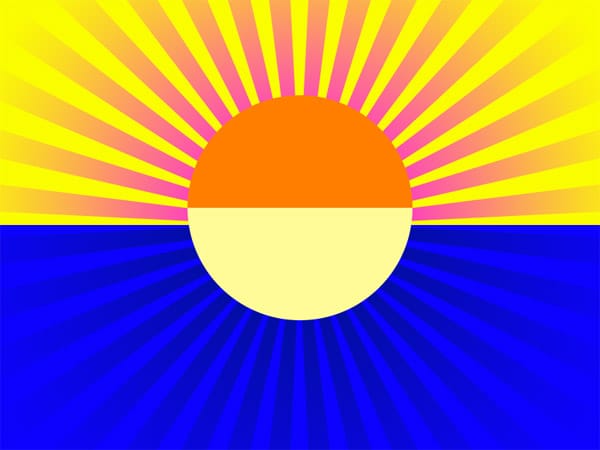
Let’s draw the Sun and Moon. Set the Foreground color to #FF7E00 and grab the Ellipse tool.
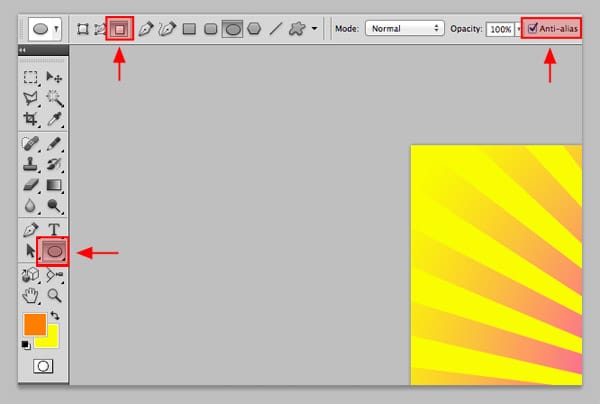
Let’s draw a circle but not in the exact center of the image. It will be centered horizontally, but a bit displaced upwards. Click and press ALT/OPTION + SHIFT and draw a circle of about 300 pixels.
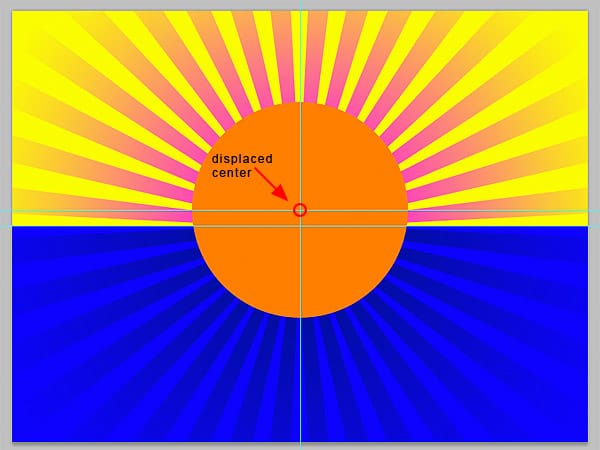
The reason why I displaced the circle to the top is because the sun will be partially covered by clouds leaving too little of it to be seen. Nevertheless, since it is a separate layer, you will be able to reposition it.
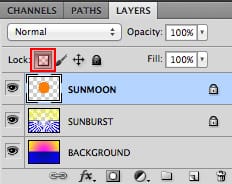
We now have to paint the lower part of the circle that shows the moon. Click on the Lock transparent pixels checkbox of the SUNMOON layer.
Grab the Rectangular Marquee tool and select the lower half of the circle.
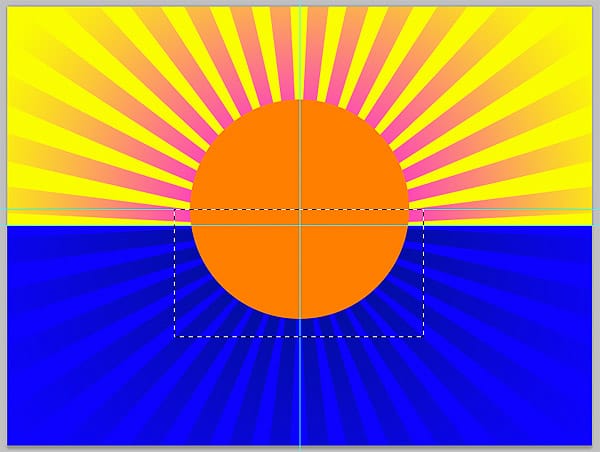
And fill it with color #FFFB97
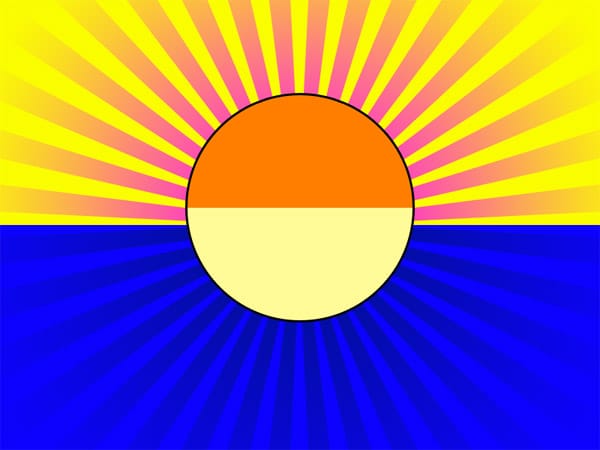
Let’s outline the circle using the Stroke Layer Style of Size: 3px, Position: Outside, Color: Black.
Create a new layer and name it CLOUDS. Set the Foreground color to #09ABFF and the Background color to White. Grab the Brush tool and set a new hard edged brush tip of about 70px.
Start painting by doing some random (but controlled) clicks as shown in the image below. To make it look like a fluffy cloud, increase or decrease the brush tip size using the [ and ] keys.
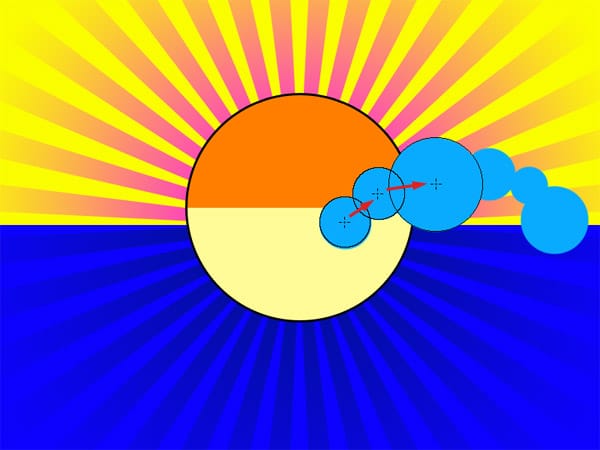
Once you finish doing the fluffy part of the cloud, just paint it to fill the empty spaces.
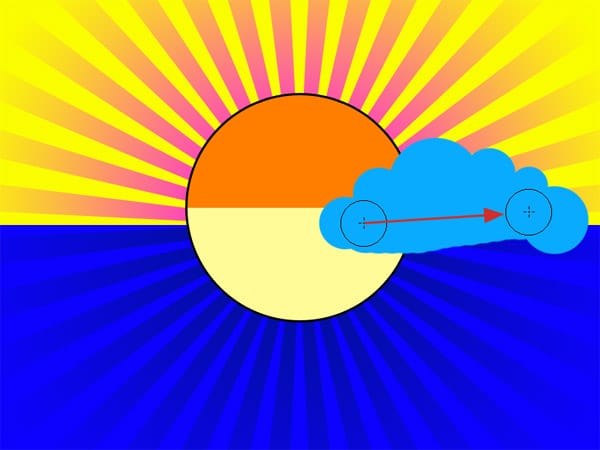
Grab the Rectangular Marquee tool and select the area of the cloud that is invading the night sky and press the Delete key to erase it.
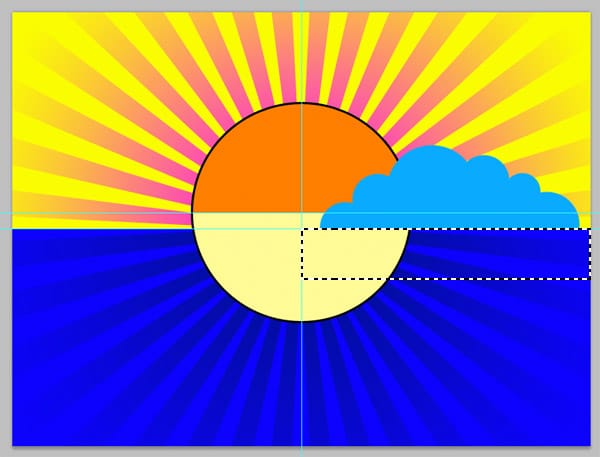
Still with the CLOUDS layer selected, set a Stroke Layer Style of SIZE: 2px, POSITION: Inside and COLOR: Black.
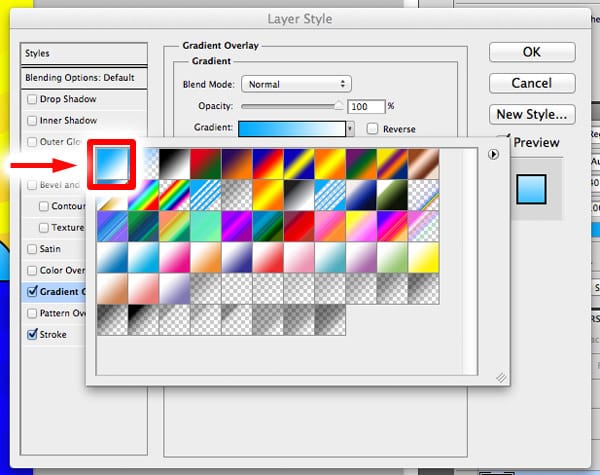
Then choose GRADIENT OVERLAY and leave the default settings. The default gradient is from Foreground to Background. In this case you will see a gradient from light blue to white.
Your image should look like this one:

Let’s copy and displace the clouds to the left twice. Grab the Move tool, press the ALT/OPTION key and drag the clouds to the left as show in the image below:
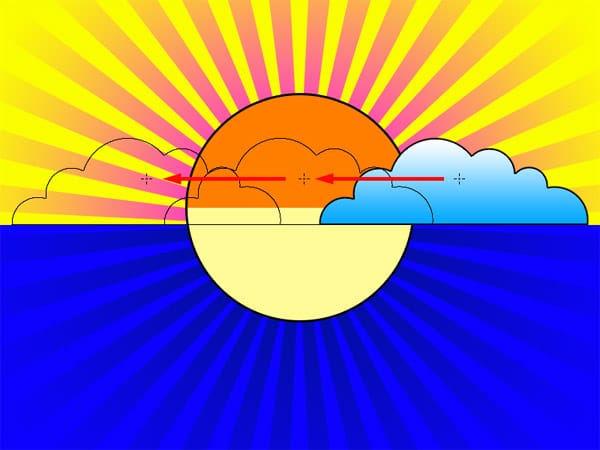
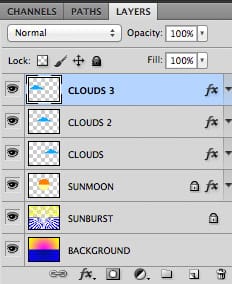
You will end up with two new Layers. Name each new layer as CLOUDS 2 and CLOUDS 3. Not necessary but it is better to keep things organized.
The image should look like this:

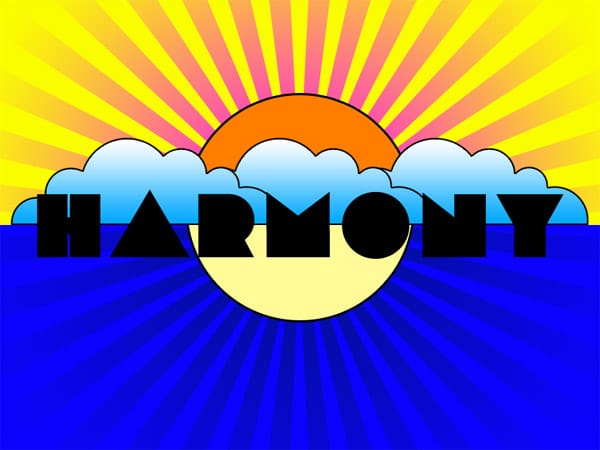
Let’s add the retro text. Download the free Lot font from FontFabric. Install it and type the word HARMONY. Use a 120pt font size and a 100pt letterspacing. You can change these settings to whatever you think is better. Don’t worry about the color of the letters. We are going to change them in the next step.
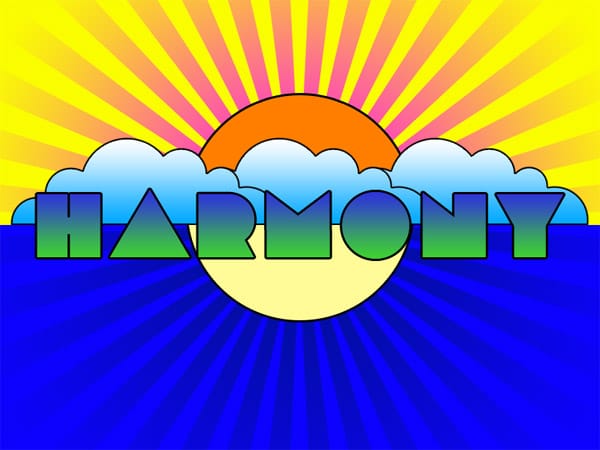
Set the Foreground color to #3ED131 and the Background color to #2D31DD. Go to Layer Styles and choose GRADIENT OVERLAY. Leave the default settings as you did previously with the clouds. The default gradient is always a gradient from the Bacground color to the Foreground color.
Now set a STROKE Layer Style of size: 3pixels, position: inside and color Black. Click OK.
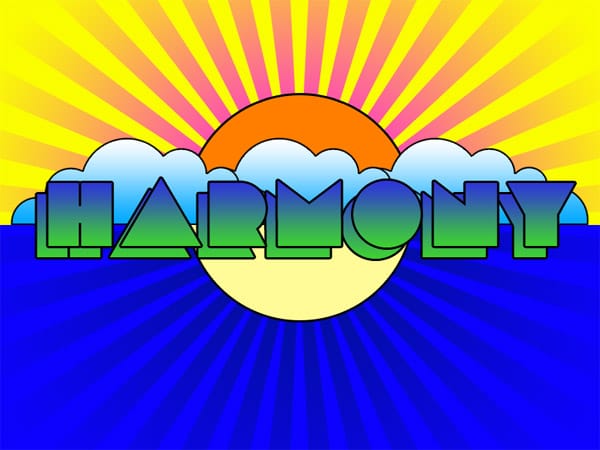
Now duplicate the text layer. To do so, go to the layers palette and drag the layer to the New Layer icon at the bottom of the palette, or go to menu LAYERS > DUPLICATE… and click OK without making any changes to the dialog box.
Rename this new layer as HARMONY 2. Select the Move tool and the HARMONY 2 layer. Nudge the layer 15 pixels to the right and 15 pixels to the top using the up and right arrows.
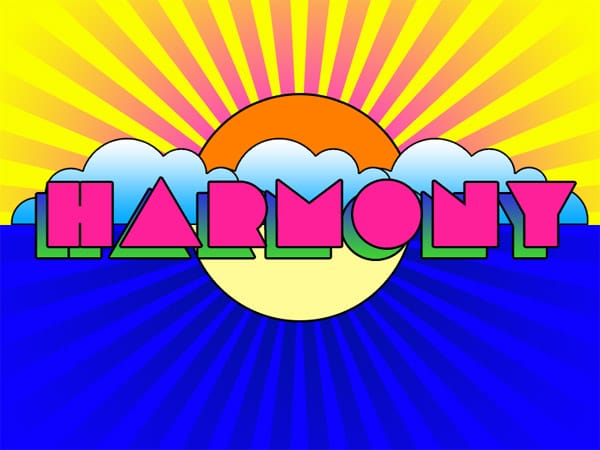
Go to Layer Styles and uncheck GRADIENT OVERLAY. Don’t close the window yet. Select COLOR OVERLAY and set the color to #FE2098. Click OK to close the window.
Remember when we draw the starburst shape? Well, let’s repeat the same but choosing a different shape. But first set the Foreground Color to Black. Grab the Custom Shape tool and select the following leave-like shape from the Ornaments shapes group:
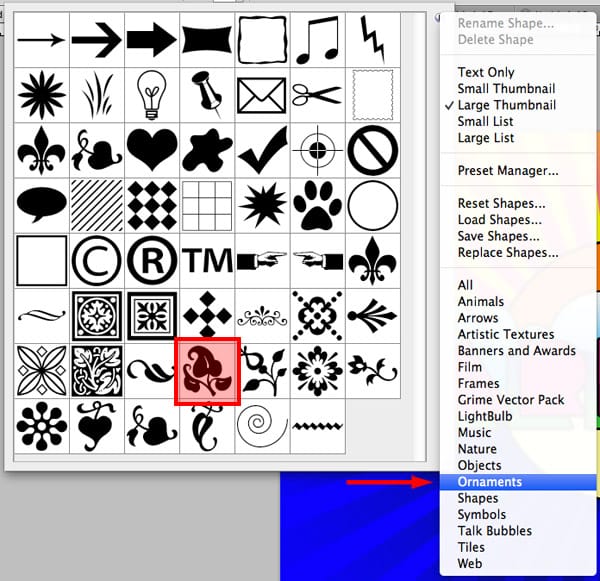
Use it (or any other shape) to add some decorative elements to the lettering.
Create a new Layer and name it LEAF. Draw the first leaf as shown in the image below.
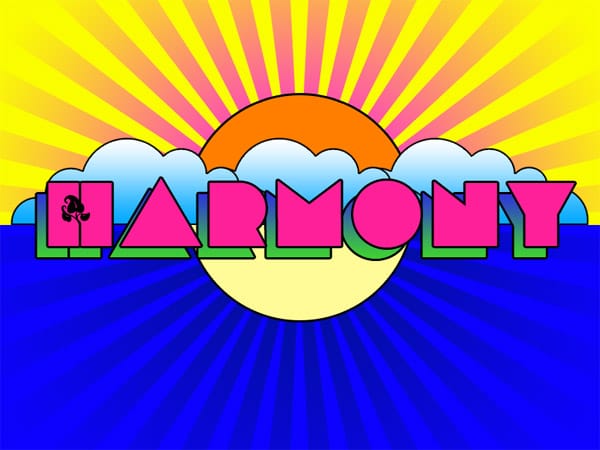
In this next step we are going to copy the leaf to the other letters. To do so just grag the Move tool, press ALT/OPTION and drag the leaf to the next letter, and so on. Each time you drag the leaf pressing ALT/OPTION, a new layer will be created.
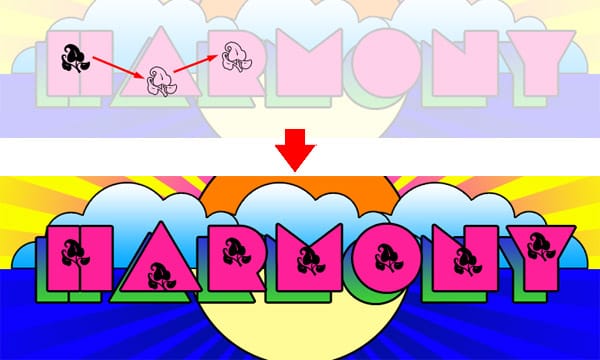
Let’s rotate the leaves from the M and N letters. Using the move tool, click on the leaf that’s on the M letter. Go to menu EDIT > TRANSFORM > ROTATE 180°. Then, using the arrow keys, move the leaf to the desired position. Do the same with the leaf that’s on the N.
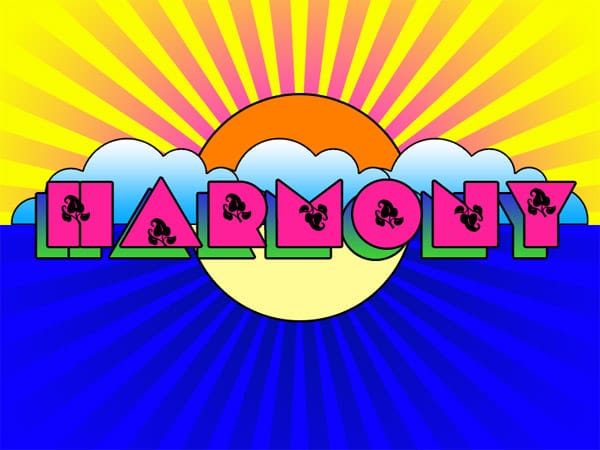
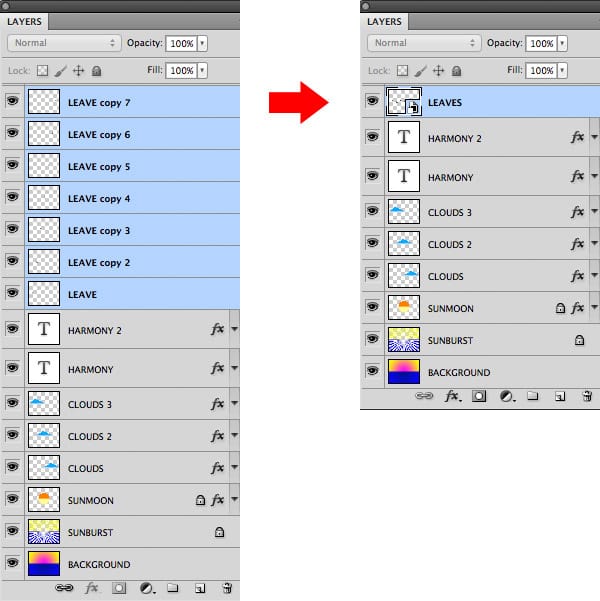
After working with the leaves, the layers palette is now filled with new layers. Let’s group them into a single object known as Smart Object. To do that, select the seven layers and go to menu LAYERS > SMART OBJECTS > CONVERT TO SMART OBJECTS.
After this, all seven layers will be gropued into a single layer. You can apply any Layer Style or transformation to this Layer. To edit the content of this Smart Object, just double click on it and a new file will open with all the layers inside. After finishing editing the file, you have to save it and all the changes will be reflected on the main file. To know more about working with smart objects, just watch this tutorial.
This is getting long. Are you still with me? Let’s now add a cosmic touch to the image.
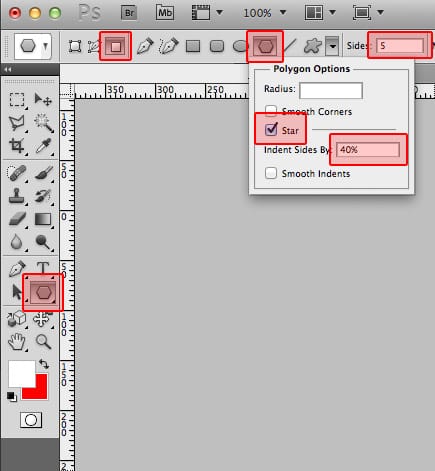
Create a new layer and name it STARS. Set the Foreground color to white. Grab the Polygon tool and set it up as shown in the image below.
Start drawing the stars in the lower left quadrant of the image. Do not draw any star in outside this quadrant. It is better to distribute the stars in a controlled scattered way. Make them smaller near the moon and larger near the border to give an illussion of perspective and depth.
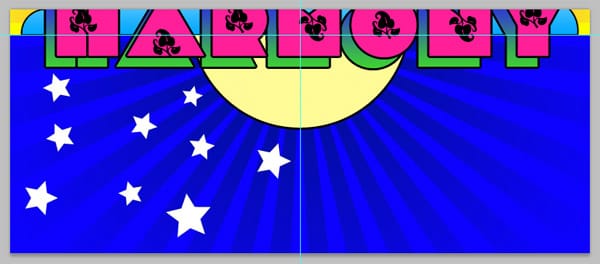
Using Layer Styles, add a black stroke of Size: 2 pixels and Position: Inside, to the Layer STARS.
Create a new Layer and name it PLANETS. Set the Foreground color to: #CC00FF and start drawing circles with the Ellipse tool. Remember to press the SHIFT key while drawing the circles to obtain a proporcional circular shape.
After that, add the same black stroke as you did with the stars.

Let’s make a mirror copy the stars and planets to the right. Select both the STARS and PLANETS layers. Grab the Move tool, press the ALT/OPTION Keys, click on one star or planet and drag it to the right. This will make a copy of both STARS and PLANET layers.
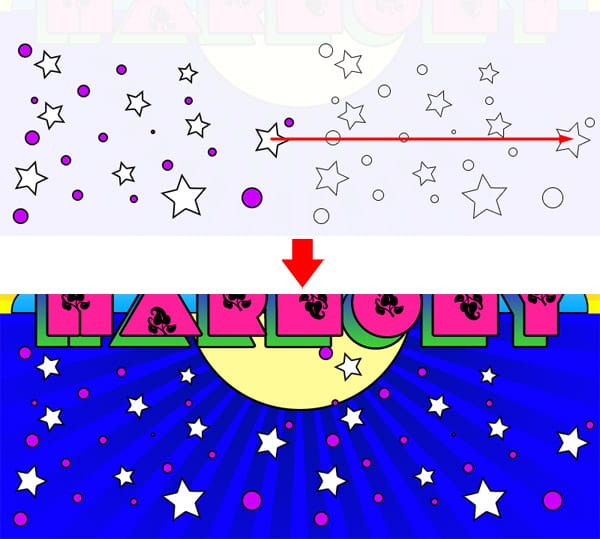
This movement should have created two new Layers. Select both new layers and go to menu EDIT > TRANSFORM > FLIP HORIZONTAL.
Grab the Move tool and move the stars and planets to the desired symmetrical position. You can use the arrows for precise positioning.

Repeat the same process for the little planets at the top of the drawing.
This is the final result. Click on the image below to see the full resolution image.


