Create a Neon Text Effect in Photoshop with Blur and Layer Styles

Create a Neon Text Effect in Photoshop with Blur and Layer Styles

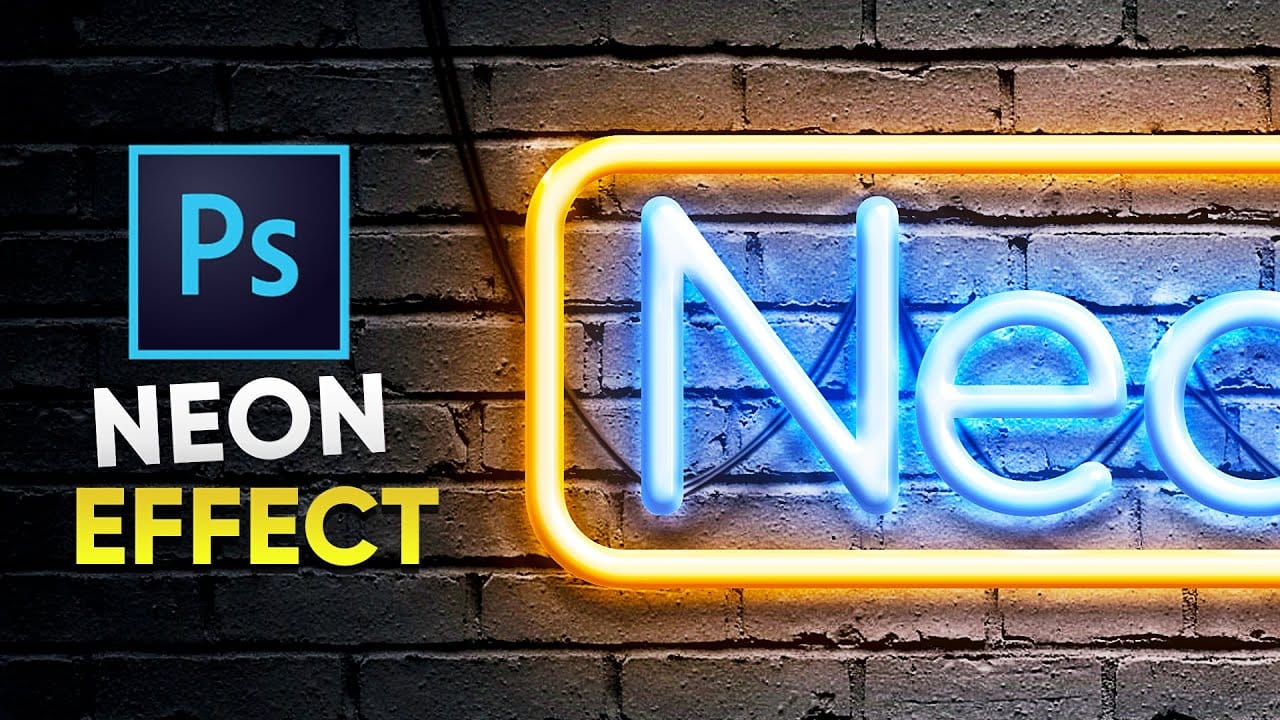
Neon signs bring instant energy to any design with their electric glow and vibrant colors. The luminous quality that makes real neon so captivating can transform ordinary text into something that feels alive and pulsing with light.

This video demonstrates how to recreate that distinctive neon look using Photoshop's blur filters and layer effects. The technique builds multiple glowing layers to achieve an authentic electric sign appearance.

Watch the Tutorial

Video by P A N T E R. Any links or downloads mentioned by the creator are available only on YouTube

Building Authentic Neon Glow Effects

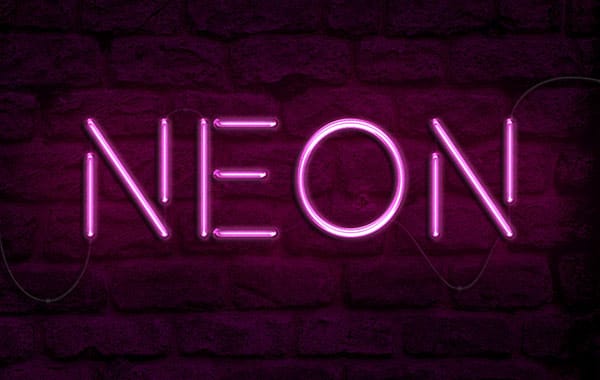
Real neon signs produce light that radiates outward in multiple intensity levels. The brightest glow appears closest to the tube, with softer halos extending further into the darkness. This layered lighting creates the signature neon appearance.

The technique shown uses Progressive Gaussian Blur to simulate this natural light falloff. Each duplicated layer receives a different blur radius, mimicking how light disperses at varying distances from the source.

  • Multiple blur layers create realistic light dispersion
  • Linear Light blend mode intensifies the core glow
  • Smart Objects allow non-destructive editing throughout the process
  • Layer styles add depth with shadows and additional glow effects

Practical Tips for Neon Text Effects

  • Convert text to Smart Objects before applying filters to maintain editability
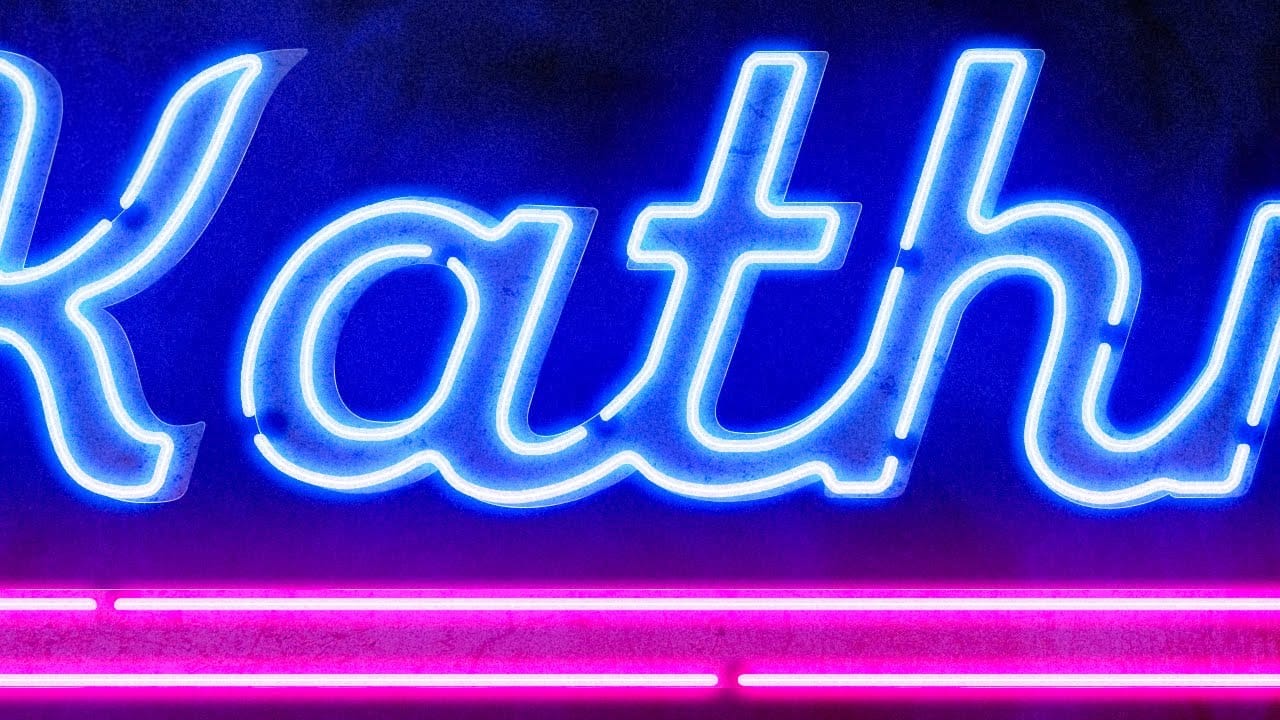
  • Use decreasing blur values (300, 200, 100, 50, 10) for natural light falloff
  • Set the sharpest layer to Linear Light blend mode for intense core brightness
  • Add noise texture on Overlay mode to simulate the subtle grain of real neon lighting
  • Combine warm and cool glow colors for more realistic color interaction

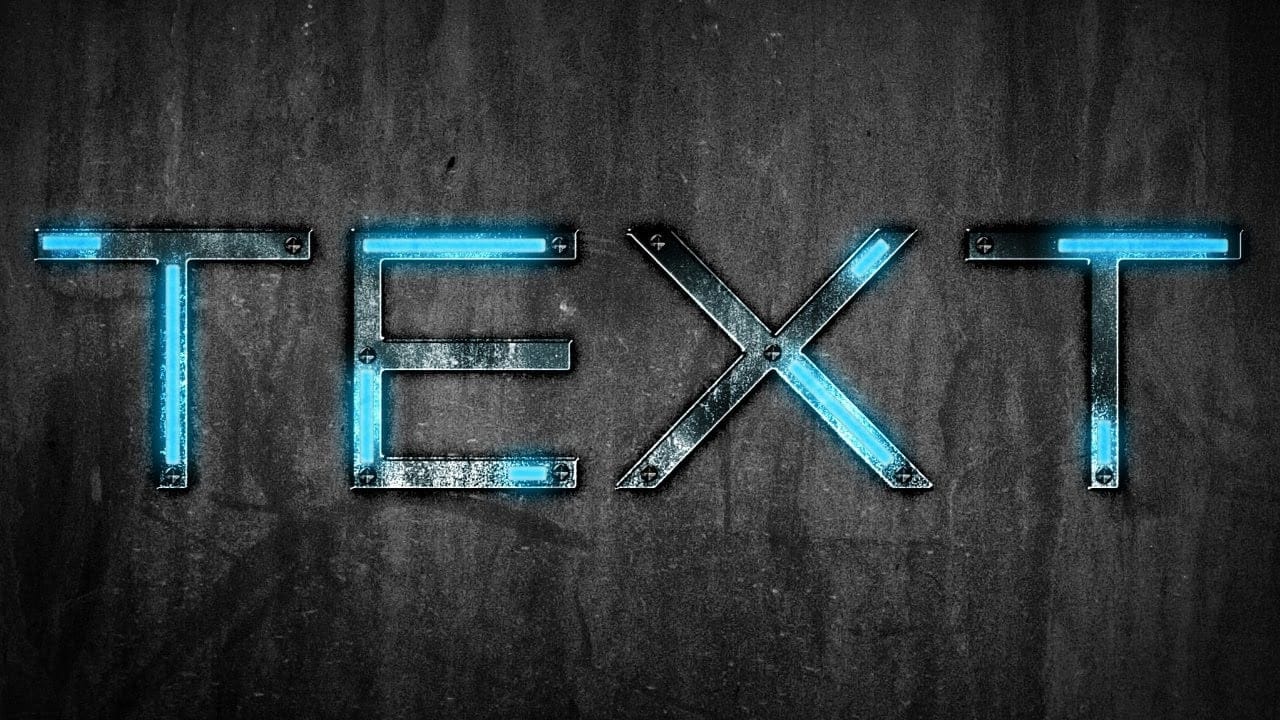
More Tutorials about Neon Text Effects

Explore additional techniques and variations for creating compelling neon designs in Photoshop.

Create a Realistic Neon Sign Text Effect in Photoshop
In this Photoshop tutorial by Pixivu, you'll learn how to create a realistic neon text effect, complete with a neon sign and light hanging on a weathered brick wall using only Smart Objects. By the end of the tutorial, you'll be able to create a vibrant and lifelike neon text effect mockup that can be reused and re-applied with a single click. This tutorial offers a practical and efficient method for achieving stunning neon designs. Watch tutorial
How to create a bright realistic neon text effect in Photoshop
Love neon signs? Ever wanted to create your own? With the magic software, we can easily experiment with and create a neon light text effect, no electricity necessary! In fact, whether you're a software expert or a complete beginner, doing so can be a breeze. In this video, we'll check out a couple of different ways to create neon light text effects—from using convenient Smart Objects, to creating text effects from scratch in Adobe Photoshop, to even quick and easy ways to experiment with text e
Create a Realistic Neon Light Text Effect in Photoshop
In this tutorial, TextureLabs demonstrates how to create a realistic neon sign text effect using Adobe Photoshop. You'll learn to combine glowing neon colors with a convincing metal base to produce a striking and authentic sign. The tutorial covers various techniques, including layer styles and blending modes, to achieve the luminous neon effect. Additionally, free texture links and more resources are provided to enhance your design. Whether you're a beginner or an advanced user, this tutorial
Futuristic Neon Text Effect in Photoshop
In this tutorial, Brandon Bias from Ch-Ch-Check It shows you how to create a stunning futuristic, grungy neon text effect on metallic letters using Adobe Photoshop. This effect combines multiple blend modes, textures, and layer styles to achieve a unique and eye-catching design. The tutorial begins with creating a new document and adding a grungy background, then moves on to customizing text with specific fonts and character settings. Through detailed steps, you'll learn how to apply various ef

Get tutorials & freebies delivered to you.

Subscribe to the Photoshop Roadmap newsletter, a weekly roundup of new tutorials, insights and quality downloads, trusted by 6500+ readers.

You might also like

Complete Photoshop Editing Workflow: 5 Steps from Raw to Polished

Photoshop offers endless possibilities for photo enhancement, but many photographers never move beyond basic adjustments because the software feels overwhelming. This comprehensive workflow breaks down photo editing into five manageable stages that work consistently across different photography styles. The systematic approach covers everything from initial raw processing to advanced lighting...

Photoshop Workspace Basics: Navigation, Zooming, and Essential Interface Elements

Photoshop's interface can feel overwhelming when you first open the program. Dozens of panels, tools, and menus compete for attention, making simple tasks feel complicated. This tutorial breaks down the essential workspace elements and teaches fundamental navigation skills that form the foundation of efficient Photoshop work. Watch the...

How to Restore Old Damaged Photos Using Nano Banana in Photoshop

Old family photos with scratches, tears, and missing sections can seem beyond repair. Google's Nano Banana AI model, now integrated into Photoshop, makes full restoration possible in minutes rather than hours. This powerful tool excels at maintaining facial characteristics while automatically filling in damaged areas and adding realistic...

How to Get Higher Quality Results from Photoshop's Generative Fill Tool

Photoshop's Generative Fill creates impressive AI extensions, but the results often look blurry and pixelated when viewed at full size. This quality limitation makes many AI-generated areas unusable for printing or large displays. This technique shows how to work around the 1024x1024 pixel quality limit to create much...

How to Use Photoshop's Liquify Tool for Non-Destructive Portrait Retouching

Clothing wrinkles, hair that lacks volume, and awkward fabric bunching can distract from an otherwise great portrait. Photoshop's Liquify tool offers a powerful solution for smoothing out these issues while preserving the natural look of your subject. This tutorial demonstrates how to use the Liquify tool non-destructively with...

You’ve successfully subscribed to Photoshop Roadmap
Welcome back! You’ve successfully signed in.
Great! You’ve successfully signed up.
Success! Your email is updated.
Your link has expired
Success! Check your email for magic link to sign-in.