Create a Fire Burning Effect in Photoshop

Create a Fire Burning Effect in Photoshop

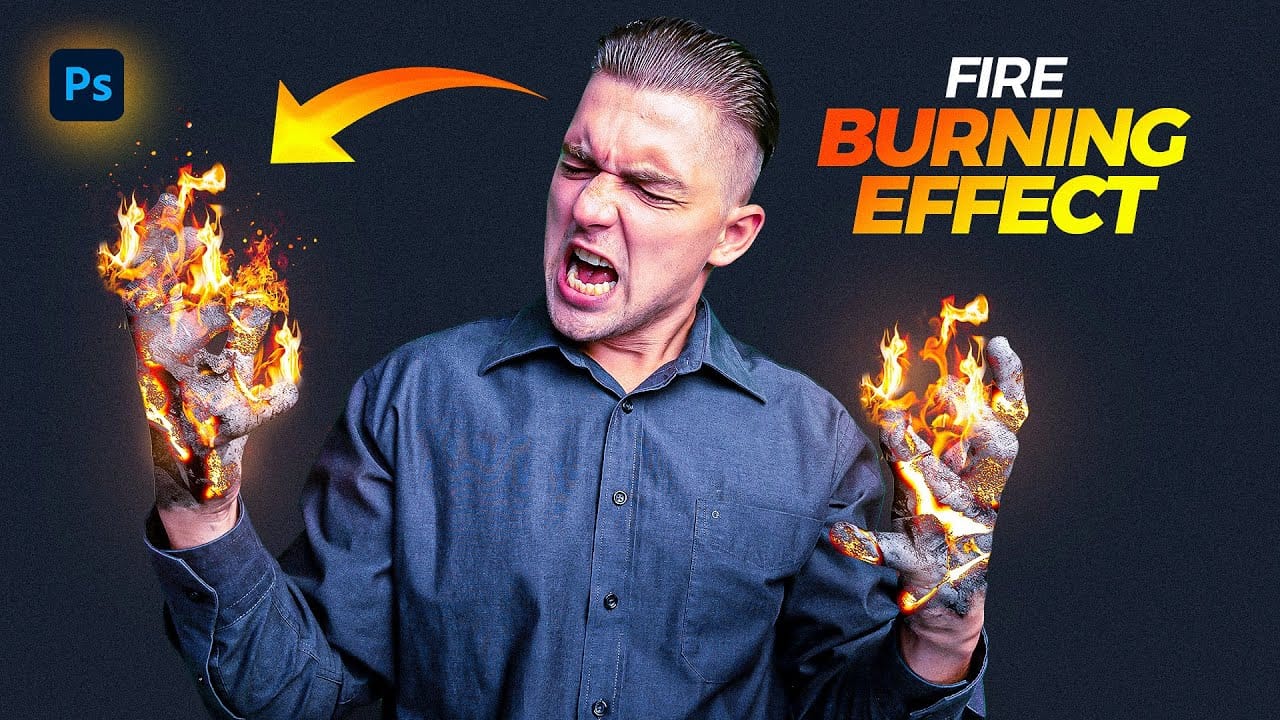
Creating a fire-burning effect in Photoshop is a fascinating process that can enhance your images dramatically. Start by setting up a new file with dimensions of 1920 x 1080 pixels. Import the necessary images, which can be found in the provided link. Duplicate your main layer using Ctrl + J, then convert it to black and white through the Image Adjustments menu by selecting Hue/Saturation and removing all saturation.

Next, apply an inverted mask to the black and white layer. Use the brush tool with a soft round brush and set the opacity and flow to 100%. This technique allows you to reveal parts of the image while keeping some areas colored, adding depth to the effect. Import another image and create a clipping mask, ensuring it only affects the layer below. Change the blending mode to multiply for a more realistic appearance.

Adjust the levels to enhance contrast and group your layers for better organization. You can create additional adjustment layers, such as gradient maps and solid color layers, to refine your effect further. For a seamless finish, utilize the channels to make selections and adjust colors as needed. Finally, duplicate layers and mask out unwanted areas to achieve the desired look. If questions arise during your process, feel free to ask for assistance. Enjoy experimenting with your fire effect!

Get tutorials & freebies delivered to you.

Subscribe to the Photoshop Roadmap newsletter, a weekly roundup of new tutorials, insights and quality downloads, trusted by 6500+ readers.

You might also like

Creating Pixelated Dither Effects in Photoshop

The pixelated dither effect transforms modern photographs into retro-inspired artwork reminiscent of early video games and vintage computer graphics. This distinctive visual style uses controlled color reduction and strategic pixelation to create images that balance nostalgic charm with contemporary design appeal. The technique relies on Photoshop's export settings...

How to Create a Vector Stencil from a Portrait Using Photoshop and Illustrator

Stencil art transforms complex portraits into bold, graphic statements using just black and white shapes. This simplified aesthetic has defined everything from street art to commercial design, creating instantly recognizable images that work across any medium. This tutorial demonstrates the complete workflow for converting a photograph into a clean vector...

How to Create Dotted Halftone Motion Blur Effects in Photoshop

The distinctive look of dotted halftone patterns combined with dynamic motion blur creates striking visual effects that bridge vintage print aesthetics with modern digital design. This technique transforms portrait photography into graphic art pieces with flowing, particle-like textures. The process involves layering multiple filter effects to achieve that coveted Instagram-worthy...

Master Photoshop Adjustment Layers for Non-Destructive Editing

Fine-tuning images without destroying original pixel data transforms ordinary photos into compelling visuals. Adjustment layers provide the flexibility to experiment with colors, contrast, and tones while maintaining complete control over every edit. This comprehensive guide demonstrates how to harness Photoshop's most powerful adjustment layers for landscape photography, from...

Understanding Color Theory for Digital Image Editing

Color theory forms the foundation of every successful digital editing project. From the visible spectrum to RGB channels, understanding how colors interact determines whether your adjustments look natural or artificial. This comprehensive breakdown covers essential color models, temperature and tint relationships, and the practical connections between traditional color theory and...

You’ve successfully subscribed to Photoshop Roadmap
Welcome back! You’ve successfully signed in.
Great! You’ve successfully signed up.
Success! Your email is updated.
Your link has expired
Success! Check your email for magic link to sign-in.