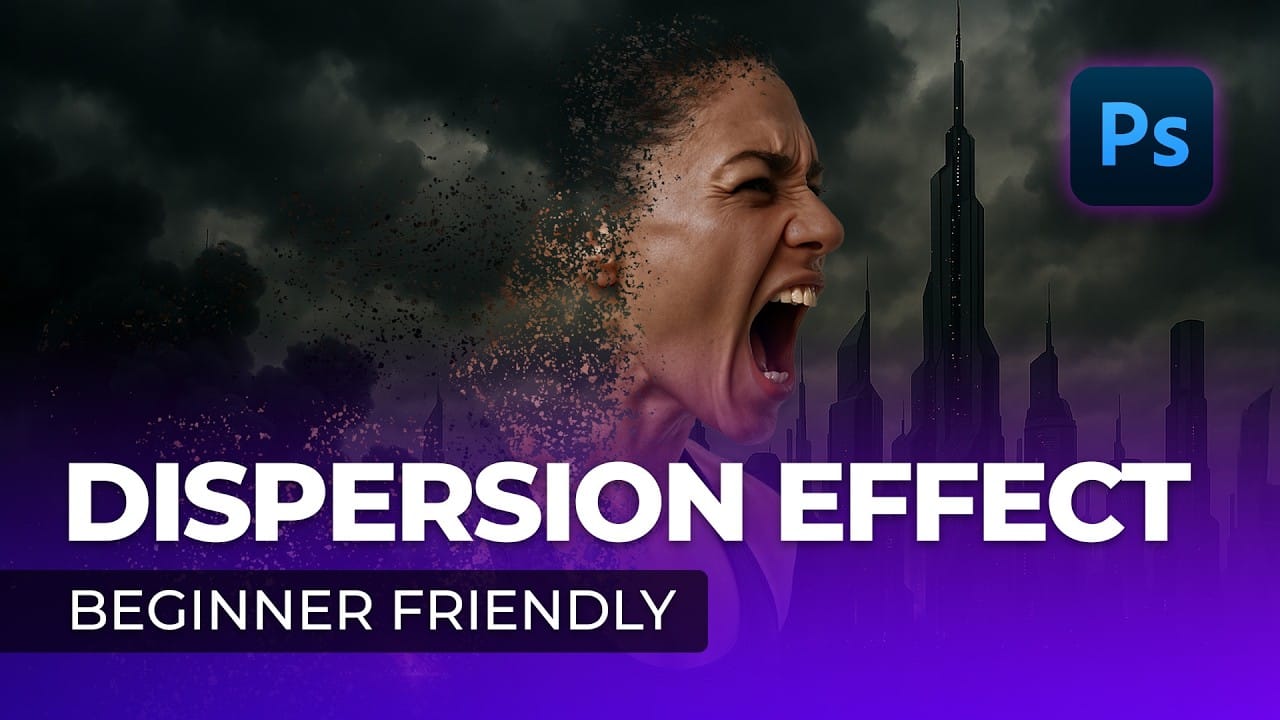
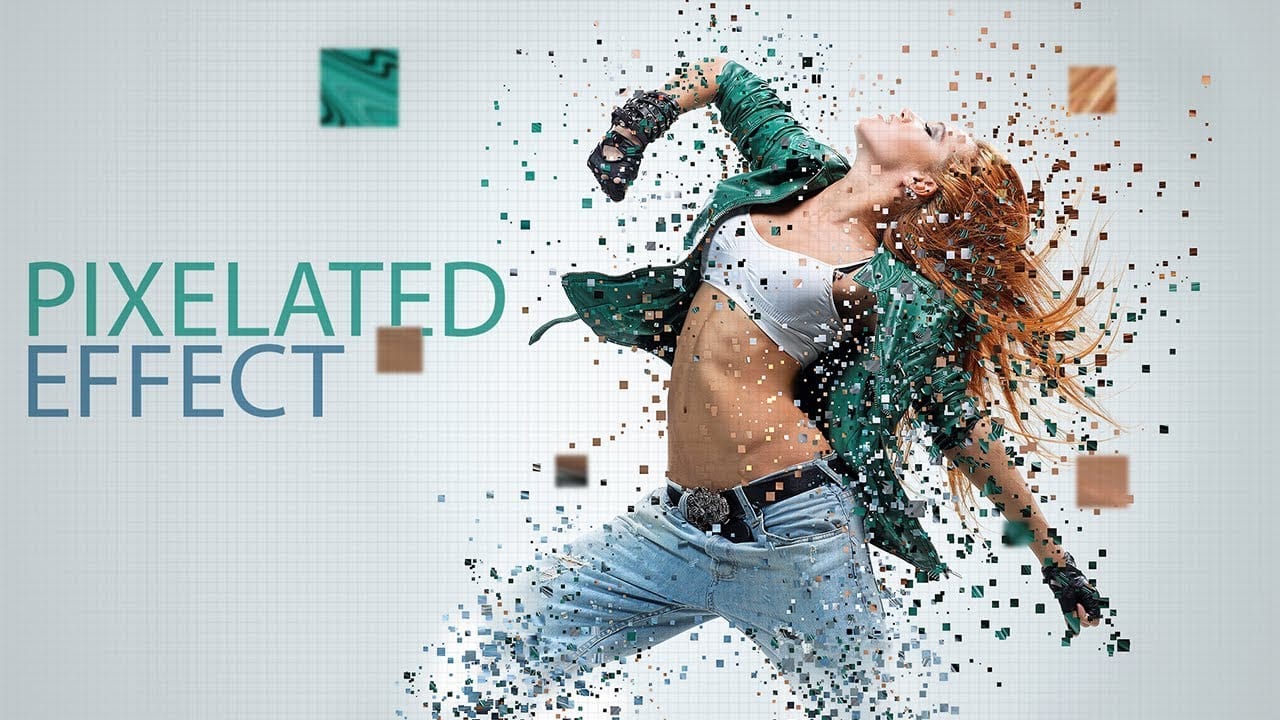
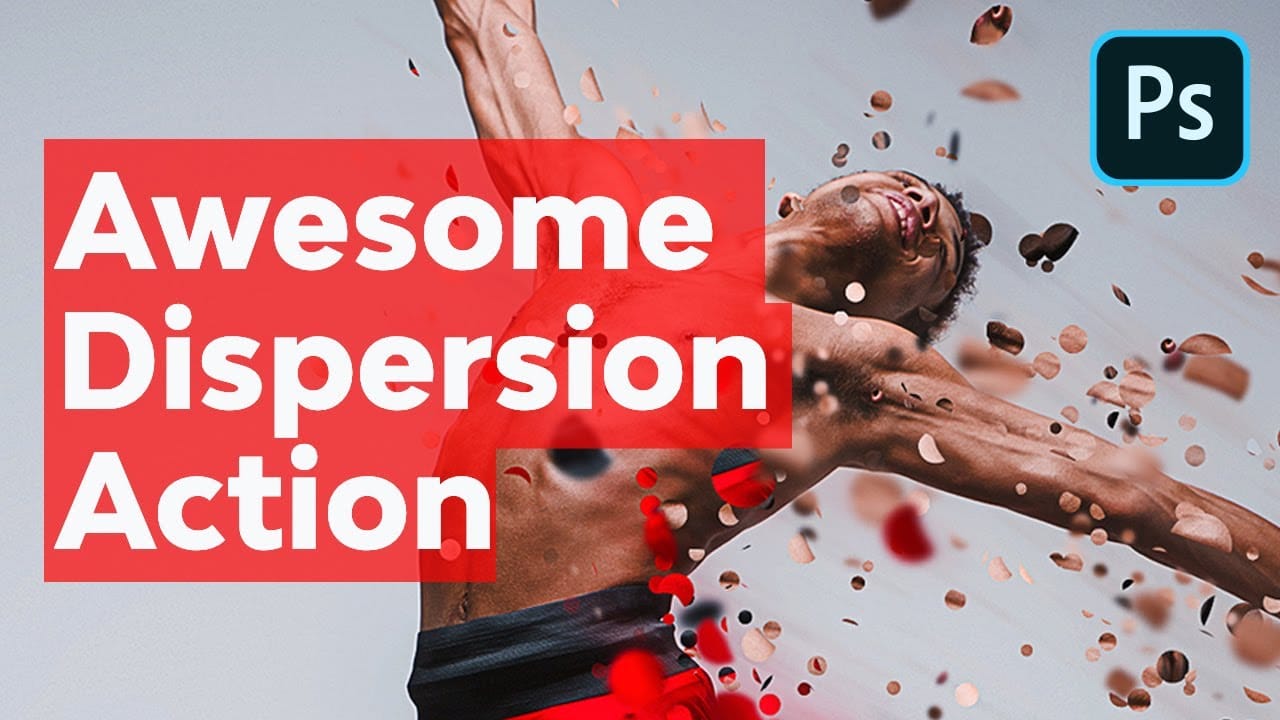
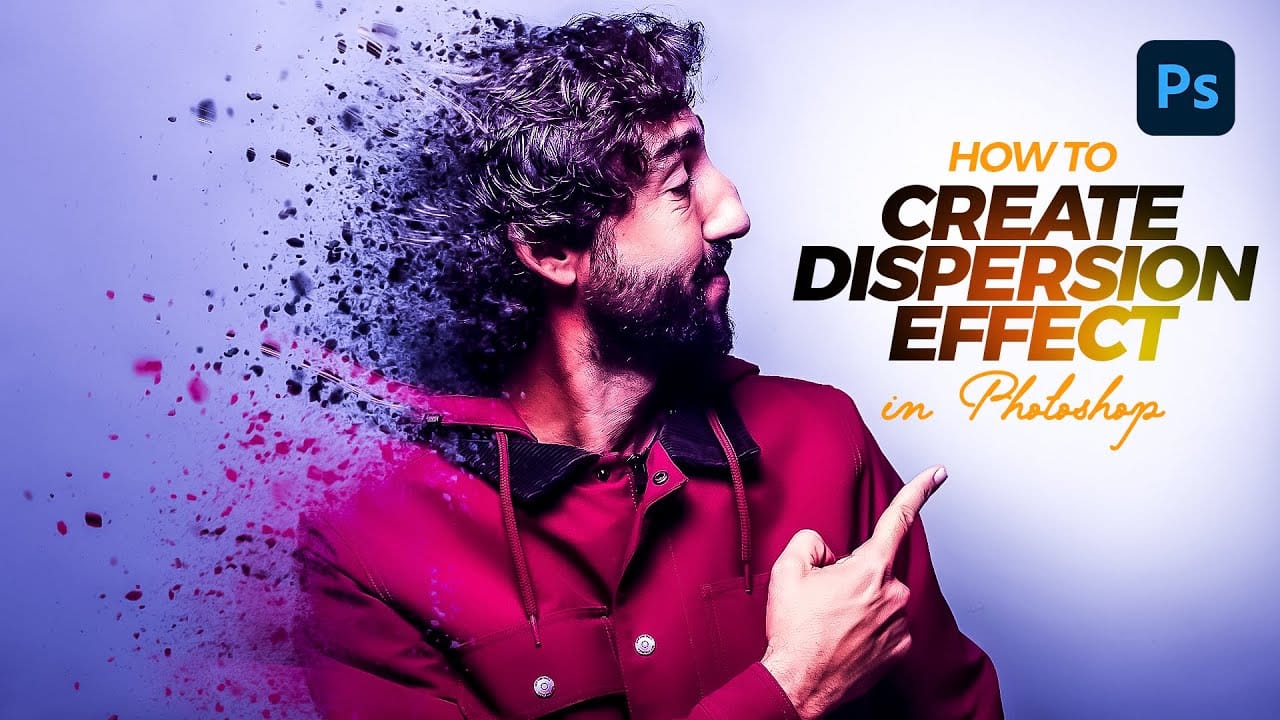
The dispersion effect transforms ordinary photographs into dynamic artwork, creating the illusion that parts of the subject are breaking apart and scattering into particles. This popular technique adds movement and a surreal quality to static images, making them ideal for creative projects and eye-catching digital content.
This tutorial provides a step-by-step guide to achieving a professional dispersion effect using Photoshop’s versatile tools. You will learn how to combine custom brushes, layer masks, and the Liquefy filter to create compelling and visually striking compositions.
Watch the Tutorial
The Art of Digital Dispersion
Creating a dispersion effect in Photoshop involves more than just scattering pixels; it's about crafting a narrative where a subject appears to dissolve into its environment, or break free from its form. This technique leverages the software's powerful masking and transformation capabilities to achieve a sense of motion and disintegration. The visual impact often conveys themes of change, freedom, or abstract beauty, making it a favorite among digital artists.
At its core, the dispersion effect relies on a strategic interplay of several Photoshop features. Layer masks provide precise control over visibility, allowing artists to selectively hide or reveal parts of an image. Custom brushes, often designed with irregular or "splatter" patterns, are crucial for creating the fragmented particles. Finally, the Liquefy filter is used to distort and stretch the subject, giving the impression that parts are actively pulling away and dissipating.
Mastering this effect enables artists to imbue their images with a unique blend of realism and fantasy, pushing the boundaries of traditional photo manipulation to create truly captivating visual experiences.
Practical Tips for Creating Dispersion Effects
- Organize your workspace by naming layers (e.g.,
liquefy,main image) to maintain clarity throughout the editing process. - Master brush manipulation by using the arrow keys for precise rotation and the bracket keys to quickly adjust size.
- Leverage inverted masks by holding
Altand clicking the mask icon to hide the entire layer, then selectively reveal parts with a white brush. - Exaggerate distortions with the Liquefy filter's Forward Warp tool to achieve a more dramatic and realistic scattering appearance.
- Control visibility on layer masks by setting the foreground color to black to hide pixels and white to reveal them.
More Tutorials about the Dispersion Effect
Explore additional resources and expand your skills with these related articles and tutorials on creating dispersion effects in Photoshop.


