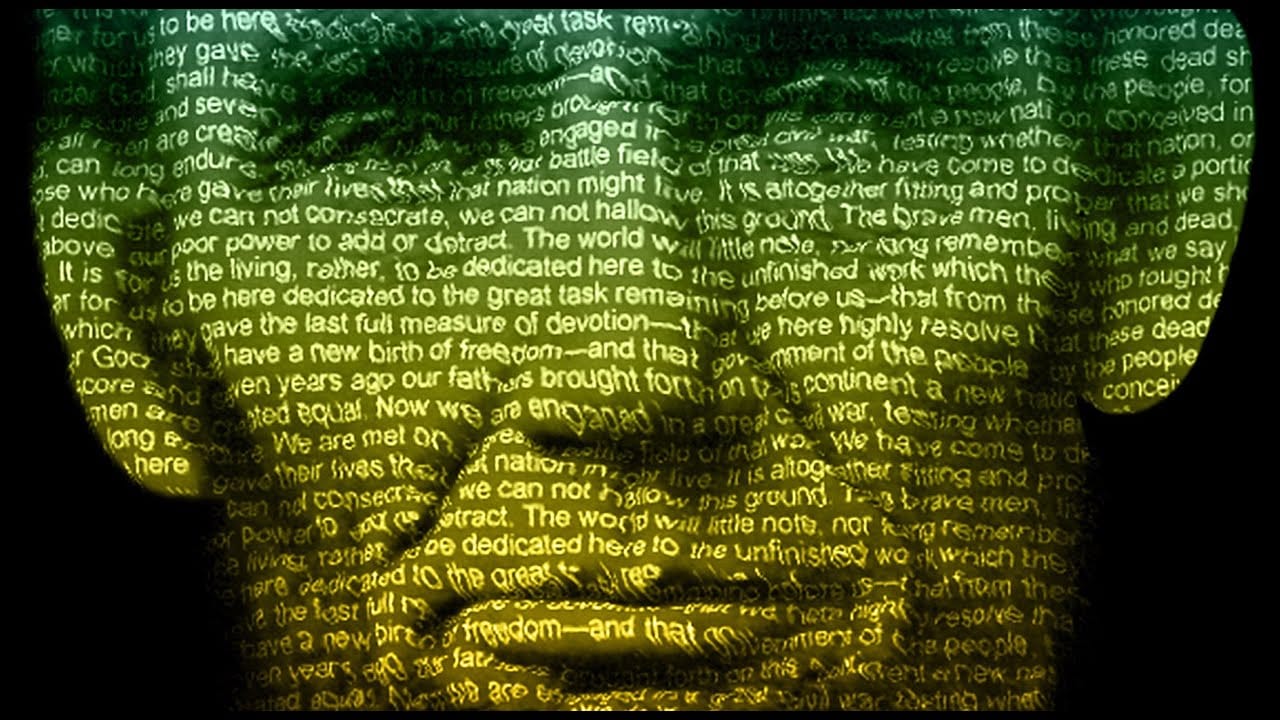
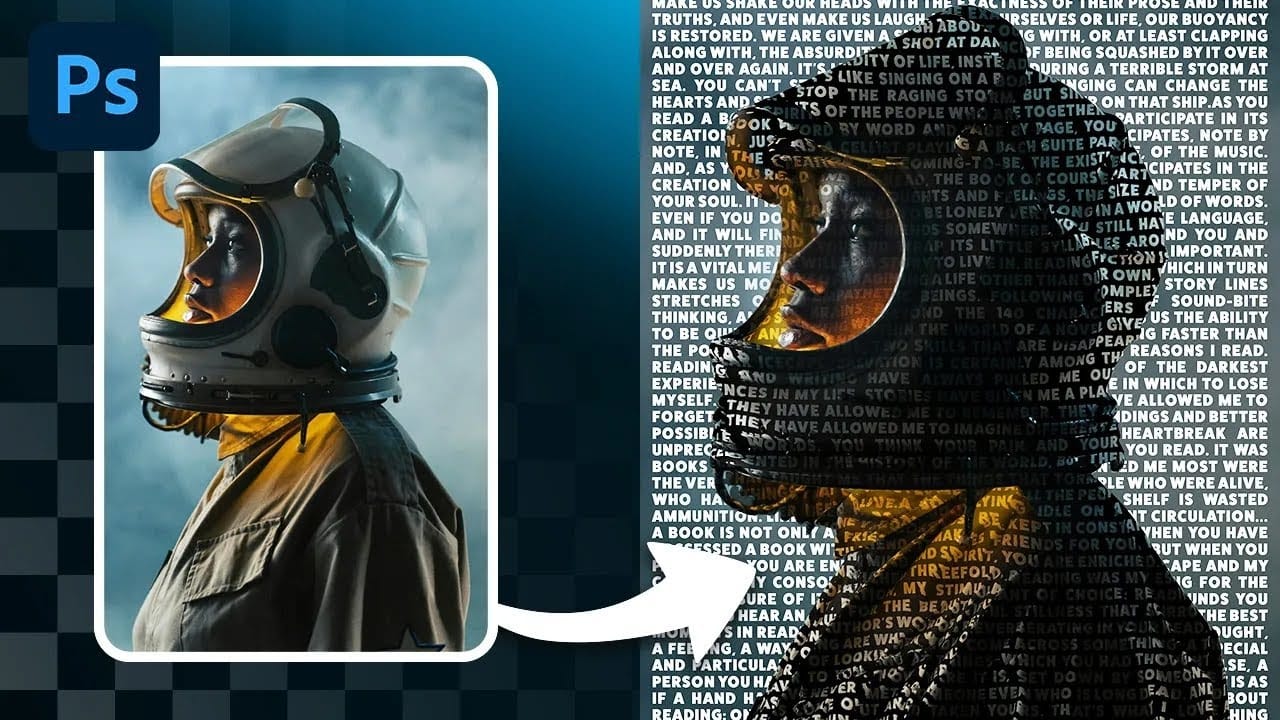
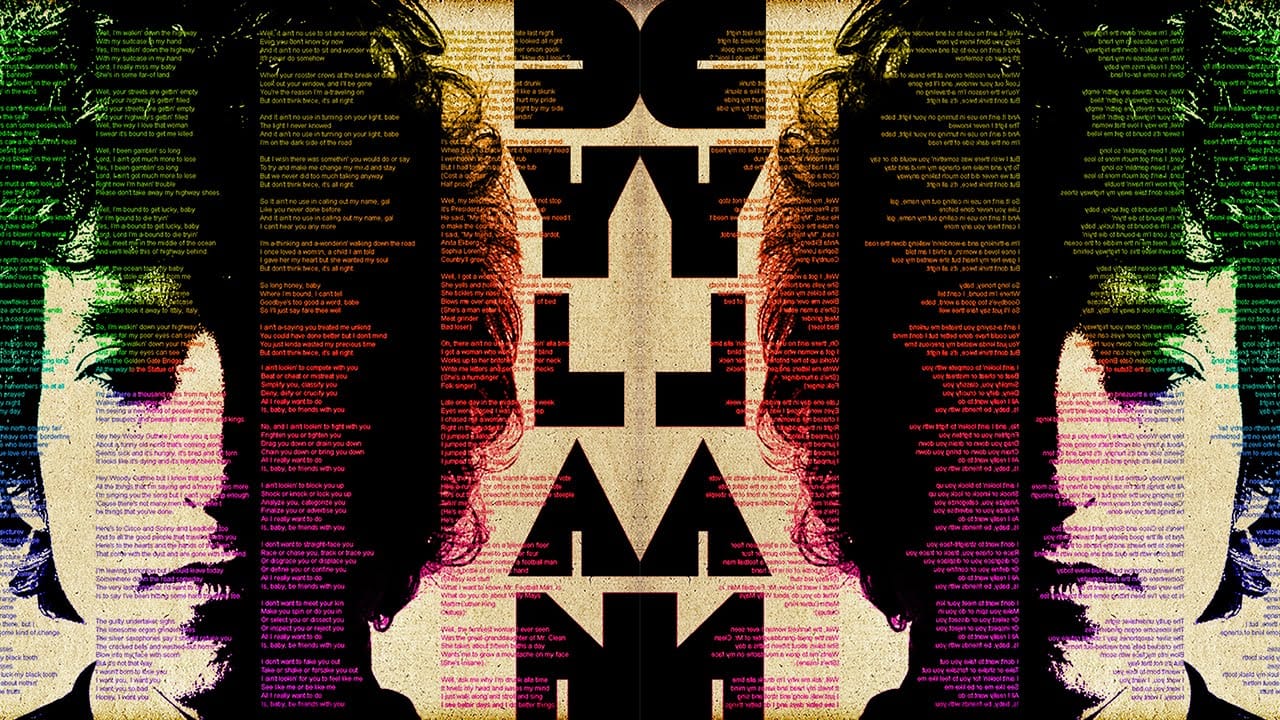
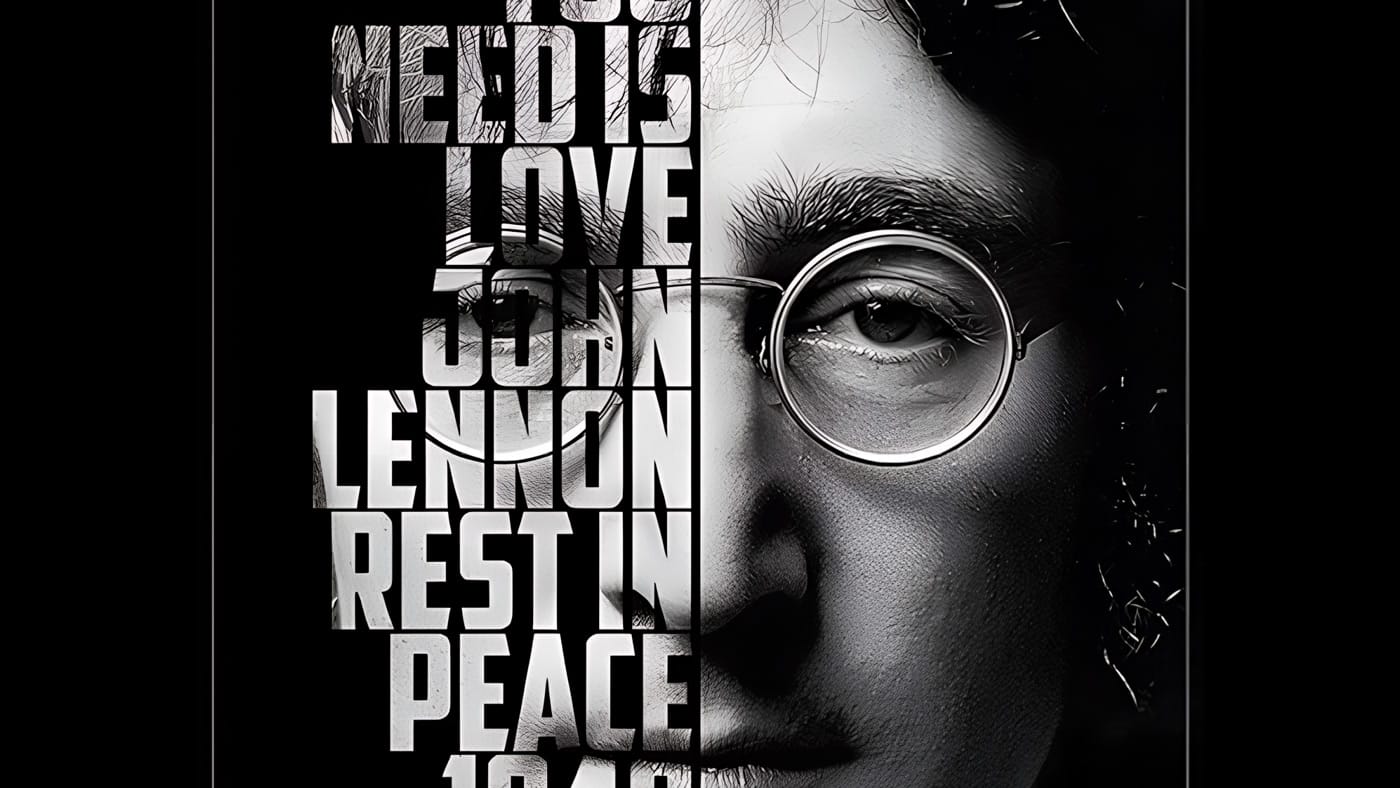
Learn how to create a striking typographic portrait poster in Adobe Photoshop, transforming a standard photo into an artwork where text defines the contours of the subject’s face. You’ll practice essential techniques: precise subject selection, background preparation, thoughtful text integration, and subtle refinements to enhance legibility and visual impact.
Watch the Video
Video by Blue Lightning. Any links or downloads mentioned by the creator are available only on YouTube
Practical Tips for Text Portrait Posters in Photoshop
- Desaturate your base image to black and white early in the process, as this simplifies the contrast adjustments and prepares the image for monochromatic text integration.
- Refine the edges of your subject, especially around intricate areas like hair, using the Refine Edge tool to ensure a clean separation from the background.
- Adjust image levels to enhance contrast, making shadows pure black and highlights bright, which creates clear areas for text application and improves overall definition.
- Blend hair edges into the background using a Layer Mask and a soft brush set to reveal the black background, ensuring a seamless transition and avoiding harsh cutouts.
- Use the Dodge Tool and a low-opacity brush to selectively brighten areas where text might be difficult to read, improving word legibility without overexposing the portrait details.
Related Articles and Tutorials about Typographic Portrait Posters
Explore more techniques and creative approaches to text-based designs and portrait effects.
