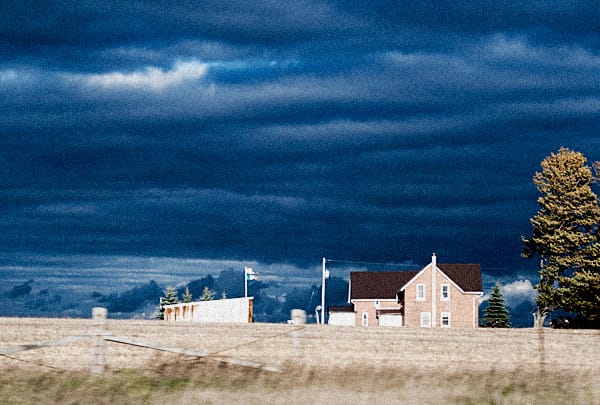
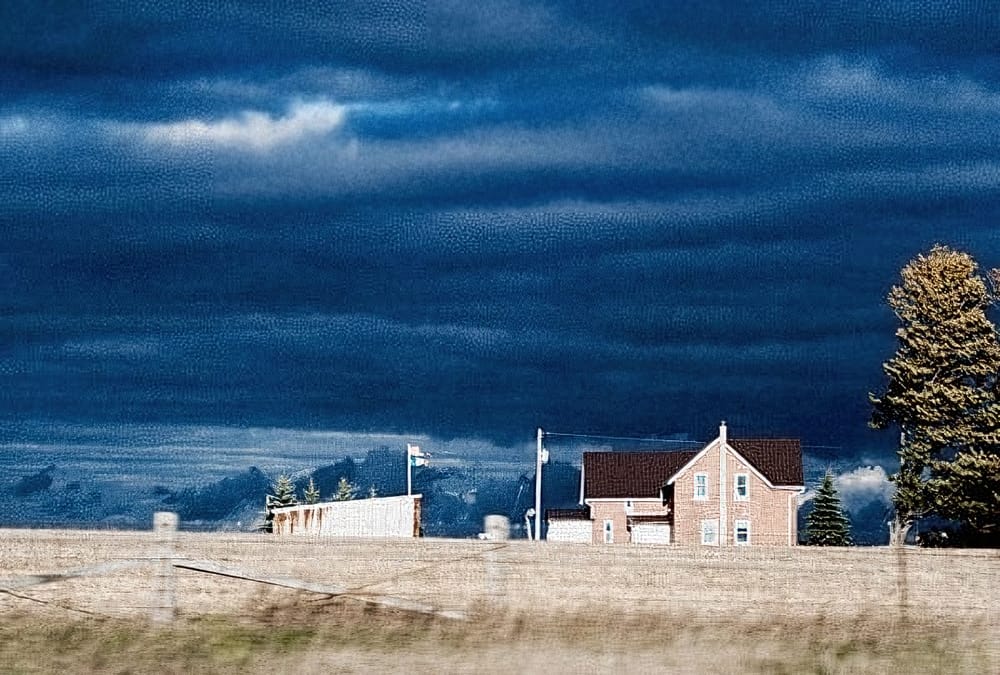
Bleach bypass is a photo effect used very often in the movie industry. It has been used in such films as Saving Private Ryan, Minority Report and many others. To achieve this effect, filmmakers either partially or completely skip bleaching during the processing of a color film giving as a result a black and white image over a color image. This creates reduced saturation and exposure latitude along with increased contrast and graininess giving a kind of gritty, dirty look to the image. This is done in special professional labs for an additional cost and might be dificult for one to find a lab that processes film in this way. Luckily we can turn to Photoshop to achieve this effect without much trouble.
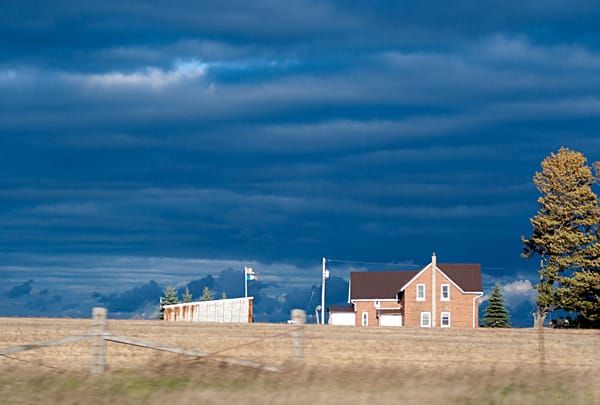
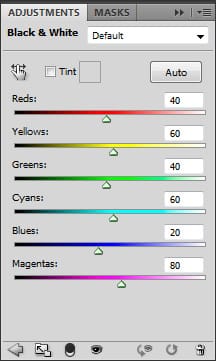
To start things off, we’re going to convert our image to Black & White by using the Black & White layer adjustment found at the bottom of your layers palette. I’ve seen some people simply duplicating their background layer and then desaturating that layer with the Hue & Saturation Adjustment Layer. By instead using my method of converting to Black and White using the Black & White Adjustment Layer you will gain much more control because this adjustment layer allows you to apply different photo filters that dramatically change your result. When you open the Black and White conversion window, you can see a dropdown menu where you have a default value. Open that up and you’ll find many different photo filters to choose from. Let’s go with default for now.
Now, the most important step here is to give this Adjustment Layer a Blend Mode. Blend modes are located at the top of your layers palette with a default value of “Normal”. Give this layer a blend mode of “Overlay”. You will immediately see a boost in contrast and a recovery of color due to the mix of the Black & White Adjustment Layer and the color image below it. We’re almost there!
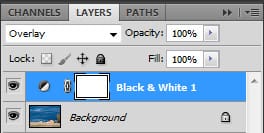
Remember I told you that you could obtain radically different results by using the Black & White Adjustment Layer instead of the Hue & Saturation Adjustment Layer? Click on that Adjustment Layer to open the window up and go the the dropdown menu. Now change the photo filter to see how that filter effects your overall image. Because this layer has the Overlay blend mode you can instantly see the results of the photo filter you choose. Here are a few examples:
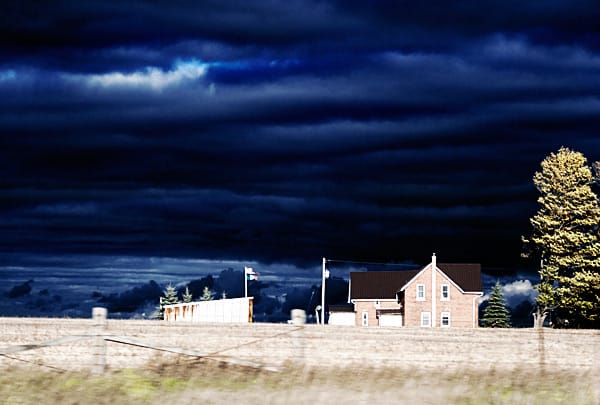
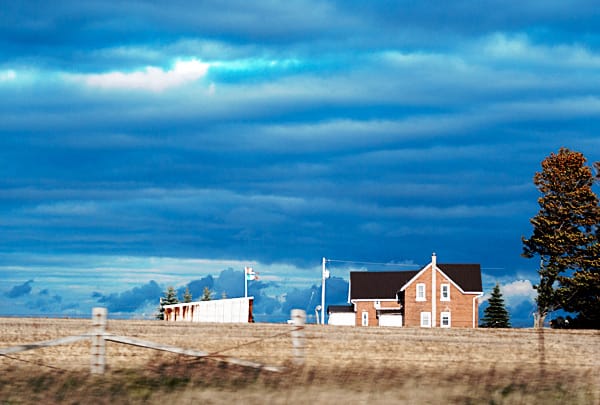
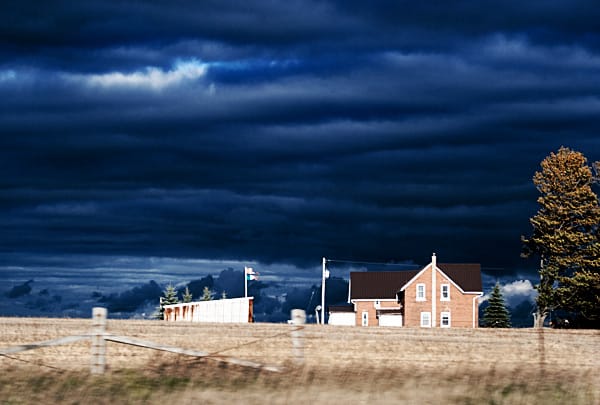
Once you have chosen the photo filter most suitable for your image, you might want to improve contrast a little bit by using the Levels Adjustment Layer. Open that up and add a little to you midtones, about 1,30. You can also darken your blacks a bit but try not to loose too much shadow detail. If you find that your highlights are a little too washed up, you can darken them a bit lowering the Output level below the Histogram. I dropped mine to 240.

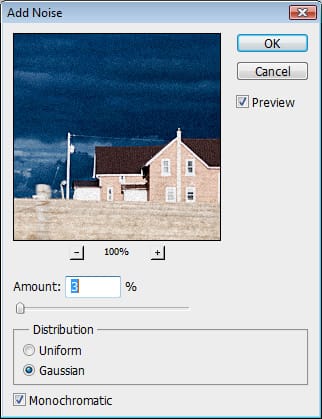
The last step for this effect is adding some film grain to represent the silver that is retained in the emulsion along with the color dyes during processing. Merge everything on to a new layer by clicking SHIFT + CTRL + ALT + E. Now with this layer selected go to Filter > Noise > Add Noise. For this small web image, with an amount of 3% I’m fine but if your image is large you will probably need a higher amount. Just make sure it’s subtle, not overpowering. Also make sure to check monochromatic to avoid colored grain and to select Gaussian in the Distribution Box for a more natural looking grain texture.
That’s pretty much it. Easy as pie! Hope you find this tutorial helpful. Here’s your before and after:

