Common Real Estate Photography Mistakes That Cost You Clients

Common Real Estate Photography Mistakes That Cost You Clients

Real estate photography demands a unique balance between technical precision and marketing effectiveness. Many photographers entering this field bring solid technical skills but struggle with the specific requirements that make property images sell. Unlike other photography genres, real estate work serves a clear commercial purpose where every compositional choice directly impacts a property's marketability.

This video identifies five critical mistakes that can undermine your real estate photography career, from conceptual missteps to technical oversights. Understanding these common pitfalls will help you create images that not only showcase properties effectively but also build lasting client relationships in this competitive market.

Watch the Tutorial

Video by Nathan Cool Photo. Any links or downloads mentioned by the creator are available only on YouTube

Understanding the Real Estate Photography Market

Real estate photography operates under different rules than architectural or artistic photography. The primary goal shifts from creating visually striking images to producing marketing materials that generate buyer interest and agent inquiries. This fundamental difference affects every decision, from focal length selection to lighting choices.

The listing market particularly emphasizes **space and accuracy** over dramatic visual impact. Buyers want to see authentic representations of properties that help them envision living in the space. This means avoiding ultra-wide angles that distort proportions or moody lighting that obscures important details. The challenge lies in creating appealing images while maintaining realistic expectations.

Professional real estate photographers must also consider the buyer's journey through online listings. Images need to work effectively as thumbnails while providing enough detail to warrant scheduling a viewing. This dual requirement influences composition, lighting, and post-processing decisions throughout the entire shoot.

Practical Tips for Real Estate Photography

  • Choose appropriate focal lengths: Use 14-24mm or 16-35mm zoom lenses instead of fixed ultra-wide primes to match the lens to each room's size and avoid excessive distortion.
  • Maintain consistent white balance: Set manual white balance for each lighting condition and apply it consistently across all shots in the same room to avoid amateur color shifts.
  • Focus on selling features: Capture critical details like countertop materials, appliance brands, and fixture quality that influence buying decisions, not just overall room layouts.
  • Master single-point perspective: Ensure perfect vertical and horizontal alignment for straight-on shots that minimize distortion and create professional-looking compositions.
  • Learn editing before outsourcing: Edit your own work initially to understand what footage works best and identify shooting mistakes that need correction on-site.

More Tutorials about Photography Mistakes

These resources explore common photography errors and how to avoid them in your work.
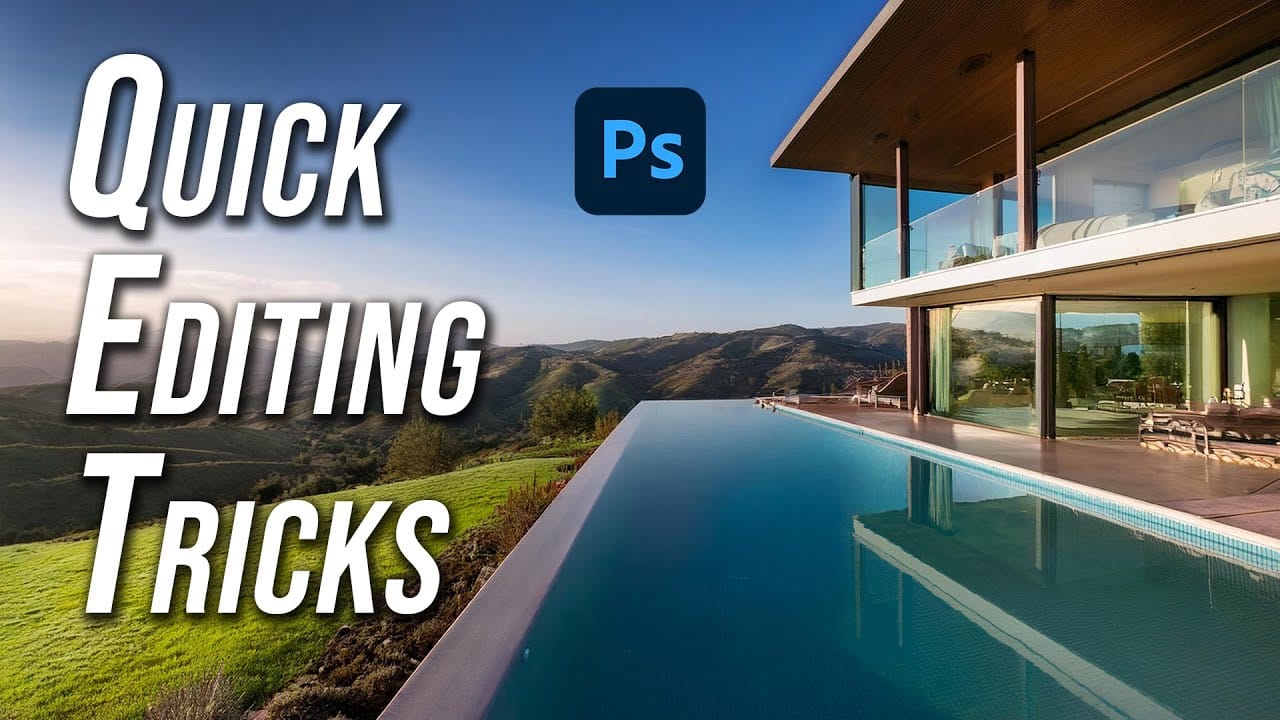
5 Hidden Photoshop Tips for Real Estate Photography Editing
This tutorial focuses on five hidden features in Adobe Photoshop that can significantly enhance your real estate photos. These specific tools are often overlooked, yet they offer practical solutions that can streamline your editing process. Understanding and utilizing these features can provide you with greater control over your photography. You'll find that your editing tasks become more efficient, allowing you to produce high-quality images with less effort. As you explore these techniques, y
7 Photo Mistakes You Can Easily Fix in Photoshop
Even experienced photographers struggle with certain technical challenges that can ruin an otherwise perfect shot. Motion blur from camera shake, missed focus on key subjects, overexposed highlights, or unwanted color casts are frustrating problems that happen to everyone—and sometimes they're impossible to avoid in-camera. This comprehensive tutorial demonstrates seven essential Photoshop techniques for rescuing imperfect photos. From advanced sharpening methods to selective color correction,
10 Critical Photoshop Mistakes You Must Stop Making
We all love to laugh at other people's mistakes, especially while looking at those hilarious Photoshop Fails. But when are you going to fix your own mistakes? Even those so-called experts make mistakes sometimes. So, before you call yourself a Photoshop master, see if you make any of these amateur mistakes when using Photoshop. 1) Forgetting To Use History Snapshots The History window is one of the best features in Photoshop that allow you to turn back time whenever you mess up an image.
Avoid the 3 worst Photoshop photo editing mistakes
Colin Smith from Photoshop Cafe shares essential tips to help you avoid the three most common Photoshop photo editing mistakes. These mistakes can make your edits look amateurish, but with Colin's guidance, you'll learn how to sidestep them and enhance your editing skills. The first mistake is over-sharpening, which Colin calls the "Sizzle Sharpen." This occurs when the halos around edges become too prominent, making the image look unrealistic. To avoid this, Colin advises converting your layer

Get tutorials & freebies delivered to you.

Subscribe to the Photoshop Roadmap newsletter, a weekly roundup of new tutorials, insights and quality downloads, trusted by 6500+ readers.

You might also like

Understanding AI Image Generation: How It Works and How to Use It

AI image generation has transformed creative workflows across industries. Tools that once required extensive technical knowledge now allow anyone to create stunning visuals using simple text descriptions. The technology has evolved from experimental novelty to practical design solution. This Adobe tutorial breaks down the core concepts behind AI image generation...

How to Design with the Y2K Aesthetic: Typography, Colors, and Effects

The metallic surfaces, bubble typography, and neon gradients of the late 1990s and early 2000s have made a striking comeback. This retro-futuristic aesthetic captures the millennium era's optimistic vision of digital technology through shiny textures, holographic colors, and playful design elements. The Y2K revival offers designers a bold...

Understanding Brutalist Graphic Design: Principles, Techniques, and Applications

Raw concrete meets bold typography in a design movement that deliberately breaks the rules. Brutalism strips away polish and perfection, embracing rough edges, clashing colors, and unapologetically bold statements that demand attention. This rebellious aesthetic resonates with audiences tired of corporate gloss and cookie-cutter designs. Fashion brands, music labels, and...

Understanding Grunge Design: Typography, Textures, and Visual Style

Grunge design refuses to play by conventional rules. Born from underground zines and music culture in the late '80s, this aesthetic embraces chaos, imperfection, and raw authenticity over polished perfection. The style thrives on distressed typography, layered textures, and intentional disorder. As digital design becomes increasingly automated and clean,...

Ranking Every Wes Anderson Movie Poster: A Design Analysis

Wes Anderson's films are renowned for their distinctive visual style, but the evolution of his movie poster design tells a fascinating story of creative growth and collaboration. From the raw indie aesthetic of his 1996 debut to the meticulously crafted artwork of recent releases, Anderson's posters...

You’ve successfully subscribed to Photoshop Roadmap
Welcome back! You’ve successfully signed in.
Great! You’ve successfully signed up.
Success! Your email is updated.
Your link has expired
Success! Check your email for magic link to sign-in.