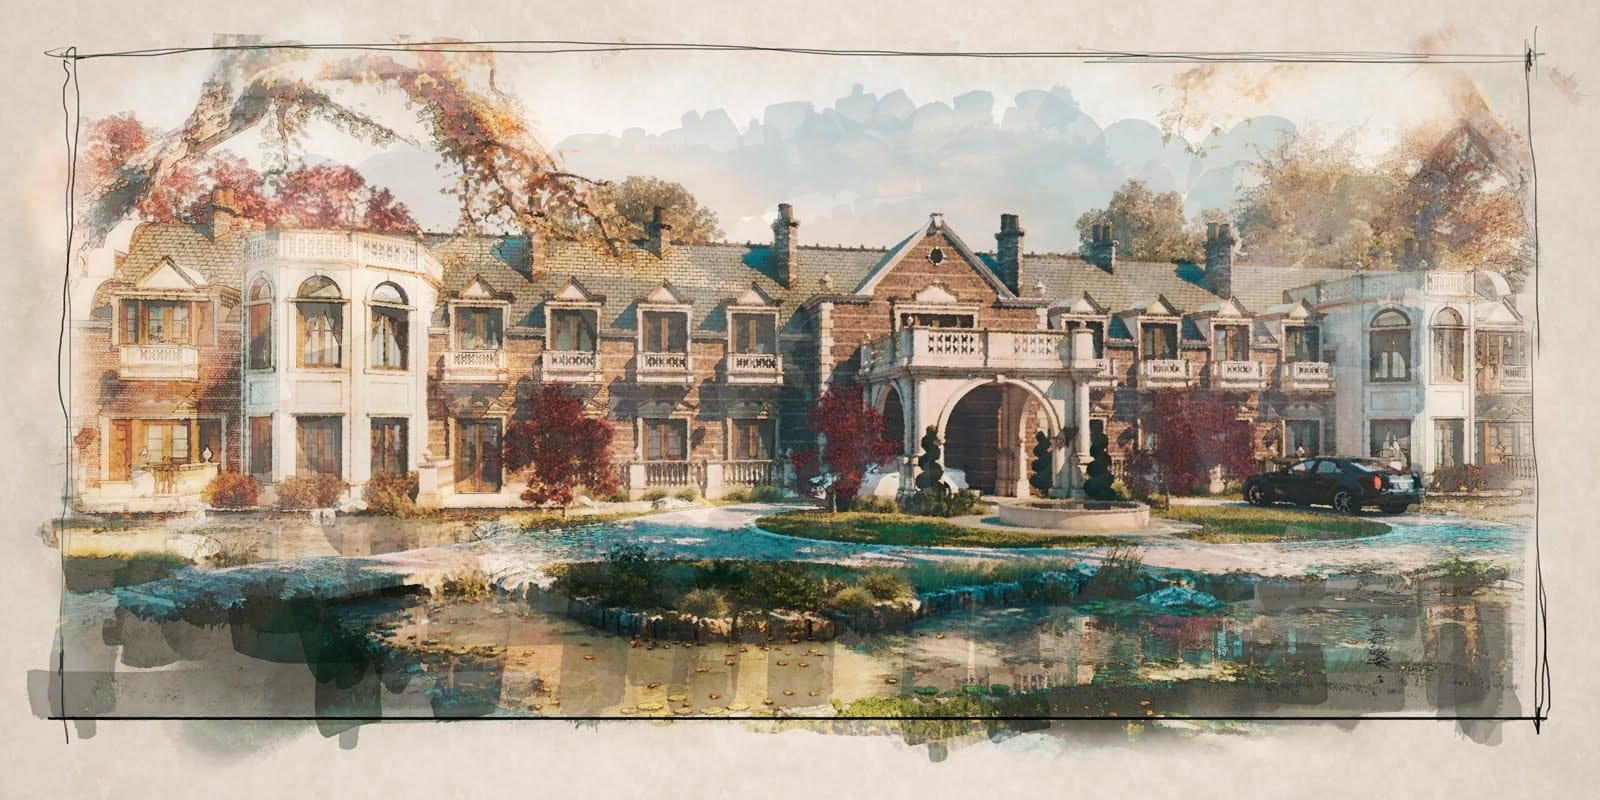
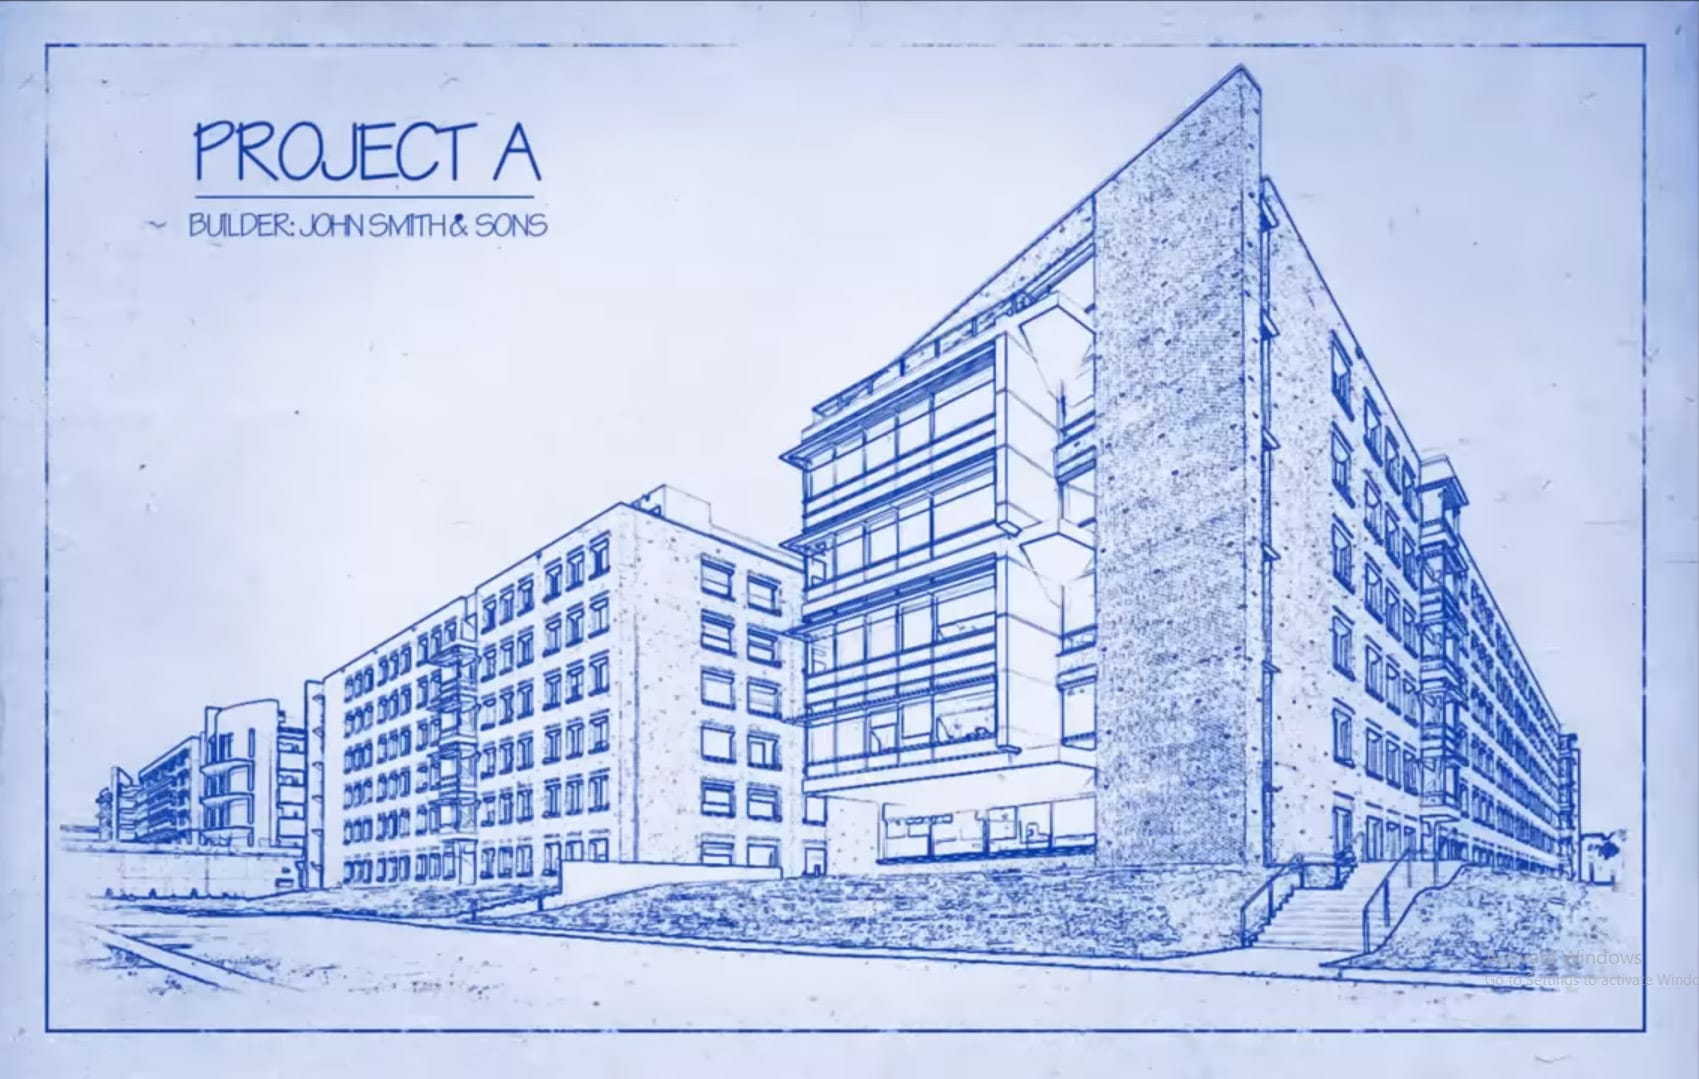
Architectural blueprints offer a distinct, professional aesthetic, traditionally outlining designs with precision and clarity. This iconic style, with its characteristic blue tones and crisp lines, is often associated with the early stages of building visualization.
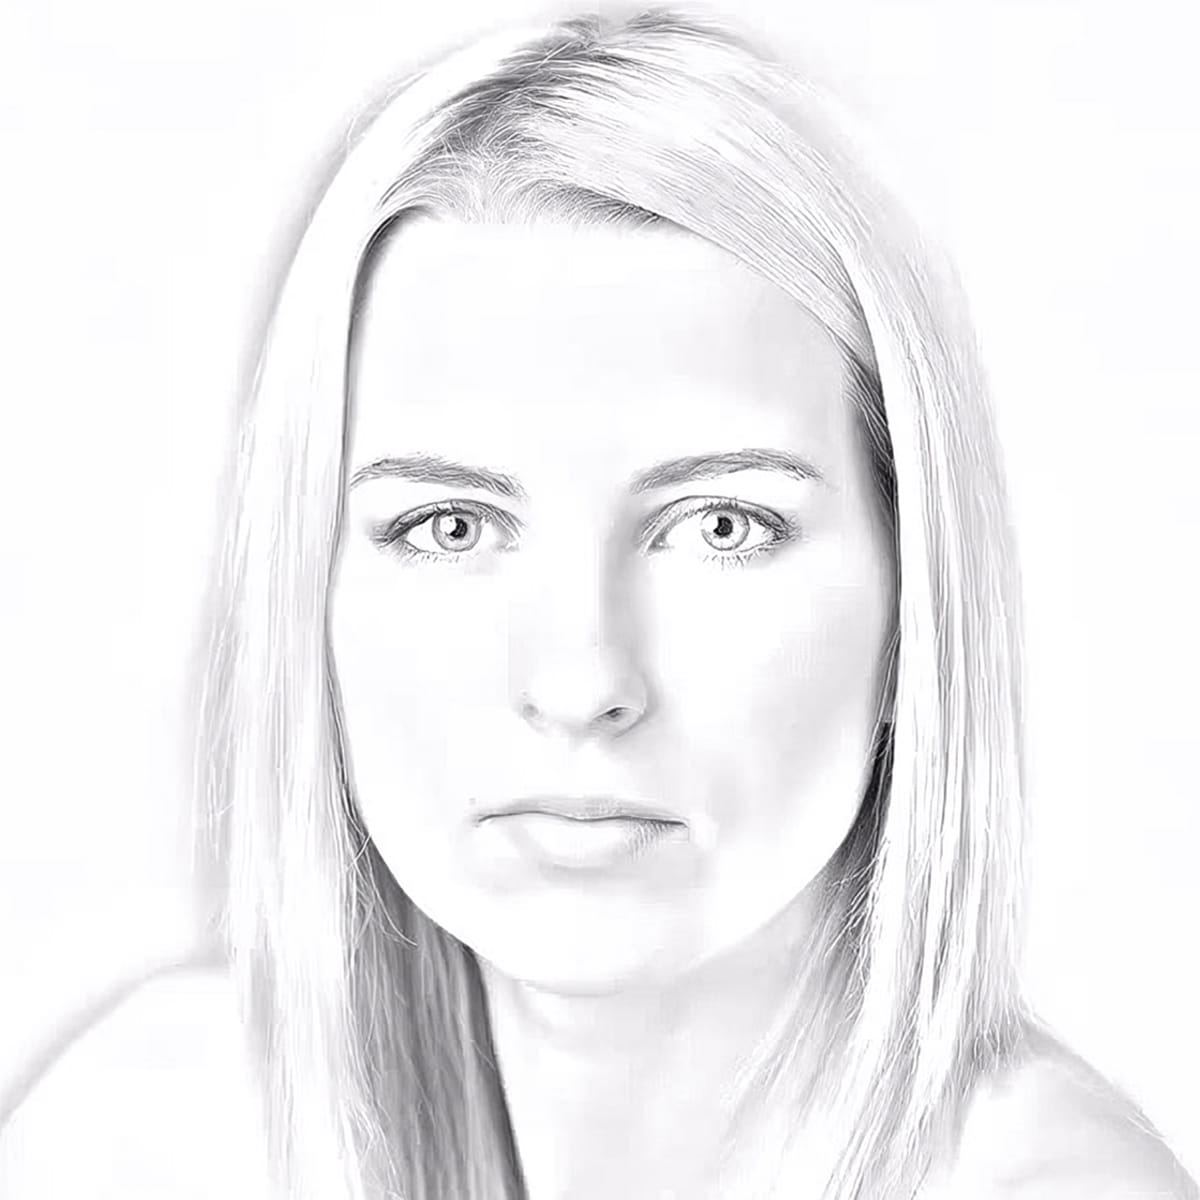
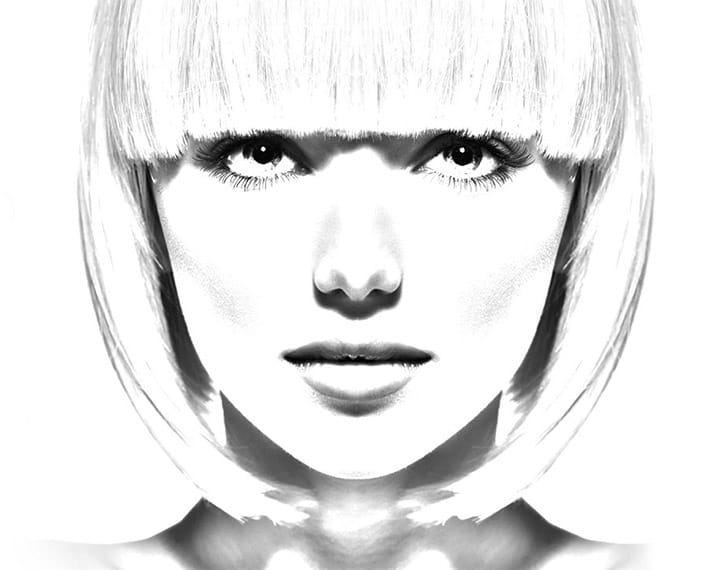
This tutorial demonstrates how to transform any photograph of a structure into a realistic blueprint drawing. It walks you through the essential Photoshop steps, allowing you to replicate this classic design document appearance digitally.
Watch the Video
Emulating Traditional Blueprint Aesthetics Digitally
Architectural blueprints have long served as the universal language for translating conceptual designs into tangible structures. These technical drawings, traditionally produced through a contact print process on light-sensitive paper, convey precise measurements, materials, and construction details. The distinct white lines on a blue background are not merely aesthetic; they were a practical result of the light-sensitive chemical process.
In contemporary design, replicating this classic blueprint look goes beyond mere utility, tapping into a rich visual heritage. Digital tools allow designers to interpret photographic realism into more illustrative or schematic forms. This emphasizes core structure and design elements rather than superficial details.
This artistic choice aligns with non-photorealistic rendering (NPR), a field focused on generating images in diverse artistic styles. Recreating the blueprint effect in a digital medium offers a unique blend of historical aesthetic and modern flexibility for presenting architectural concepts.
Practical Tips for Blueprint Transformations
- Use the Find Edges filter as a starting point for line work.
- Apply Levels adjustments to fine-tune the lightness and contrast of the initial drawing, customizing it to your specific image.
- Utilize Clipping Masks to ensure texture and color layers affect only the underlying blueprint layer, maintaining a clean workflow.
- Incorporate distressed brushes on layer masks to create rough, hand-drawn edges and borders, enhancing authenticity.
- Experiment with alternative blend modes, such as Screen for the blueprint color or Linear Burn for textures, to achieve varied visual effects.
More Tutorials about Photo to Drawing Effects
Explore other creative Photoshop techniques to transform your photographs into various artistic styles.
