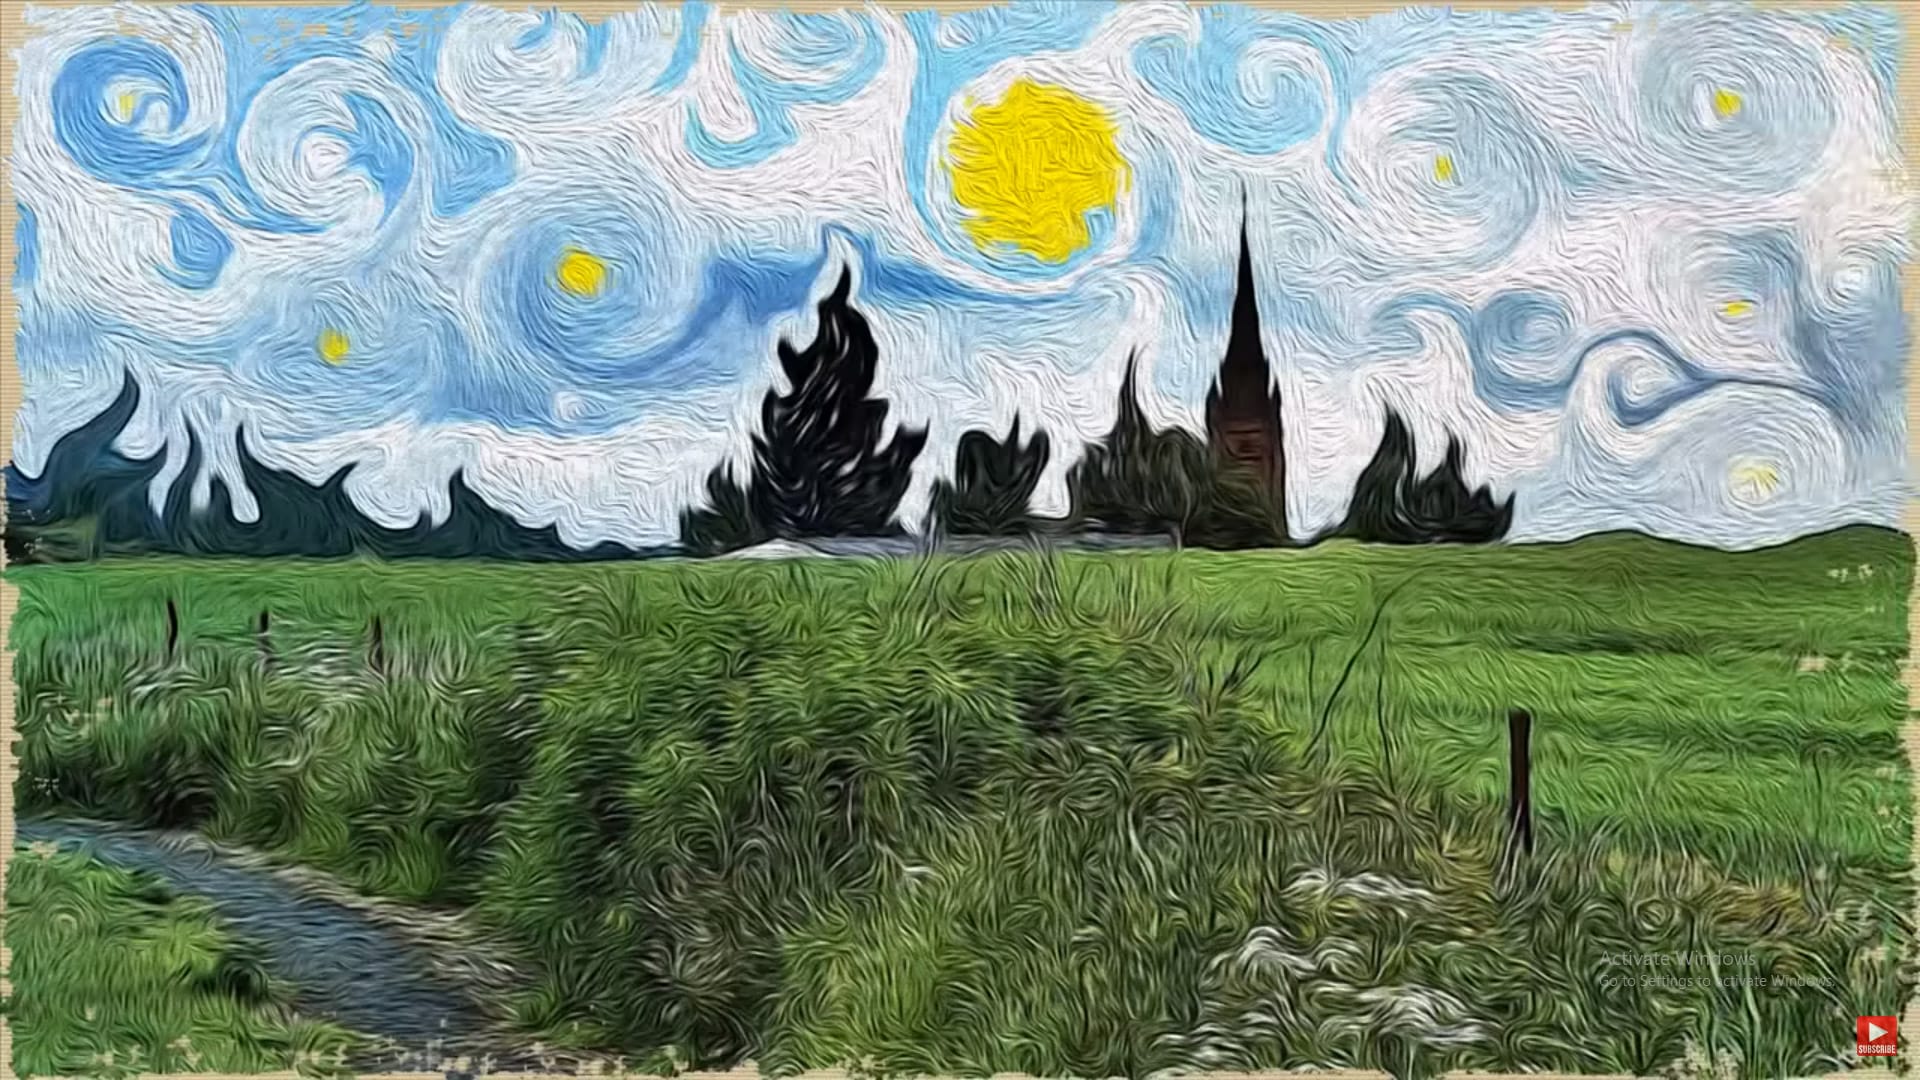
One intriguing technique in digital art involves leveraging a master's work as a direct reference for color and tone. This tutorial demonstrates how to use a Claude Monet painting to guide the color matching of your own photographs, achieving a cohesive impressionist style.
The process also emphasizes a non-destructive workflow by converting images to Smart Objects, allowing for flexible adjustments and easy photo replacement without redoing effects. Additionally, it highlights efficient content removal using Photoshop’s Remove Tool, streamlining the preparation of your source image before applying artistic filters.
Watch the Video
Video by Blue Lightning. Any links or downloads mentioned by the creator are available only on YouTube
Exploring Impressionism and Pointillism Through Digital Filters
Impressionism, an art movement of the 19th century, focused on capturing the fleeting impression of light and atmosphere rather than precise detail. Artists like Claude Monet used visible brushstrokes and vibrant colors to convey the subjective experience of a scene. Pointillism, a later offshoot, took this further by applying small, distinct dots of pure color, relying on the viewer's eye to optically blend them into a coherent image.
Translating these traditional painting techniques into digital art involves emulating their characteristic visual qualities. Photoshop filters are designed to mimic the textures and color applications of physical mediums. For instance, the Pointillize filter simulates the dotted appearance of Pointillist works, while the Palette Knife filter can replicate the broad, textured strokes often seen in Impressionist paintings.
The digital workflow allows for precise control over these effects, enabling artists to blend the spontaneity of traditional art with the flexibility of software. By combining multiple filters and adjustment layers, one can achieve a nuanced artistic interpretation that respects the original movements while leveraging modern tools.
Practical Tips for Creating Pointillist Photo Effects
- Optimize Image Size: Before applying effects, resize your photo to 150 pixels per inch, ensuring the lower dimension is 750 pixels, to prepare it for optimal filter application.
- Refine Your Composition: Utilize the Remove Tool (Photoshop CC 2023+) or Spot Healing/Healing brush to seamlessly eliminate unwanted elements from your photo, enhancing the overall composition.
- Harmonize Colors: Employ Image > Adjustments > Match Color and select a reference painting, such as the provided Monet image, to unify the color palette and stylistic tone of your photograph.
- Enable Non-Destructive Editing: Convert your image to a Smart Object prior to applying filters; this preserves the original image data and allows for re-editing or replacing the photo without redoing all steps.
- Layer Artistic Filters: Apply the Pointillize filter (Cell Size: 3, Opacity: 50%) on one layer and the Palette Knife filter (Stroke Size: 8, Stroke Detail: 3, Softness: 10) on another, then blend them to achieve a rich, multi-layered artistic effect.
More Tutorials about Artistic Photo Effects
Explore additional resources to further enhance your photo manipulation skills and create diverse artistic styles.


