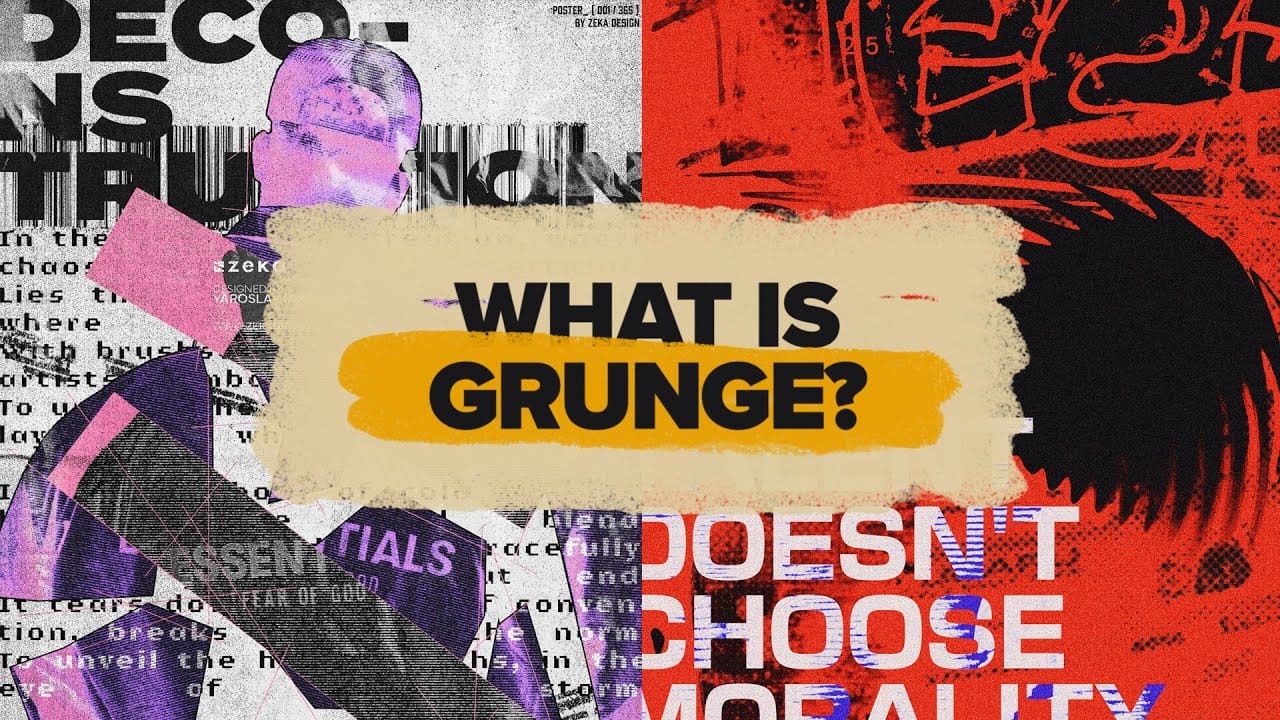
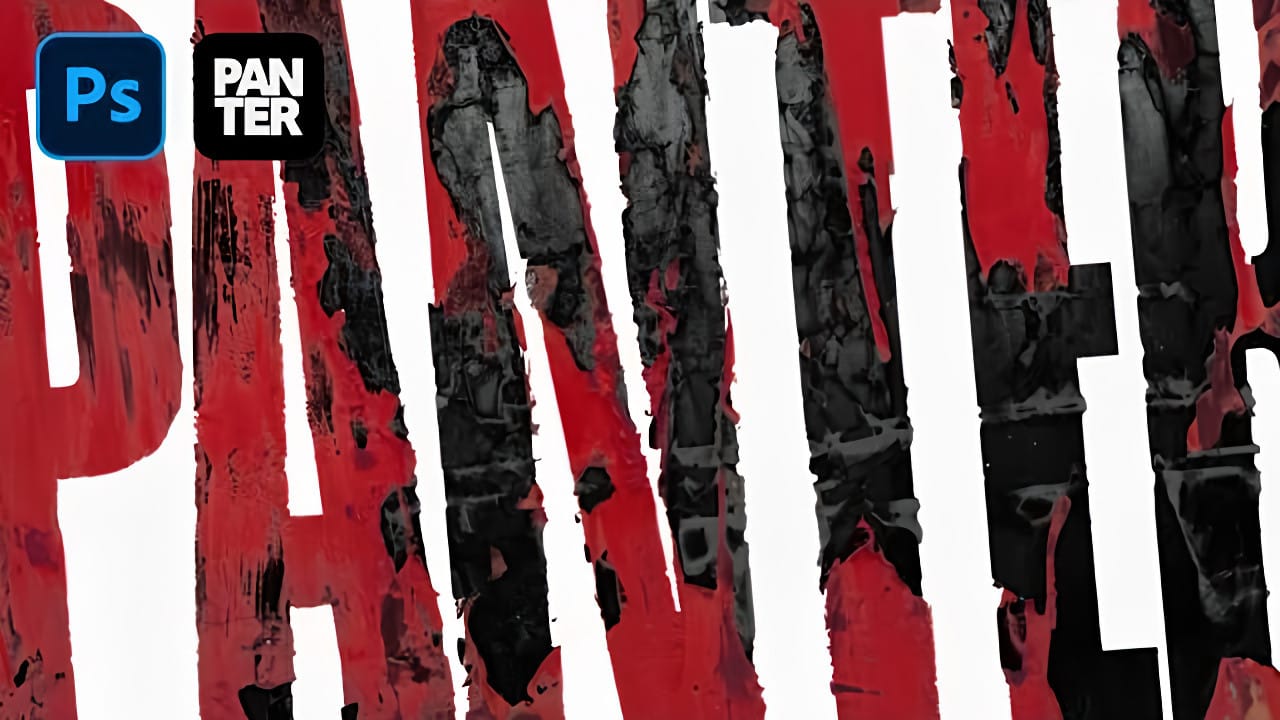
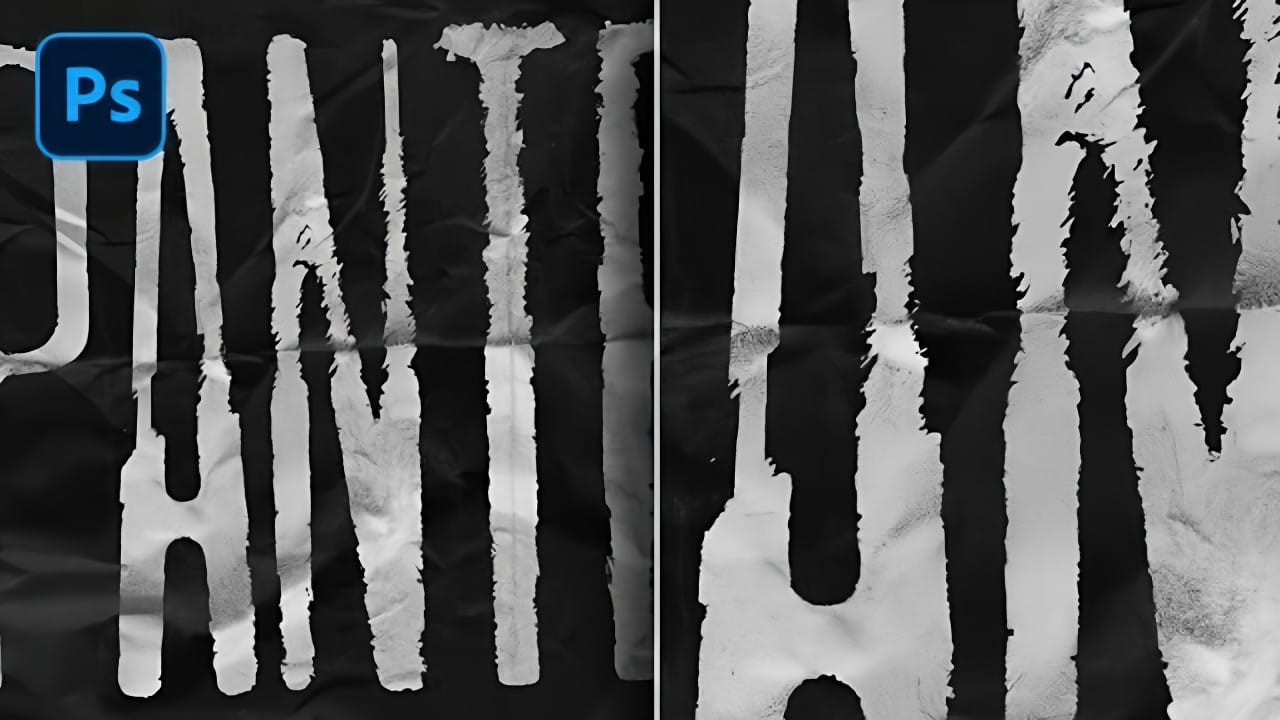
Achieving authentic, deeply distressed grunge effects for typography and logos requires precision and artistry. Designers often struggle to create these visuals while retaining editable elements.
This video presents a revolutionary, non-destructive workflow for applying intricate textures, ensuring your text and logos remain fully adjustable with unparalleled flexibility.
Watch the Video
Video by Texturelabs. Any links or downloads mentioned by the creator are available only on YouTube
Beyond Traditional Layer Masks: A Non-Destructive Approach
Traditional Photoshop masking often involves merging layers or destructive edits, limiting flexibility once applied. This tutorial unveils a powerful, non-destructive system that leverages group folders and Blend If sliders in innovative ways. By treating a group of type layers as a single object, you can apply a unified grunge effect, while separating the control of shape, transparency, and color into distinct, editable components.
This layered approach to "masking" retains all original texture information and allows for dynamic adjustments with levels or other effects at any stage. It provides an expansive canvas for crafting intricate, weathered aesthetics with unmatched control and revisability.
- Non-destructive workflow for grunge effects
- Utilizing group folders for unified element control
- Employing the Blend If slider for dynamic transparency
- Layering textures and adjustment layers within clipping masks
- Distinguishing control over shape, transparency, and color
Practical Tips for Advanced Grunge Effects
- Group type layers for unified effects: Combine multiple text layers into a single group to apply a consistent grunge look across all elements simultaneously.
- Utilize Blend If for transparency: Employ the Blend If sliders in blending options (specifically the 'This Layer' black slider with
Option/Alt-drag) to create transparency correlated with dark areas of a texture. - Create a layered mask system: Nest your Blend If group within another group and use a white fill layer with a clipping mask above your texture to build complex, adjustable masks.
- Incorporate adjustment layers on textures: Add adjustment layers (like Levels) as clipping masks above your texture within the mask system for non-destructive and continuously editable texture adjustments.
- Separate color and shape elements: Maintain distinct control over the base shape and its final color by layering elements, allowing specific colors to be applied precisely where desired.
Related Articles and Tutorials about Grunge Design
Delve deeper into the world of distressed aesthetics and learn more about creating compelling visual styles.


