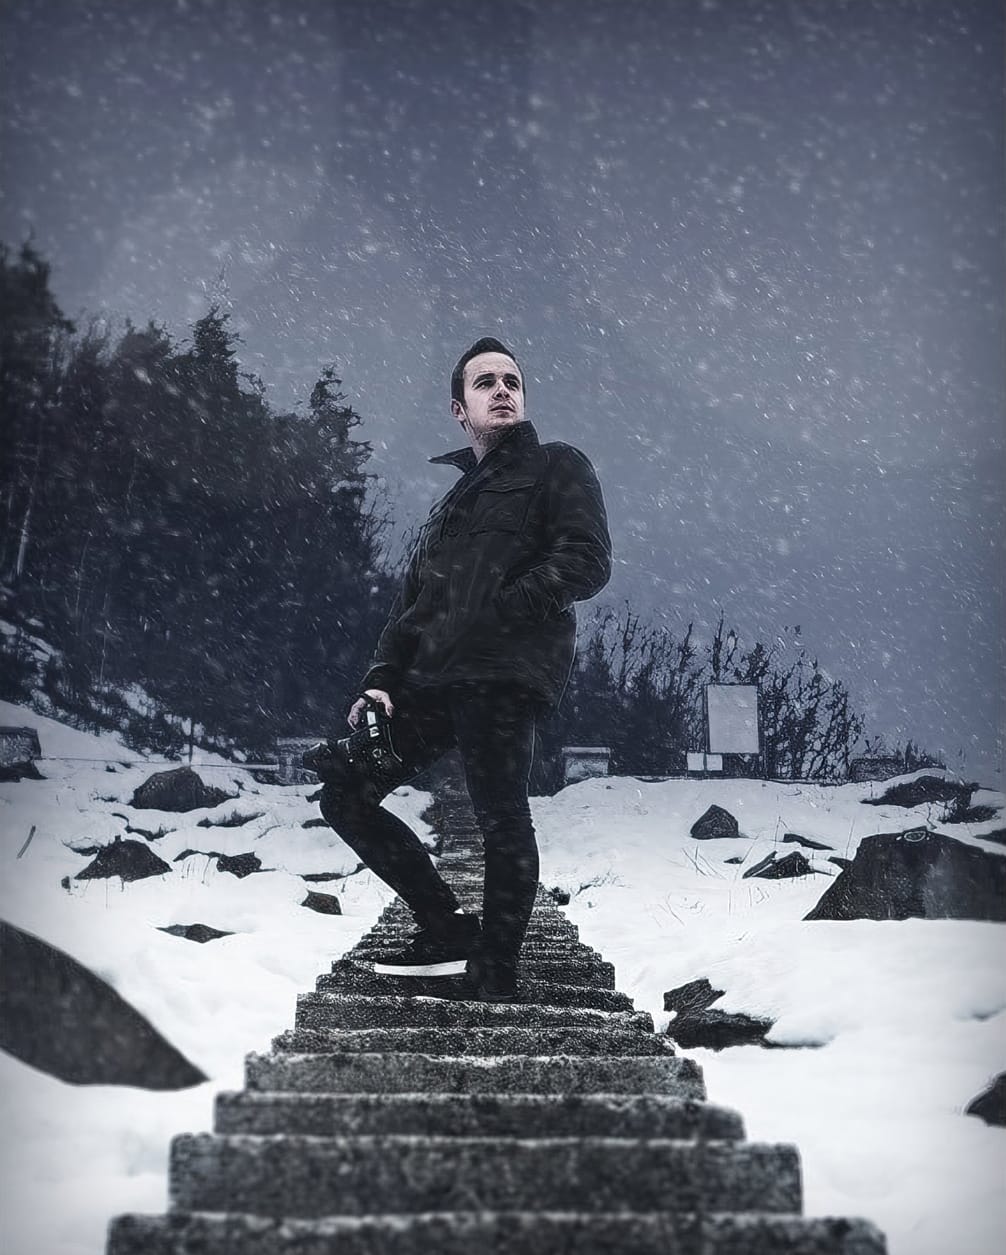
The process involves a few simple steps that can help enhance your winter photography and make it more visually appealing.
First, you'll need to create a snowflake brush. This can be done by selecting a suitable image of a snowflake and converting it into a custom brush. Once you have your snowflake brush, you can then use it to add the falling snow effect to your image.
Next, you'll need to adjust the brush settings to create a realistic snowfall. This includes adjusting the size, opacity, and spacing of the snowflakes to achieve the desired effect. You may also need to experiment with the brush's angle and rotation to ensure that the snowflakes appear to be falling naturally.
Finally, you can apply the falling snow effect to your image and make any necessary adjustments to ensure that it blends seamlessly with the overall scene. With these simple steps, you'll be able to add a touch of winter magic to your photography and create truly stunning images.


