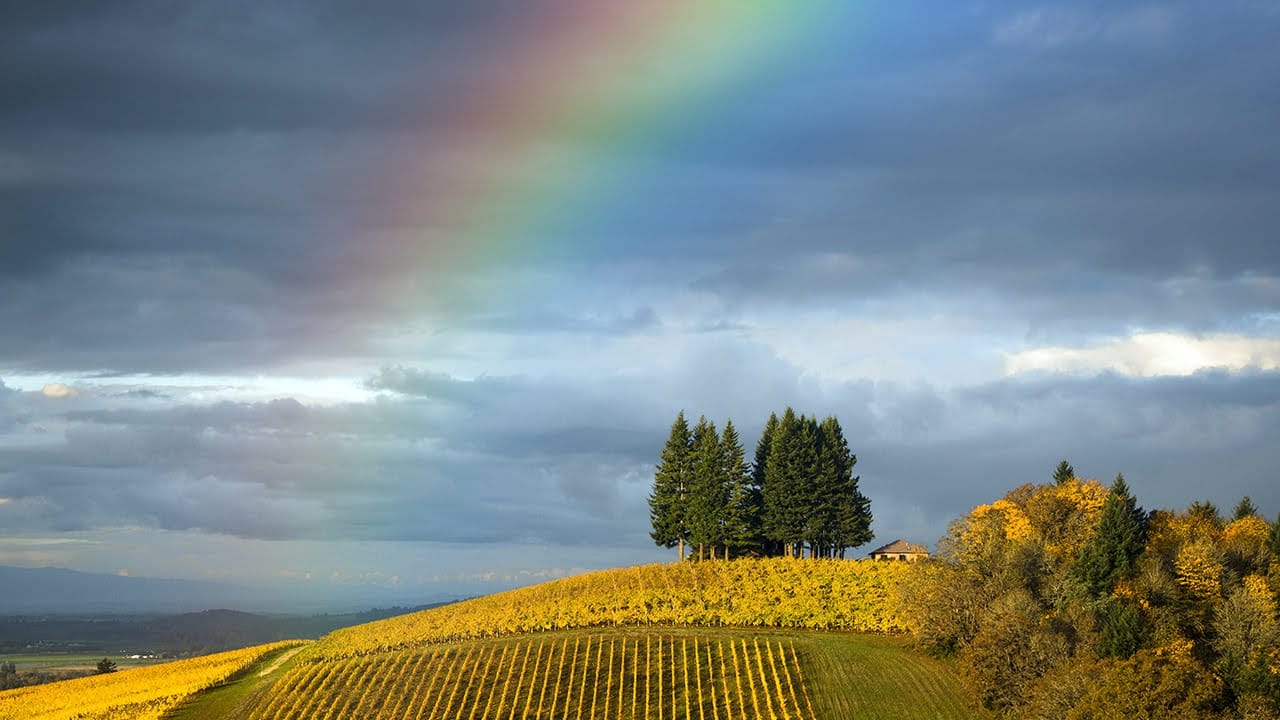
This video explores a simple yet effective method for integrating a vibrant rainbow into your outdoor photographs using Adobe Photoshop. It demonstrates how to leverage a lesser-known built-in feature to achieve a natural-looking atmospheric effect.
Viewers will learn to access Photoshop's hidden "Russell's Rainbow" preset, apply it with proper blending modes, and refine its appearance for a natural, seamless look within their images.
Watch the Tutorial
Integrating Natural Phenomena into Digital Imagery
The ability to add natural phenomena like rainbows to photographs in post-processing offers significant creative control, transforming ordinary scenes into visually captivating narratives. While rainbows are fleeting in reality, digital tools allow photographers to either enhance existing faint arcs or introduce them entirely, enriching the image's mood and storytelling potential.
Photoshop provides various features that streamline the integration of such effects. Its gradient tools, particularly those with specialized presets like "Russell's Rainbow," simplify the complex task of recreating the spectral arc. This approach balances artistic intent with technical precision, ensuring the added element appears as organic as possible.
Effective integration often involves subtle adjustments that mimic real-world optical properties. Techniques such as blending modes, opacity control, and selective fading are crucial for making the artificial element feel cohesive with the original photograph, thereby enhancing the overall visual impact without appearing artificial.
Practical Tips for Adding Rainbows
- Create a new, empty layer for the rainbow to maintain non-destructive editing and flexibility.
- Locate "Russell's Rainbow" within the Gradient Tool's "Special Effects" presets for quick access to the specific color spectrum.
- Apply a Radial Gradient to form the rainbow's natural arc, adjusting its size and position across the sky.
- Blend the rainbow into the scene by changing its blend mode to Screen and reducing its opacity between 50-70% for a subtle effect.
- Use a Layer Mask with a Linear Gradient to subtly fade the rainbow's base, mimicking its natural disappearance towards the ground.
Related Articles and Tutorials about Photoshop Effects
Explore more techniques to enhance your images and master creative effects in Photoshop with these insightful articles and tutorials.


