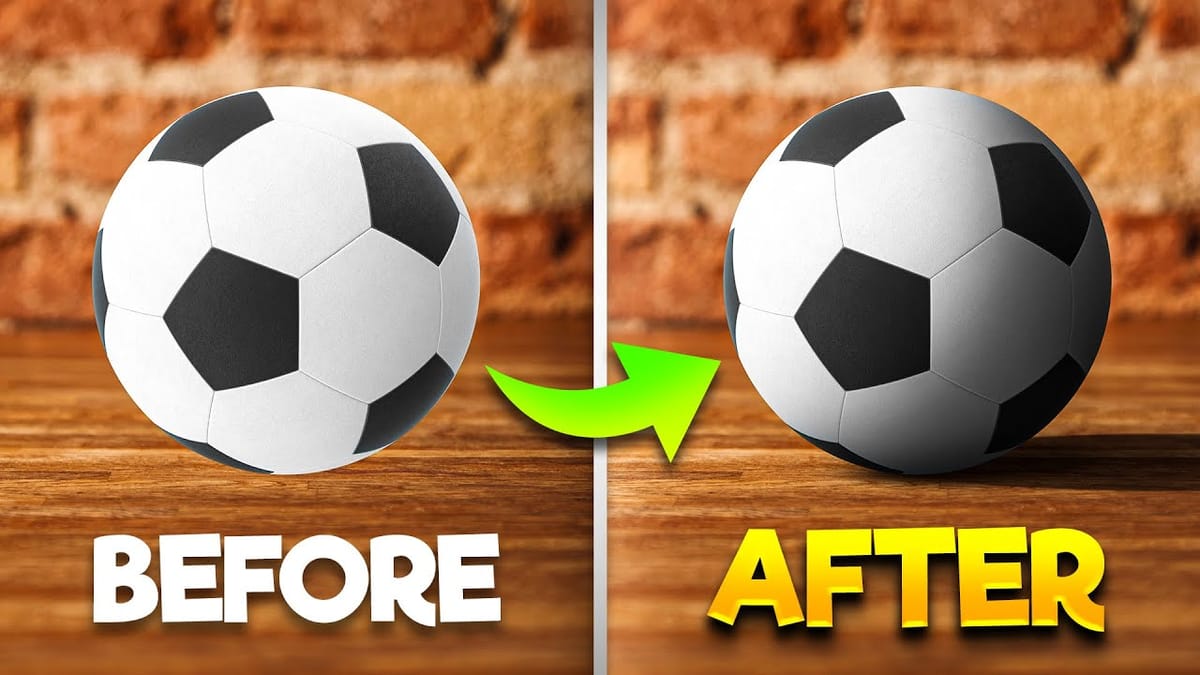
Flat digital artwork often lacks the visual depth and organic texture that makes illustrations feel alive and engaging. While clean vector-style graphics have their place, many artists struggle to add convincing shadows, highlights, and surface textures without making their work look muddy or overworked.
This tutorial demonstrates how to use specialized grain shader brushes and blending modes to create realistic textured shading effects in Photoshop. The techniques shown work for any type of digital illustration, helping transform flat artwork into vibrant pieces with dimensional depth and appealing surface texture.
Watch the Tutorial
Any links or downloads mentioned by the creator are available only on YouTube
Understanding Textured Shading in Digital Art
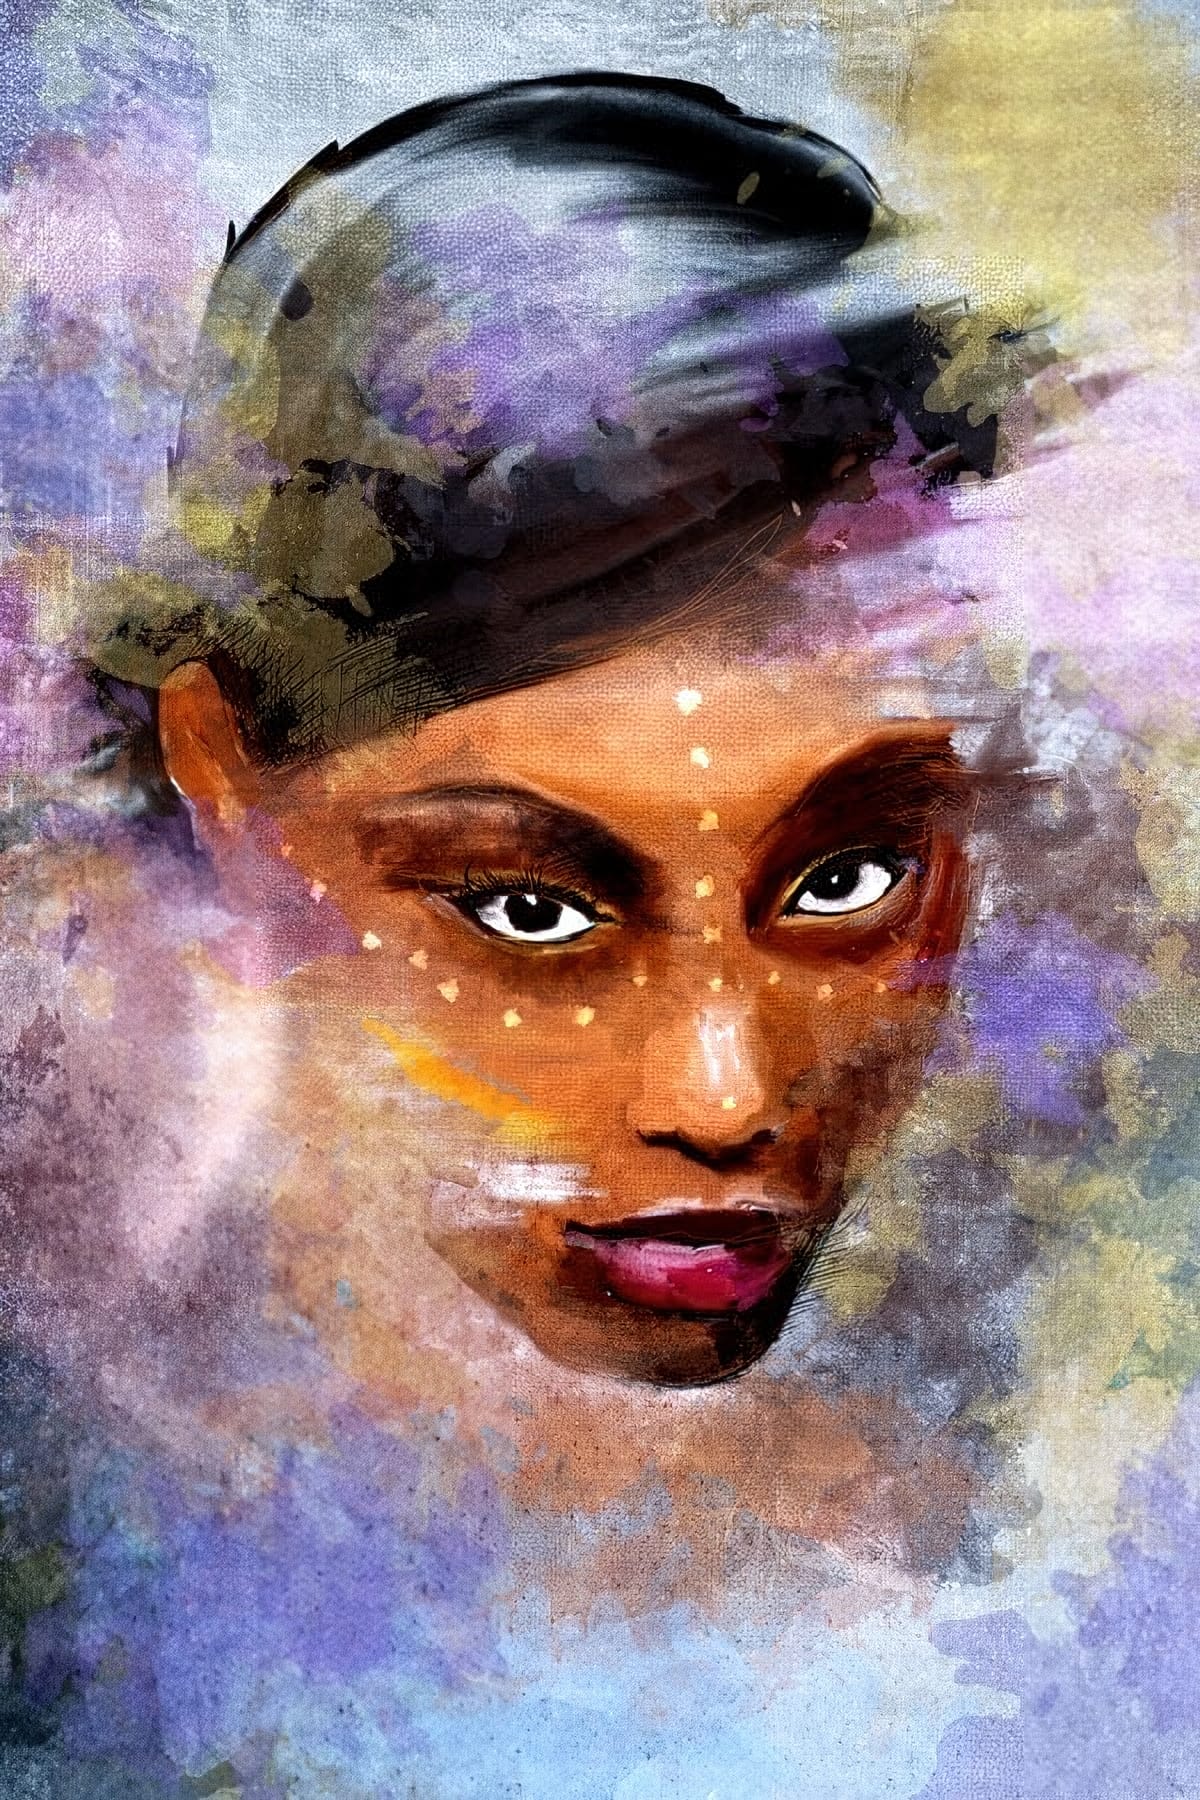
Traditional artists naturally create texture through the physical interaction between their tools and surfaces. Pencil graphite catches on paper fibers, paint brushes leave visible strokes, and pastels create grainy marks that add visual interest.
Digital art, by contrast, often produces perfectly smooth gradients and clean edges that can feel sterile or artificial.
Grain shading bridges this gap by mimicking the organic randomness found in traditional media. The key lies in using brush presets that scatter texture particles based on pen pressure sensitivity. This allows artists to build up shadows and highlights gradually, creating the kind of subtle surface variation that makes illustrations feel more tactile and believable.
The technique works particularly well with clipping masks, which contain the textured shading within specific shape boundaries. Combined with blending modes like Overlay or Color Burn, these masked texture layers can dramatically enhance color vibrancy while maintaining clean edges and consistent lighting.
Practical Tips for Grainy Shading Effects
- Use clipping masks to contain textured shading within shape boundaries without affecting neighboring elements
- Reduce brush spacing to zero and enable smoothing when creating base shapes to ensure clean, consistent outlines
- Apply light pressure initially when using pressure-sensitive grain brushes to build up texture gradually rather than creating harsh marks
- Experiment with blending modes like Overlay, Hard Light, and Color Burn to enhance the vibrancy and depth of textured shading
- Create custom brushes from simple shapes by drawing basic forms, defining them as brush presets, then adjusting scattering and angle settings for complex effects
Related Articles and Tutorials about Digital Shading and Texture
Explore more techniques for adding depth and texture to your digital artwork.