Add clouds to a sky in Photoshop

Add clouds to a sky in Photoshop

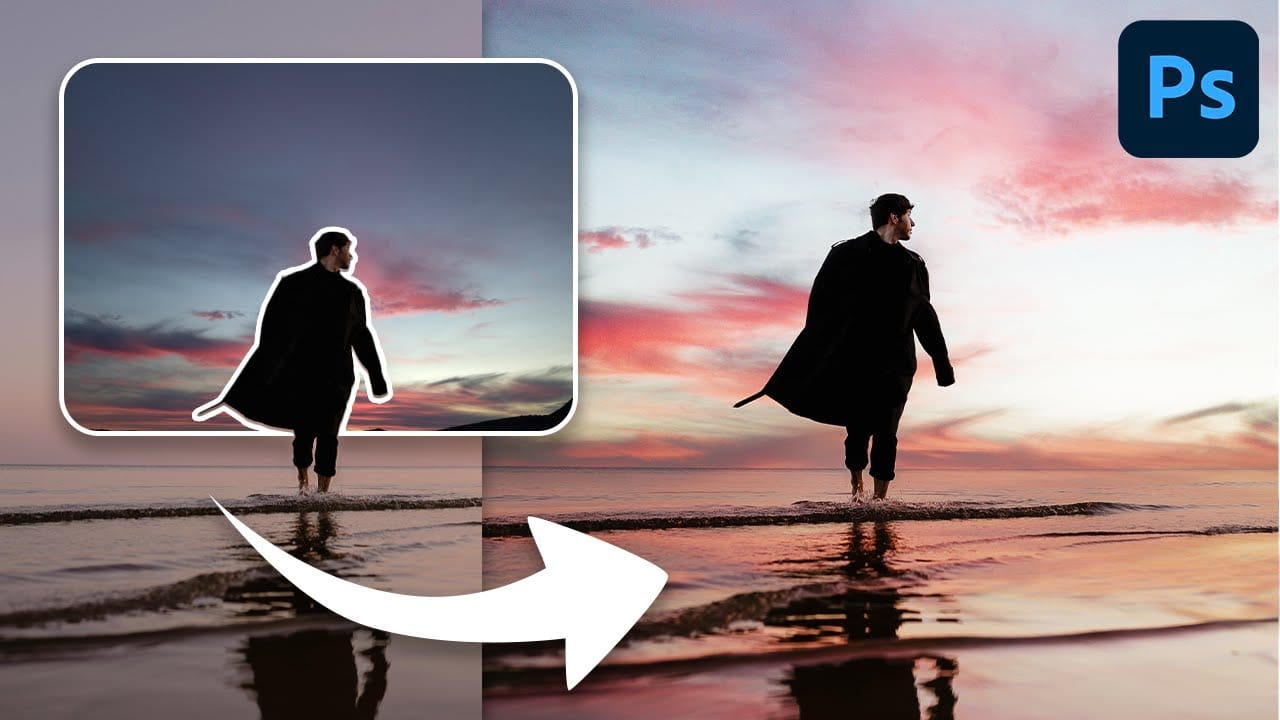
Transforming a photo's atmosphere often starts with its sky. A dull, overexposed, or uninteresting sky can detract from an otherwise great image, leaving it feeling flat or uninspired. Enhancing or replacing the sky can dramatically improve the scene, introducing vibrant colors, dramatic clouds, or a serene backdrop.

This tutorial provides a straightforward method for updating skies in Photoshop, allowing creators to effortlessly blend new atmospheric elements into their photos. It covers everything from selecting the right cloud image to integrating it seamlessly and color-matching for a realistic finish.

Watch: Enhance Your Skies in Photoshop

Video by PHLEARN. Any links or downloads mentioned by the creator are available only on YouTube

The Art of Sky Replacement and Atmospheric Enhancement

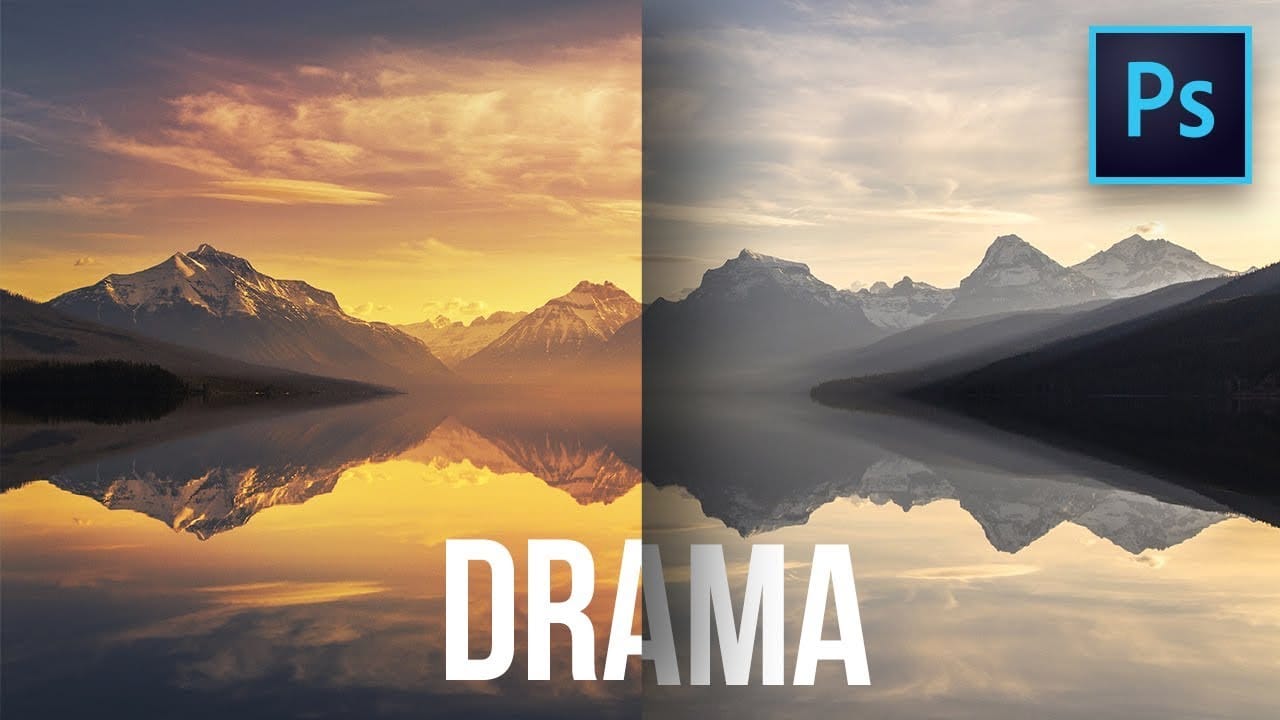
The sky plays a crucial role in photography, dictating the mood, guiding the viewer's eye, and often serving as a key compositional element. A compelling sky can elevate an ordinary scene to an extraordinary one, while a bland sky can leave even the most captivating subject feeling underwhelming. This makes sky replacement a common and powerful technique for photographers seeking to convey a specific emotion or enhance their image's overall impact.

When approaching sky replacement, the goal extends beyond merely inserting new clouds. It involves carefully considering how the new sky integrates with the existing scene—matching the lighting, contrast, and overall mood. A sky that clashes with the foreground's light direction or color palette can instantly break the illusion of realism, pulling attention away from the intended subject.

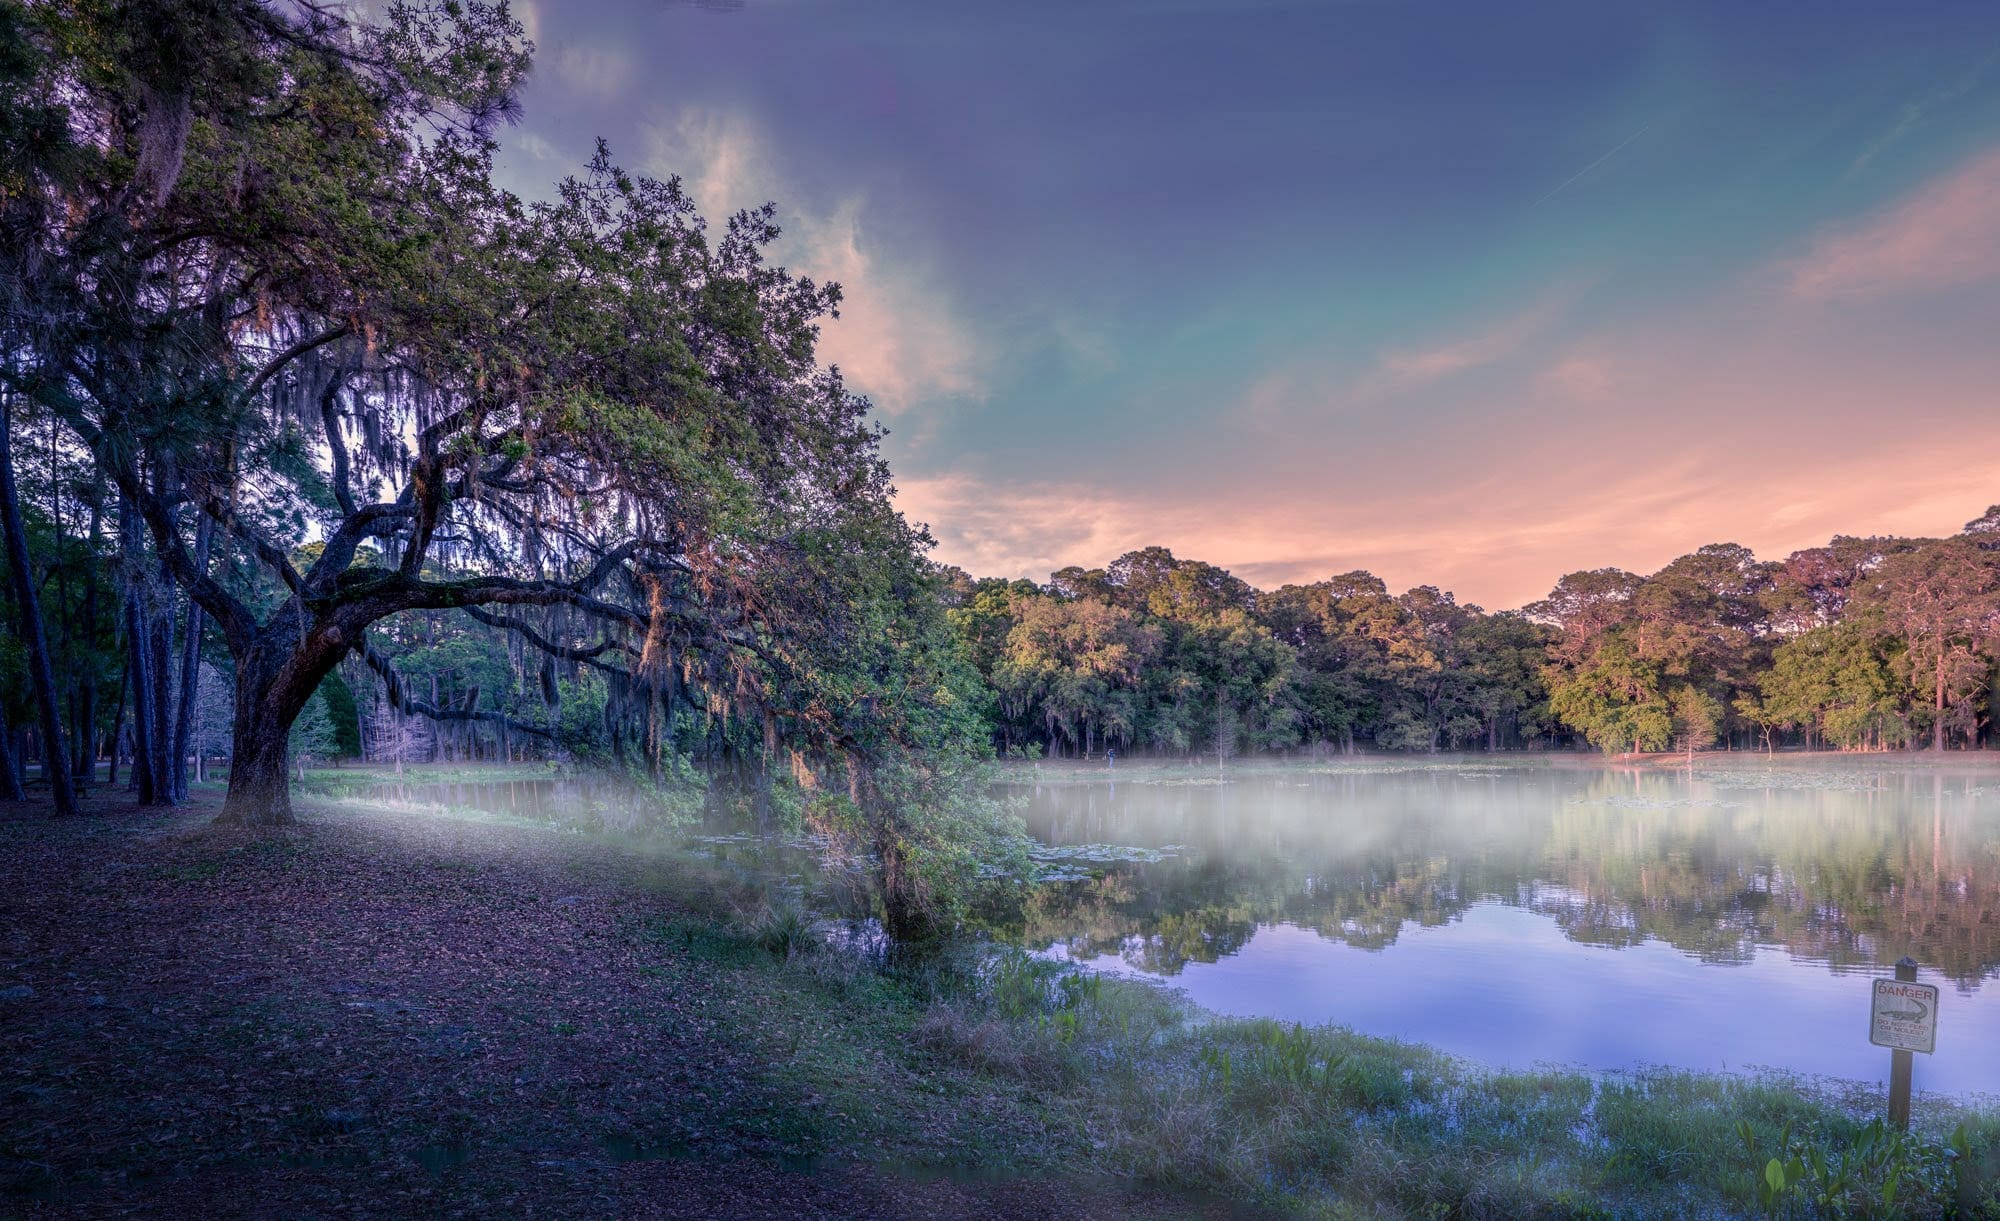
The true artistry lies in making the altered sky appear as if it was always part of the original photograph. This requires meticulous attention to technical details such as:

  • Seamless blending at the horizon line.
  • Consistent color and tonal harmony.
  • Maintaining natural light direction.

Achieving this level of integration is essential for creating believable and impactful photographic compositions.

Practical Tips for Adding Clouds in Photoshop

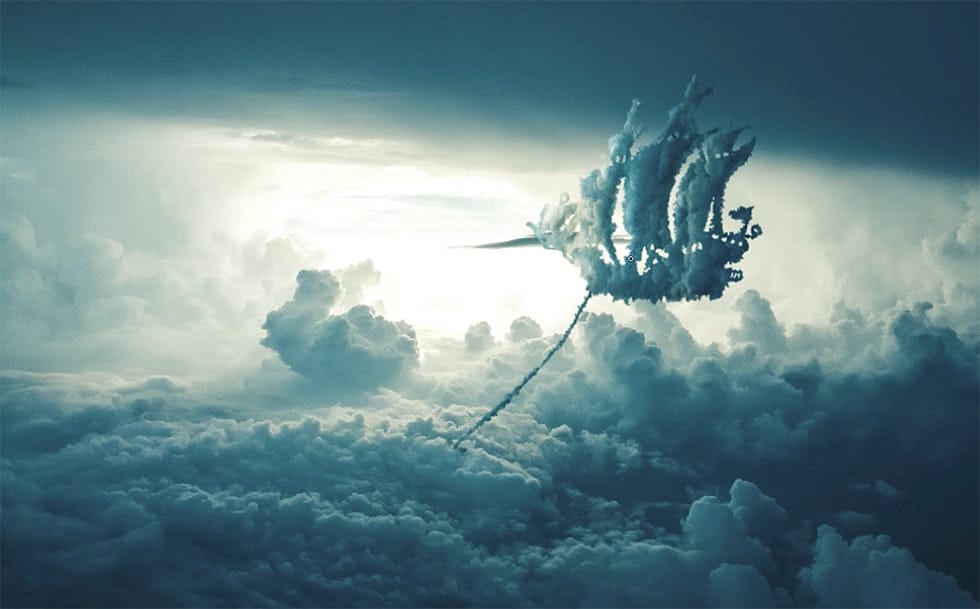
  • Select a sky that complements your photo's existing light and mood to avoid distracting from the main subject.
  • Unlink the cloud layer from its mask after initial placement to freely adjust the cloud position without affecting the masked area.
  • Use a Selective Color adjustment layer with a clipping mask to fine-tune highlights and midtones for color matching.
  • Apply a Curves adjustment layer with a clipping mask to darken the new clouds, helping them integrate more realistically into the scene.
  • Consider multiple selection methods for layer masks, such as Color Range or the Magic Wand tool, based on the sky's complexity.

Explore more resources to master advanced sky editing and creative cloud techniques in Photoshop.

How To Easily Change The Sky In Photoshop
Transforming the mood and visual impact of a photograph often begins with its sky. A drab or overexposed sky can diminish the overall appeal of an otherwise great image, leaving it feeling flat or uninspired. Replacing the sky can dramatically enhance the scene, introducing vibrant colors, dramatic clouds, or a serene atmosphere. This tutorial provides a straightforward method for updating skies in Photoshop, allowing creators to effortlessly blend new atmospheric elements into their photos. It
How to Create Any Cloud Shape in Photoshop
Nemanja Sekulic, a talented Serbian artist, shares a captivating tutorial on how to create any cloud shape in Photoshop. As a child, the artist reminisces about the joy of searching the sky for hidden shapes in the clouds. Now, with the power of photo retouching, Sekulic invites readers to bring those nostalgic moments back to life on their computer screens. In this tutorial, Sekulic guides readers through the process of crafting any cloud shape they desire. By harnessing the tools and techniqu
Create colorful dramatic skies with a simple blending trick in Photoshop
In this Photoshop tutorial by Unmesh Dinda from PiXimperfect you will learn how to extract amazing details from the sky, bring out the clouds, and add brilliant colors just using the Blend If sliders in Photoshop. Learn how to add drama, mood, and details to your skies by utilizing the power of Blending Options, Blend Modes, and Layers. In this video, we will simply paint the sky with the colors we desire and the details will simply follow. Whether you want to add the colorful sunset lights or
Add fog and mist to a photo in Photoshop
This tutorial by Serge Ramelli will show you how to add fog and mist to your landscape photos using Photoshop. It's a simple process that can be applied to a wide range of images. The steps are straightforward and easy to follow. You'll learn how to create a layer of fog or mist and adjust its opacity and blending mode to achieve the desired effect. This technique can help add depth and atmosphere to your photos, transforming a flat landscape into a more moody and evocative scene. Whether you'

Get tutorials & freebies delivered to you.

Subscribe to the Photoshop Roadmap newsletter, a weekly roundup of new tutorials, insights and quality downloads, trusted by 6500+ readers.

You might also like

Complete Photoshop Editing Workflow: 5 Steps from Raw to Polished

Photoshop offers endless possibilities for photo enhancement, but many photographers never move beyond basic adjustments because the software feels overwhelming. This comprehensive workflow breaks down photo editing into five manageable stages that work consistently across different photography styles. The systematic approach covers everything from initial raw processing to advanced lighting...

Photoshop Workspace Basics: Navigation, Zooming, and Essential Interface Elements

Photoshop's interface can feel overwhelming when you first open the program. Dozens of panels, tools, and menus compete for attention, making simple tasks feel complicated. This tutorial breaks down the essential workspace elements and teaches fundamental navigation skills that form the foundation of efficient Photoshop work. Watch the...

How to Restore Old Damaged Photos Using Nano Banana in Photoshop

Old family photos with scratches, tears, and missing sections can seem beyond repair. Google's Nano Banana AI model, now integrated into Photoshop, makes full restoration possible in minutes rather than hours. This powerful tool excels at maintaining facial characteristics while automatically filling in damaged areas and adding realistic...

How to Get Higher Quality Results from Photoshop's Generative Fill Tool

Photoshop's Generative Fill creates impressive AI extensions, but the results often look blurry and pixelated when viewed at full size. This quality limitation makes many AI-generated areas unusable for printing or large displays. This technique shows how to work around the 1024x1024 pixel quality limit to create much...

How to Use Photoshop's Liquify Tool for Non-Destructive Portrait Retouching

Clothing wrinkles, hair that lacks volume, and awkward fabric bunching can distract from an otherwise great portrait. Photoshop's Liquify tool offers a powerful solution for smoothing out these issues while preserving the natural look of your subject. This tutorial demonstrates how to use the Liquify tool non-destructively with...

You’ve successfully subscribed to Photoshop Roadmap
Welcome back! You’ve successfully signed in.
Great! You’ve successfully signed up.
Success! Your email is updated.
Your link has expired
Success! Check your email for magic link to sign-in.