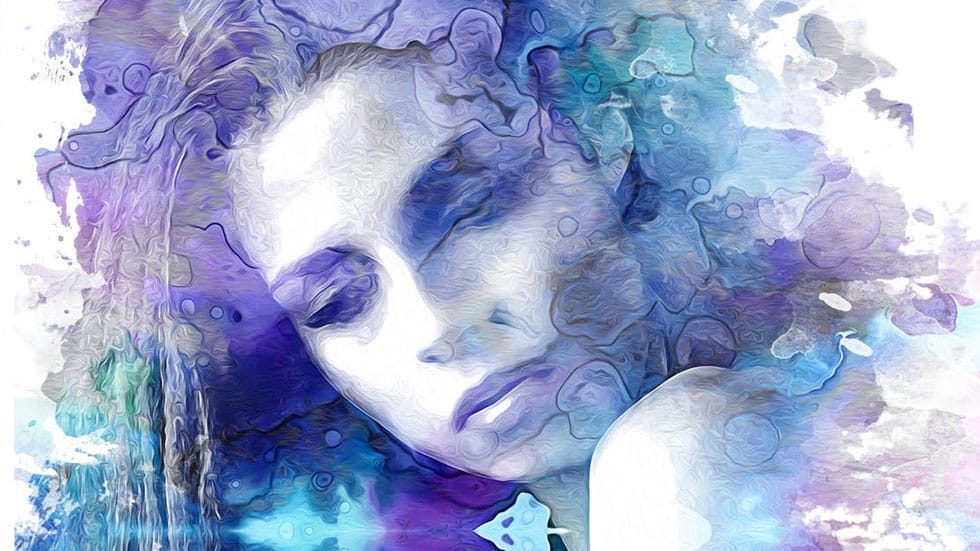
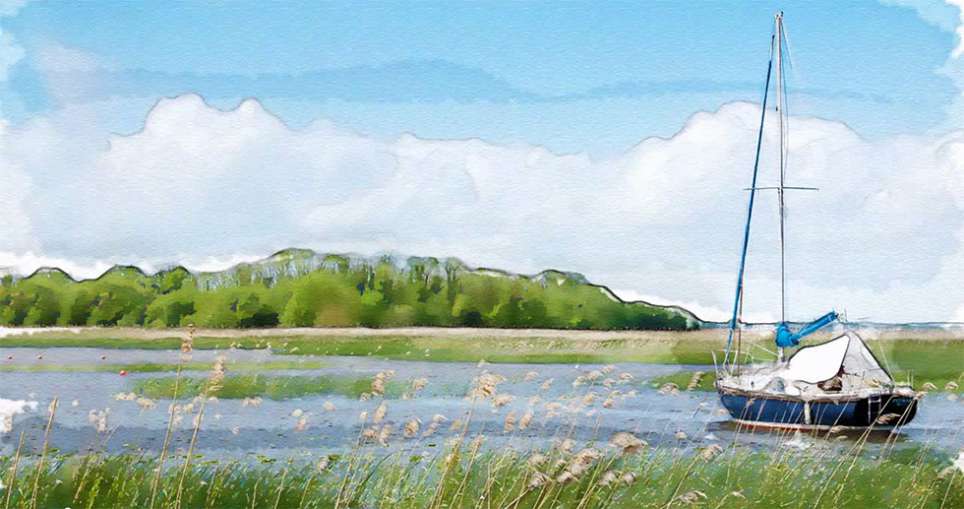
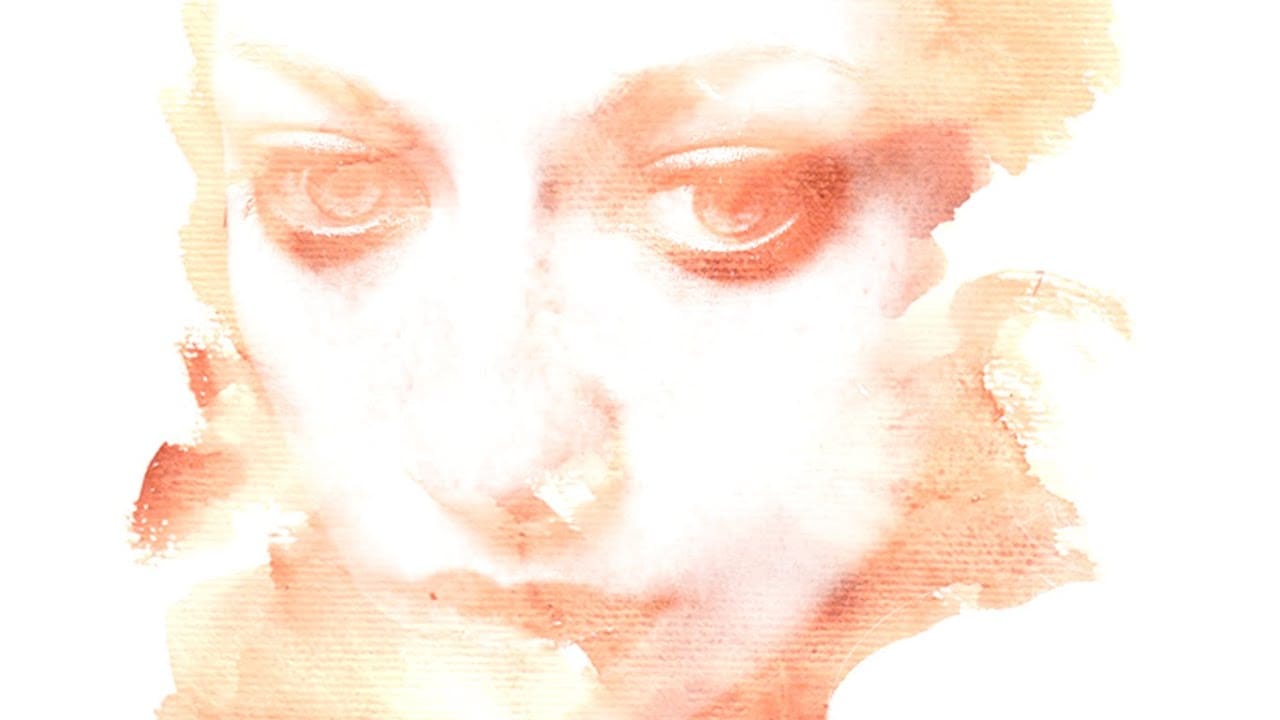
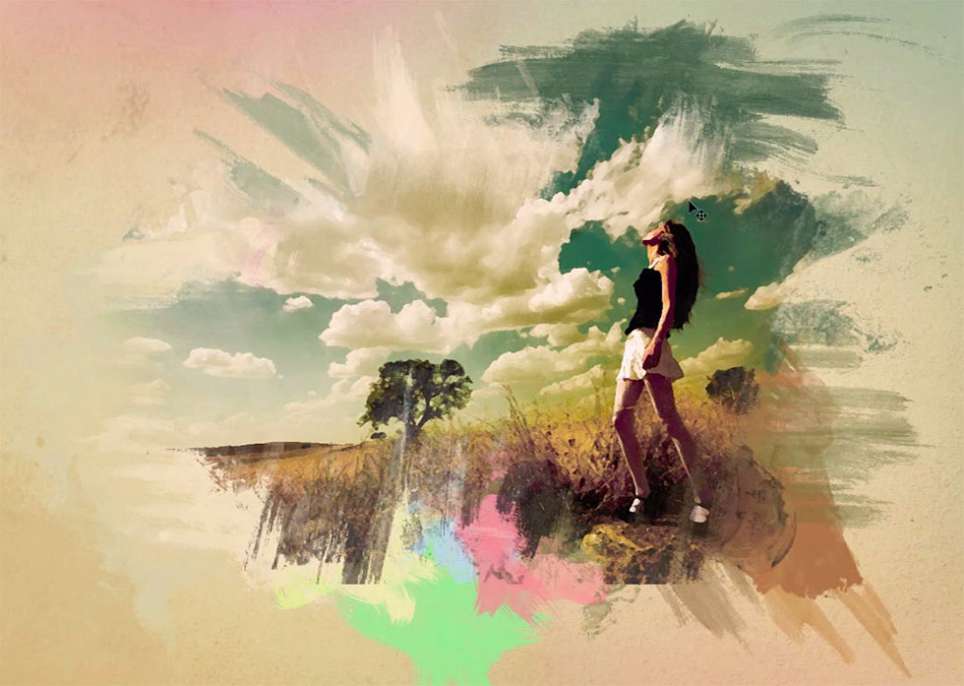
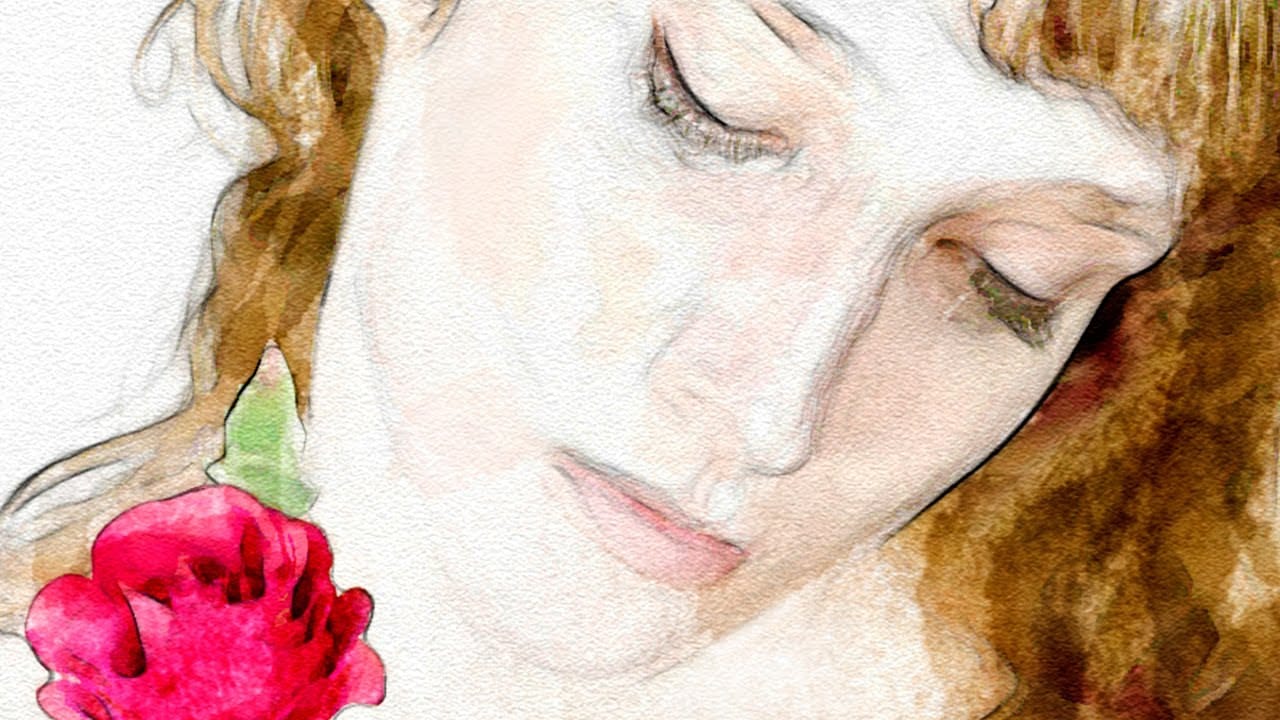
Digital art offers versatile ways to reinterpret photography. One popular technique involves transforming ordinary photographs into painterly artworks, such as watercolor portraits.
This tutorial demonstrates a method for achieving a beautiful watercolor effect in Photoshop, emphasizing the use of custom brush strokes to introduce unique artistic nuances. Viewers will learn how to prepare images, apply specific filters, and utilize various brushes to mimic the fluidity and texture of traditional watercolor paintings.
Watch the Video
Key Considerations for Digital Watercolor Effects
Creating a convincing watercolor effect from a photograph in Photoshop goes beyond simply applying a single filter. The process involves a multi-layered approach that aims to replicate the unique characteristics of traditional watercolor, such as its transparency, soft edges, and granular texture. This digital rendition allows artists to maintain control over subtle details while achieving an expressive, hand-painted look.
The initial qualities of a photograph significantly influence the final watercolor outcome. Factors like the subject's skin tone, the background's brightness, and the overall lighting, brightness, contrast, and color balance all play a role. For instance, very light skin tones might require darkening mid-tones to ensure they retain definition within the watercolor effect. Similarly, a photo's resolution and dimensions are crucial, as these determine the appropriate settings for filters and brushes, ensuring the effect scales correctly and looks natural.
Unlike automated filters, this approach emphasizes the artist's interaction through custom brush strokes. This interactive element is key to introducing the organic variations and nuanced color blending that define authentic watercolor. By selectively brushing over areas, one can enhance specific features, deepen colors, or soften transitions, allowing for a personalized artistic interpretation of the original photograph.
Practical Tips for Creating Watercolor Portraits
- Adjust mid-tones for subjects with very light skin using the Levels window (Ctrl/Cmd + L) to ensure proper definition.
- Lighten dark backgrounds in your photo to prevent them from overpowering the watercolor effect.
- Unlock the background layer and make copies for specific effects, such as a "Smart Blur" layer and a "Pencil Lines" layer.
- Apply the Smart Blur filter (Filter > Blur > Smart Blur) and the Glowing Edges filter (Filter > Filter Gallery > Stylize > Glowing Edges) with settings adjusted to your photo's size and resolution.
- Utilize Photoshop's default "Dry Brush" and "Watercolor Textured Surface" brushes, varying their size and opacity, to build up the watercolor effect selectively.
- Create a layer mask on the "Pencil Lines" layer to selectively lighten or remove unwanted line details.
- Generate a composite snapshot (Ctrl + Shift + Alt + E or Cmd + Shift + Option + E) of your image before adjusting the input darks with Levels to refine brushstroke contrast without affecting line art.
- Finish by applying the Texturizer filter (Filter > Filter Gallery > Texture > Texturizer) with "Sandstone" texture to add a realistic paper-like surface.
More Tutorials about Watercolor Photo Effects
Explore additional resources to deepen your understanding of transforming photographs into stunning watercolor art.
