5 Essential Pen Tool Tips for Better Photoshop Selections

5 Essential Pen Tool Tips for Better Photoshop Selections

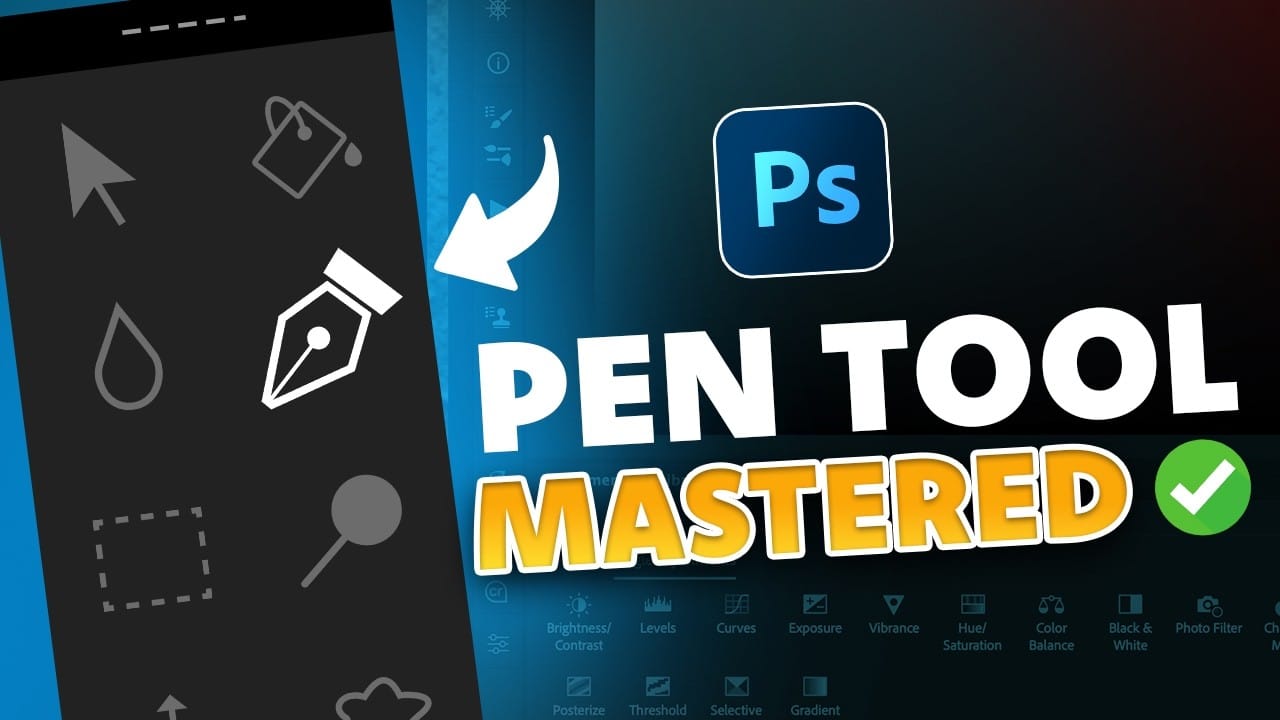
Perfect selections separate amateur work from professional results in Photoshop. When quick selection tools fail on complex subjects with curves and intricate edges, the Pen Tool becomes your most precise option for creating flawless cutouts.

These five essential techniques transform the intimidating Pen Tool into a reliable selection method. Master these fundamentals to handle any subject, from smooth curves to sharp corners, with confidence and accuracy.

Watch the Tutorial

Video by Nucly • Photoshop and Creative Design Training. Any links or downloads mentioned by the creator are available only on YouTube

Understanding Pen Tool Precision

The Pen Tool's strength lies in its mathematical precision. Unlike brush-based selection tools that rely on pixel detection, paths use vector mathematics to create infinitely scalable selections. This approach eliminates the jagged edges common with other selection methods.

Professional retouchers prefer paths because they remain editable throughout the entire workflow. Each anchor point can be adjusted, moved, or converted between straight and curved segments without starting over.

Key concepts that make the Pen Tool powerful:

  • Anchor points define the shape's structure and corner positions
  • Bezier curves create smooth transitions between anchor points
  • Handle manipulation controls curve direction and intensity
  • Path conversion transforms vectors into pixel-based selections
  • Non-destructive editing allows unlimited adjustments to saved paths

Essential Pen Tool Tips

  • Enable rubber band preview - Turn on this option in the gear menu to see your next line before clicking
  • Use keyboard modifiers - Hold Option/Alt to convert anchor points and Command/Ctrl to access the direct selection tool
  • Zoom efficiently while working - Press Spacebar first, then Command/Ctrl to zoom without switching tools
  • Minimize anchor points - Fewer points create smoother selections; avoid using the pen tool like a lasso
  • Convert paths quickly - Press Command/Ctrl + Enter to instantly turn your path into a selection

More Tutorials About Photoshop Selection Techniques

Explore these related resources to expand your selection and editing skills in Photoshop.

5 tips to make your photos better in Photoshop
Colin Smith from Photoshop Cafe shares a comprehensive tutorial on five essential tips to rapidly enhance your photos using Photoshop. These tips are designed to help both beginners and experienced users elevate the quality of their images with ease. One key aspect Smith covers is improving exposure. He demonstrates how to adjust brightness and contrast effectively to bring out the best in your photos, ensuring they are well-lit and visually appealing. Sharpening details is another crucial tip,
Master Photoshop's Pen Tool in 5 Minutes
The Pen Tool in Photoshop intimidates many designers, yet it remains one of the most powerful selection and shape creation tools in the software. While other selection methods work well for simple shapes, complex objects with curves and precise edges demand the accuracy that only the Pen Tool can deliver. This tutorial breaks down the essential Pen Tool techniques into digestible steps, covering anchor points, control arms, and path creation. By understanding these fundamentals, you'll gain the
5 Essential Photoshop Techniques for Better Portrait Editing
Portrait editing often feels overwhelming, especially when trying to balance natural-looking results with professional polish. Many photographers struggle with where to start and which adjustments will have the biggest impact on their images without making them look over-processed. This tutorial covers five fundamental Photoshop techniques that will immediately improve any portrait. From creating better subject focus to color correction and skin retouching, these methods provide a solid foundat
25 Photoshop tips and tricks you must know
Nathaniel Dodson, a renowned Photoshop expert, has crafted a comprehensive tutorial that guides you through the depths of the software's capabilities. In this 120-word exploration, readers will uncover a treasure trove of 25 invaluable tips and tricks that can significantly enhance their Photoshop experience. From mastering the art of brush smoothing to unlocking the hidden potential of sliders and views, Dodson's tutorial promises to elevate one's Photoshop prowess. Rubberband tricks, seamless

Get tutorials & freebies delivered to you.

Subscribe to the Photoshop Roadmap newsletter, a weekly roundup of new tutorials, insights and quality downloads, trusted by 6500+ readers.

You might also like

Complete Photoshop Editing Workflow: 5 Steps from Raw to Polished

Photoshop offers endless possibilities for photo enhancement, but many photographers never move beyond basic adjustments because the software feels overwhelming. This comprehensive workflow breaks down photo editing into five manageable stages that work consistently across different photography styles. The systematic approach covers everything from initial raw processing to advanced lighting...

Photoshop Workspace Basics: Navigation, Zooming, and Essential Interface Elements

Photoshop's interface can feel overwhelming when you first open the program. Dozens of panels, tools, and menus compete for attention, making simple tasks feel complicated. This tutorial breaks down the essential workspace elements and teaches fundamental navigation skills that form the foundation of efficient Photoshop work. Watch the...

How to Restore Old Damaged Photos Using Nano Banana in Photoshop

Old family photos with scratches, tears, and missing sections can seem beyond repair. Google's Nano Banana AI model, now integrated into Photoshop, makes full restoration possible in minutes rather than hours. This powerful tool excels at maintaining facial characteristics while automatically filling in damaged areas and adding realistic...

How to Get Higher Quality Results from Photoshop's Generative Fill Tool

Photoshop's Generative Fill creates impressive AI extensions, but the results often look blurry and pixelated when viewed at full size. This quality limitation makes many AI-generated areas unusable for printing or large displays. This technique shows how to work around the 1024x1024 pixel quality limit to create much...

How to Use Photoshop's Liquify Tool for Non-Destructive Portrait Retouching

Clothing wrinkles, hair that lacks volume, and awkward fabric bunching can distract from an otherwise great portrait. Photoshop's Liquify tool offers a powerful solution for smoothing out these issues while preserving the natural look of your subject. This tutorial demonstrates how to use the Liquify tool non-destructively with...

You’ve successfully subscribed to Photoshop Roadmap
Welcome back! You’ve successfully signed in.
Great! You’ve successfully signed up.
Success! Your email is updated.
Your link has expired
Success! Check your email for magic link to sign-in.